A private-label beauty line succeeds when the tool, package, price, and customer promise all point in the same direction. The role of a private label beauty tools manufacturer is therefore broader than adding a logo to an existing item. The right partner helps a brand choose a workable product, translate its brief into controlled specifications, build a sample, coordinate packaging, and prepare a repeatable production route.
This OEM and ODM guide explains how to work with a beauty tools manufacturer when launching or extending a brand. It is written for brand founders, product managers, importers, retailers, salons, e-commerce teams, and gift-set buyers who need a practical sequence from concept to replenishment. It also explains what OLIMOR BEAUTY can discuss and which details still need confirmation for each project.
Brand decision: begin with a customer promise that the tool can physically support. “Compact brow grooming,” “salon-oriented nail care,” and “travel manicure” lead to different forms, materials, packaging, and instructions.
Define the private-label concept before choosing a SKU
Write the concept in one page. Describe the customer, shopping channel, market, use case, price position, visual language, and reason to believe. Is the line for home grooming, professional nail work, travel, a gift program, a men’s care range, or a facial-care routine? Which tool solves the first problem? Which products are planned for phase two? A factory can respond much more precisely to a brief than to a request for “nice beauty tools with our logo.”
Separate must-have requirements from preferences. Must-haves can include a specific size, a guarded tip, a two-piece set, a hanging card, a multilingual instruction panel, or a target packed weight. Preferences can include a color family, mirror finish, pouch style, or gift ribbon. This protects the project when a preference increases tooling, lead time, or cost without improving the customer outcome.
Build a product family, not a random catalog
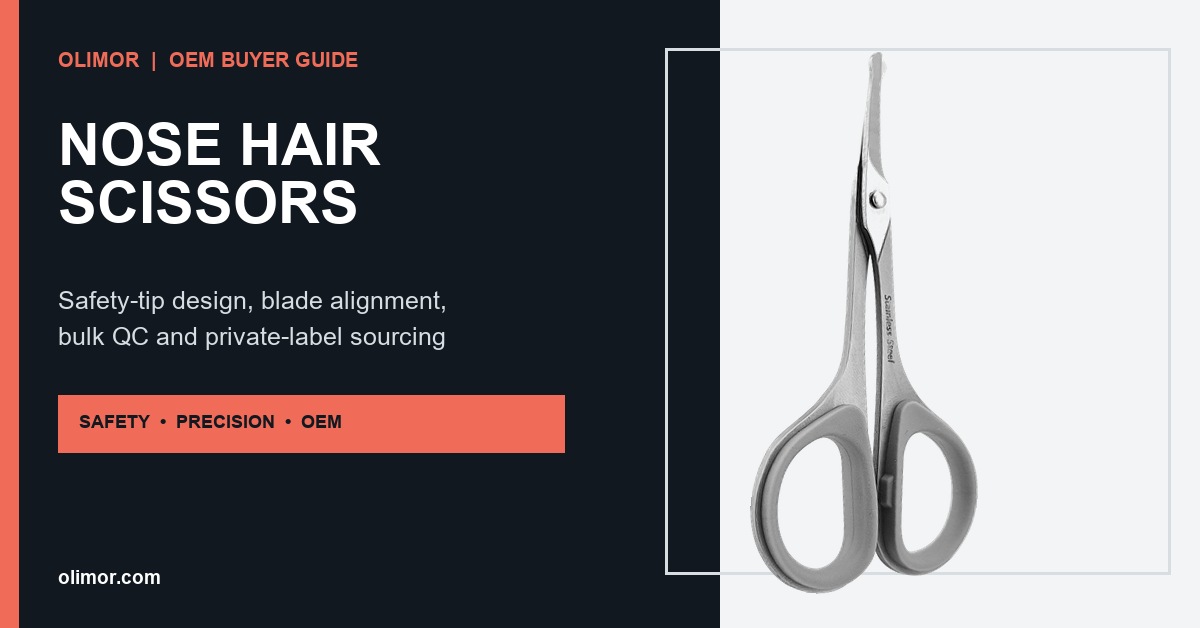
OLIMOR’s published range covers Beauty Scissors, Nail Clippers, Nippers, Tweezers, Eyelash Curlers, Eyebrow Razors, Manicure Sets, Foot Files, Tongue Scrapers, Facial Tools, Nail Care Tools, and Nail Files. For a new label, that breadth is useful only when organized into a customer journey. A brow line could combine eyebrow scissors, a slanted tweezer, and an eyebrow razor. A nail-care line might combine a clipper, nipper, cuticle pusher, nail file, and a compact case. A travel line could use mini tools with protective storage.
Choose one hero SKU, two supporting items, and one set or bundle for the first launch. This creates a manageable photo and packaging system. It also lets the brand learn which tool earns repeat purchases before investing in every category. The manufacturer can then quote standard models, custom finishes, and packaging levels side by side.
Beauty scissors and brow tools
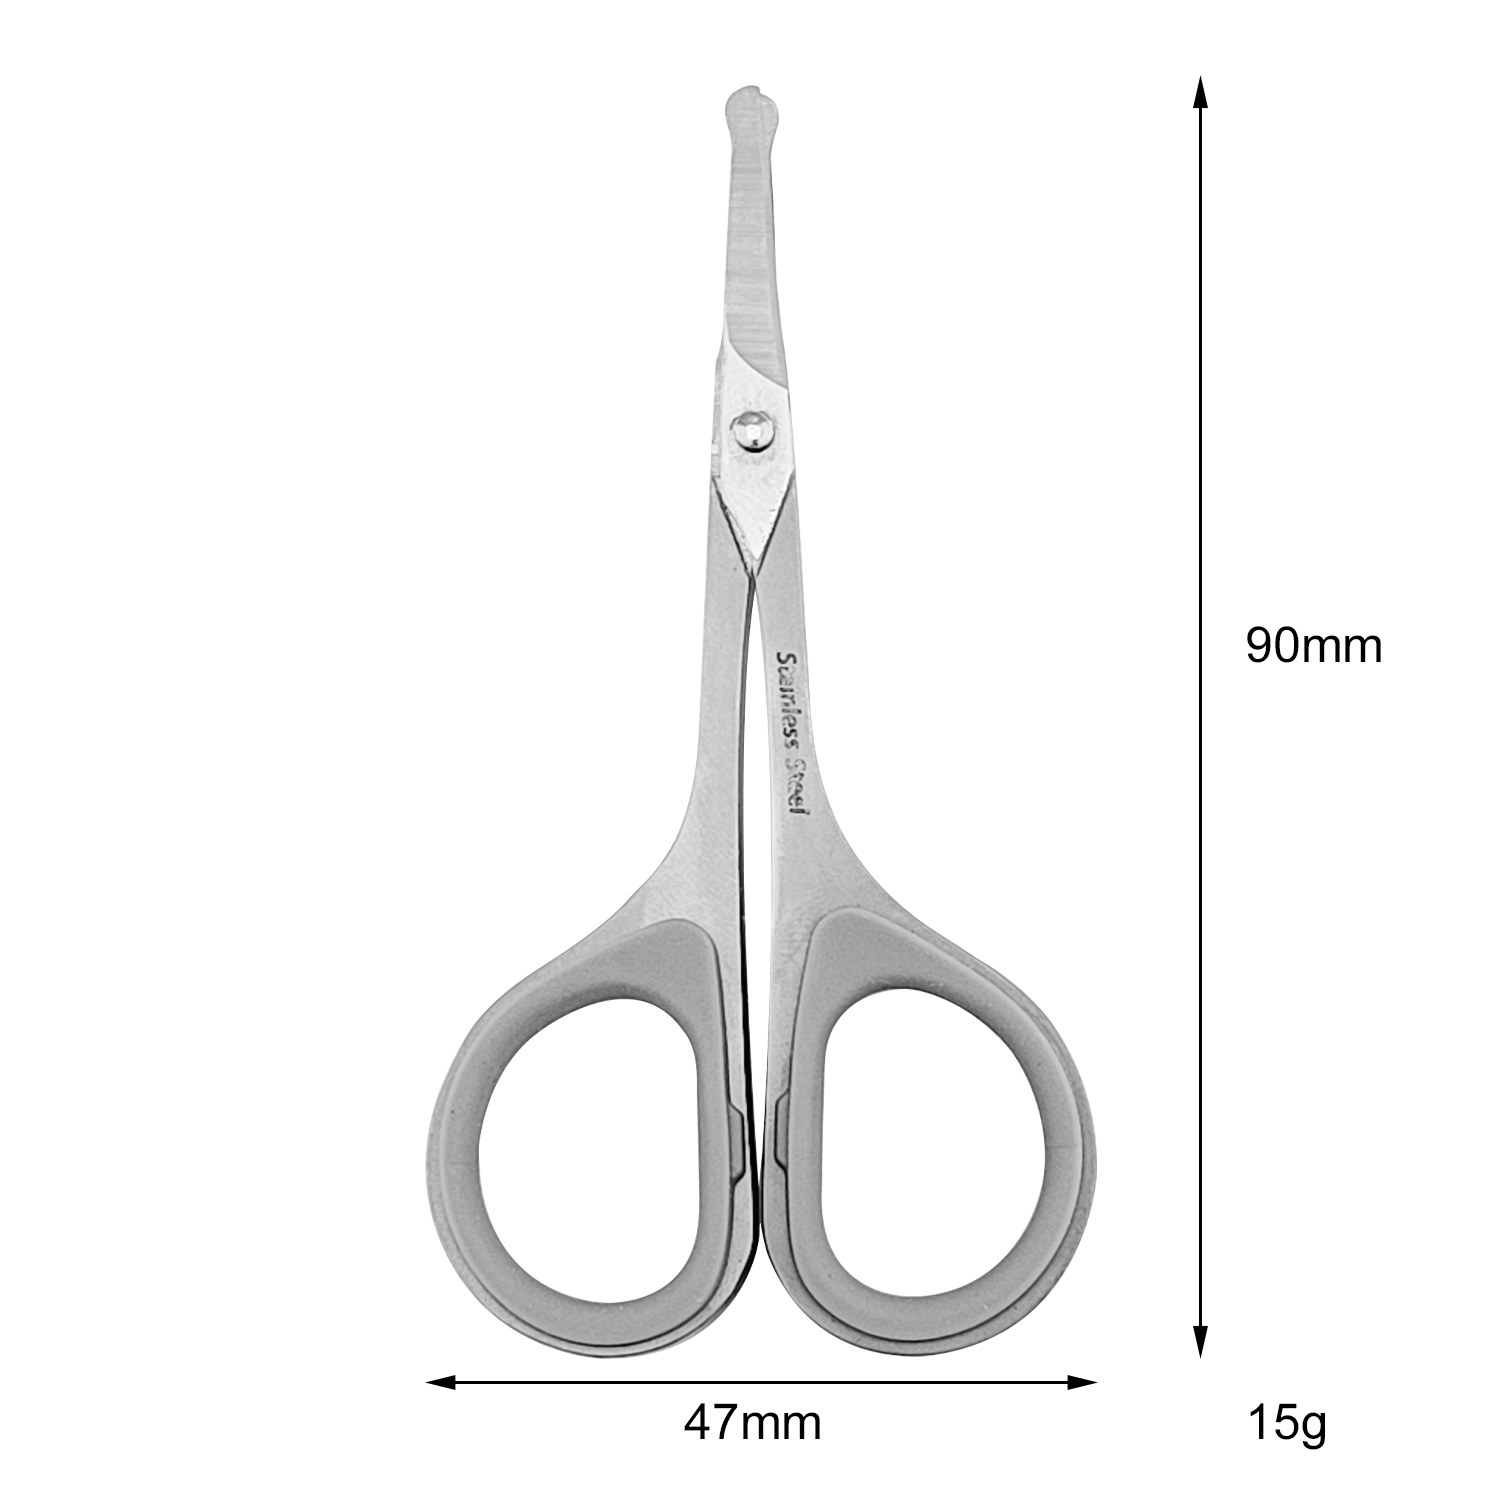
These tools are judged by control, tip geometry, blade contact, finger-loop comfort, and visual finish. Decide whether the brand wants a soft, approachable form or a technical precision look. The same base tool may need a different package, handle color, or protective cover to fit a different audience.
Nail clippers, nippers, and files
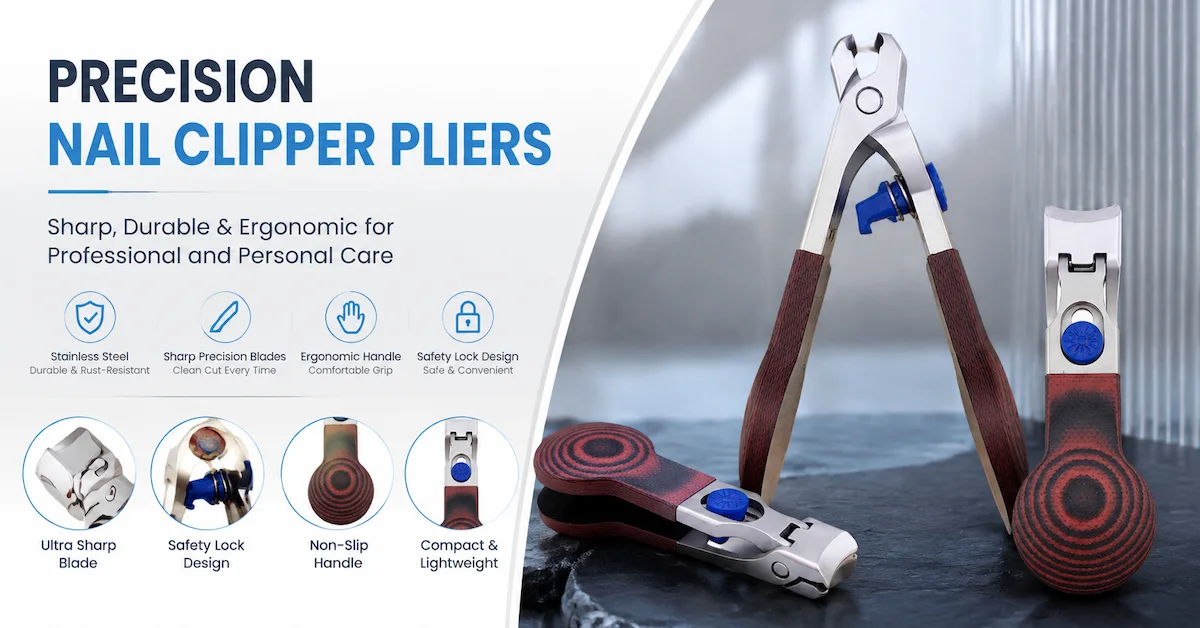
These products make the brand promise tangible through cutting, gripping, spring return, and abrasive consistency. A private-label specification should call out the intended task and sample test. A thick-toenail clipper, a compact travel clipper, and a salon nipper should not share one generic description.
Tweezers, curlers, and razors
Fine tools expose variation quickly. Ask how tip alignment, tension, curve, pad contact, guard fit, and folding movement are evaluated. Include a protective solution in the package if the working end can be bent or exposed during shipping.
Choose the level of customization
Level one: branded standard model. The body, tooling, and function remain close to a current product. The brand customizes logo, color where available, surface, label, and retail pack. This is often the simplest route for a first test because engineering risk is limited.
Level two: coordinated private-label assortment. Several existing tools receive a shared finish, color, logo position, naming system, and package architecture. The commercial work shifts toward SKU planning, photography, set composition, and clear on-pack communication.
Level three: ODM or new-tool development. The brand changes shape, curve, jaw, blade, handle, spring, accessory, or case. New tooling, fixtures, sample cycles, and functional validation may be needed. This route can create differentiation, but the brief must be precise and the development budget realistic.
Ask which proposed change affects a mold, stamping die, grinding fixture, welding jig, assembly method, or packaging insert. A small visual change may have a large process consequence. A good private label beauty tools manufacturer will explain that consequence before the quote is accepted.
Turn the brand brief into a controlled specification
Every SKU should have a simple specification page. Record item number, product name, target task, dimensions, weight, material by component, color reference, finish, working-end geometry, pivot or spring, accessory, logo, packaging, barcode, language, warning, and inspection method. Add a product photograph and a marked-up drawing where words can be misunderstood.
Do not use “high quality” as a specification. Replace it with observable requirements: tips meet within the stated zone, jaws close without a visible gap beyond the approved boundary, the lever returns, the pad sits evenly, the file edge is safe to handle, the logo is positioned within the agreed area, and the tool remains in its insert during a defined handling test. The right level of detail prevents both under-control and unnecessary cost.
Set a claim gate. Before a sales page says “stainless steel,” “reusable,” “professional,” “gentle,” or “easy to clean,” confirm what the exact product and market allow. Avoid medical treatment language for facial tools and tongue scrapers. Avoid absolute promises such as never rusts, never pinches, or suitable for every user. The package and the blog should use the same approved wording.
Sampling and approval gates
Private-label programs work best with clear gates. Gate one confirms the commercial brief and candidate model. Gate two confirms the functional sample. Gate three confirms color, surface, logo, and packaging artwork. Gate four approves the pre-production sample. Gate five releases the finished lot after inspection. The names may differ, but the decisions should be documented.
At the functional sample stage, test more than appearance. For scissors, review opening feel, edge contact, cutting media, tips, and pivot. For clippers, test several nail thicknesses, hand force, jaw alignment, and lever return. For nippers, check spring behavior and clean cutting. For tweezers, inspect tip alignment and grip. For curlers, check curve, pad contact, and pressure. For files and foot tools, examine abrasive uniformity, edge safety, and cleaning instructions.
At the packaging stage, confirm the full retail experience: front message, product name, barcode, language, warnings, insert, hanging hole, case fit, color, and carton marks. A product can pass its functional test and still fail commercially because the package hides the tool, uses the wrong language, or lets the pieces rub together in transit.
Materials, finishes, and brand expression
Stainless steel is common in many OLIMOR categories, but the exact grade and component scope should be confirmed per item. Carbon steel, plastic, copper, elastomers, abrasive surfaces, coatings, and PU cases may also appear. The material decision affects appearance, feel, forming, corrosion behavior, cleaning, cost, and copywriting. Ask for a component map and the care language that matches the final construction.
Finish is a strategic choice. Mirror polishing can communicate a bright, giftable look; a matte or satin surface may read as technical and easier to hold; colored finishes can connect a family but introduce color matching and coating questions. For a multi-SKU launch, choose a finish that remains recognizable across scissors, clippers, tweezers, and set components. Confirm what happens to the finish after normal handling and packing friction.
Logo placement should be tested on the actual surface. A mark that looks clear on a flat image may become too small on a curved handle or disappear after polishing. Decide the method, minimum size, color, location, and inspection boundary. Keep the logo artwork, brand color, and packaging files at a controlled revision so repeat orders do not drift.
Packaging and the conversion path
Packaging is part of the product proposition. On a store shelf, the customer needs to understand the tool in seconds. On an e-commerce page, the package must survive fulfillment while the images show the working end, dimensions, case, and use context. In a gift program, the case and surface finish may carry more perceived value than an extra low-use tool.
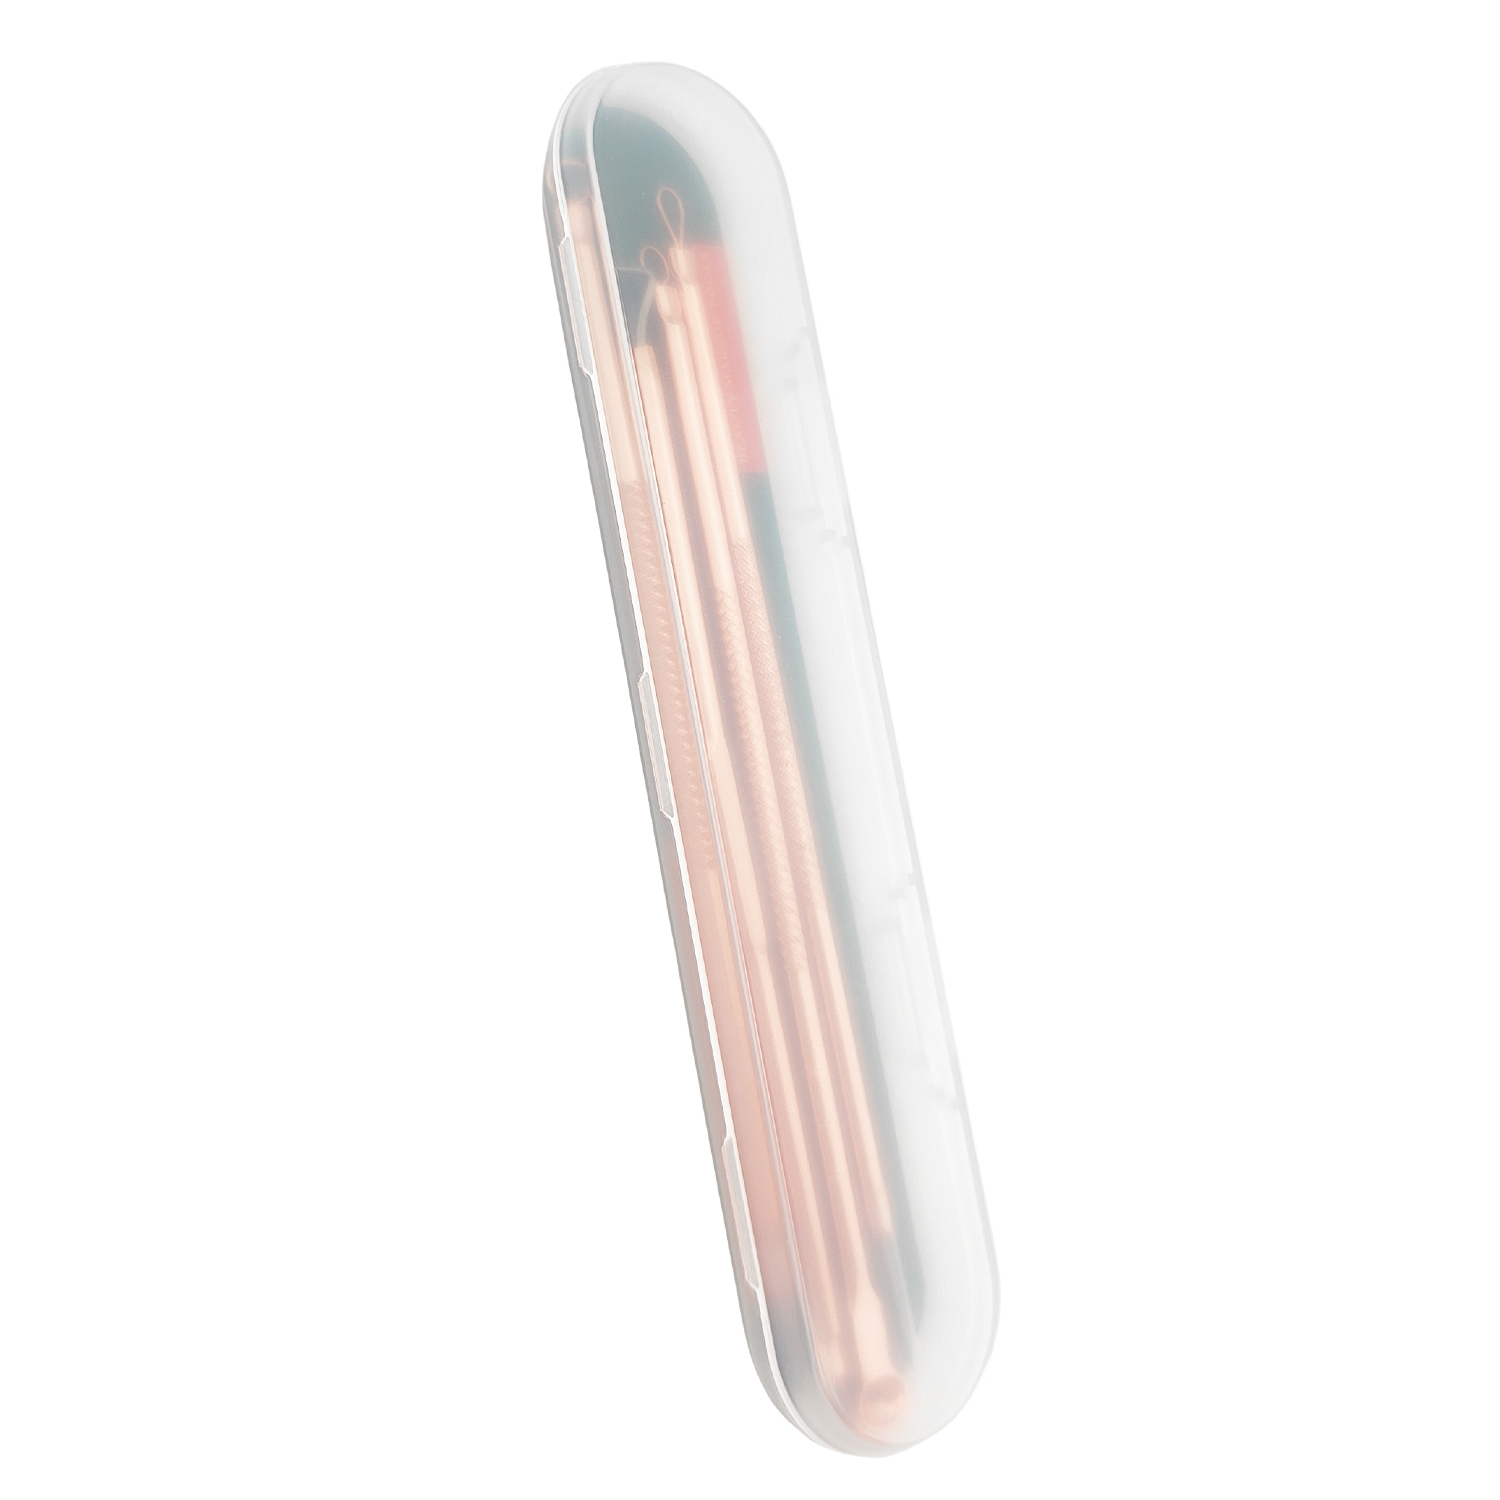
Ask the manufacturer to quote at least two packaging levels: a functional retail pack and a more premium set. Compare material, insert, print coverage, protection, packed dimensions, and labor. Confirm that sharp or pointed tools are restrained. Test whether a clipper lever or tweezer tip can move during transport. If the package uses a blister, card, box, pouch, or PU case, specify the exact fit and artwork revision.
Add a conversion path to the blog and product page. A helpful article should link to the related category, the exact product or set, the About page, and the Contact page. The call to action should ask for a brief, not pressure a visitor into an undefined “buy now.” A buyer who can send quantity, market, packaging, and logo details is more likely to become a qualified inquiry.
MOQ, tooling, and project economics
Private-label economics include more than unit price. List sampling, artwork setup, logo tooling or plates, molds, packaging components, inspection, cartons, freight, and payment milestones. Ask which costs repeat on replenishment and which are one-time. Separate the economics of a standard model, a coordinated assortment, and a new ODM tool.
MOQ may be driven by steel purchasing, color batching, coating, printed packaging, case production, or a new tool. A smaller quantity may be possible for a standard model but not for a custom color and printed case. Ask for a phased option: launch quantity, reorder quantity, and the point at which a custom component becomes economical.
Build a decision table rather than accepting a single number. For each option, show cost, MOQ, sample time, production time, packaging, differentiation, risk, and expected learning. This helps a brand choose a controlled first launch and reserve deeper tooling for a proven product.
Quality control for a private-label program
Incoming checks should verify material, components, color, packaging, and artwork identity. Process checks should cover forming, welding, heat treatment where used, grinding, polishing, surface treatment, assembly, pivot or spring behavior, and removal of burrs. Final checks should verify model, quantity, function, appearance, logo, pack, barcode, language, carton, and protection.
Agree on the test method before production. “Sharp” or “smooth” can mean different things to different inspectors. Define the cutting media, number of pieces, acceptance result, and recording method. For tweezers, describe tip contact and tension. For curlers, describe curve and pad contact. For facial tools, define safe edges and cleaning instructions. For sets, check every component and the case insert.
Keep a corrective-action path. If a lot fails, contain the affected output, identify the scope, investigate the process cause, decide on sorting or rework, and recheck the result. Update the work instruction or inspection sheet when the cause requires it. This is how a beauty tools manufacturer protects a brand beyond the first sample.
Common private-label mistakes
Starting with a logo instead of a user: the brand mark cannot rescue the wrong tool.
Launching too many SKUs: a focused family produces clearer learning and easier inventory control.
Changing color late: color and coating decisions affect sample approval, MOQ, and packaging photography.
Using the same copy for every model: a nipper, tweezer, and eyelash curler have different functions and care boundaries.
Ignoring repeat orders: record revisions, components, packaging, and change approvals before the first shipment.
Making health claims casually: facial and oral-care tools need careful, market-appropriate wording and instructions.
Plan your private-label beauty tools line
Share the customer profile, hero SKU, supporting products, target price, finish, logo, package type, quantity, destination market, and launch date. OLIMOR can then separate standard options from custom development questions.
Frequently asked questions
What is the difference between OEM and ODM for beauty tools?
OEM commonly means producing an agreed product under the buyer’s brand, often with customization. ODM generally involves more product or tooling development. The exact scope should be written into the project brief and quotation.
Can a private-label brand start with existing models?
Yes. Existing models with controlled logo, finish, and packaging changes are often a practical way to test demand. Confirm MOQ, sample approval, and which changes are genuinely available.
How many products should a first launch include?
There is no universal number, but a hero product, supporting items, and one set can create a focused learning program. The right mix depends on channel, budget, price architecture, and inventory plan.
What should be in a private-label brief?
Include target users, use environment, market, channel, product tasks, dimensions, materials, finish, logo, packaging, language, claims, quantity, timeline, price position, and inspection expectations.
Does custom packaging require a higher MOQ?
Often it can, because printed cards, boxes, inserts, and PU cases may have their own production minimums. Ask the supplier to separate standard and custom packaging quantities.
How do I protect my brand artwork?
Use controlled revisions, define approval ownership, state permitted use, and discuss tooling and file handling in the commercial agreement. Ask how artwork changes are recorded for repeat orders.
Can a manufacturer help with product combinations?
A broad catalog can support set planning, but the final assortment should be based on user tasks, price, case fit, packaging, and market requirements. Confirm current models and availability with OLIMOR.
Where do I request a quote?
Use the official Contact Us page. Include your brief so the response can address the correct product and customization level.
A strong private-label program is a sequence of decisions that remain visible: customer, function, product family, material, finish, logo, package, sample, inspection, and repeat order. When those decisions are documented, a partnership with a private label beauty tools manufacturer can become a durable product system rather than a one-off logo exercise.
From assortment architecture to a twelve-month roadmap
A private-label launch should leave room for a second purchase. Map the first twelve months before finalizing the first package. Quarter one may validate a hero clipper, tweezer, or brow tool. Quarter two may add a companion product and a travel kit. Quarter three may introduce a seasonal finish or retailer-exclusive set. Quarter four may use sales and return data to simplify the range or invest in deeper ODM development.
Give every SKU a role: traffic builder, margin contributor, routine completer, giftable set, professional option, or entry price. Products without a clear role create inventory and content work without strengthening the brand. A manufacturer with twelve categories can support a roadmap, but the buyer should control the commercial logic.
Create shared design rules: finish family, logo size, product naming, package grid, typography, care icons, photo angles, and instruction tone. Then define the exceptions required by function. A pointed tweezer needs a different warning from a foot file; a nipper needs different care from an eyelash curler. Consistency is useful only when it does not erase the real difference between tools.
Private-label packaging brief
Provide dielines or ask which standard structures are available. Mark the front hierarchy: brand, product name, primary task, quantity or set content, and one supportable benefit. On the back, reserve space for directions, care, warnings, materials, country-of-origin language, importer or responsible-party details where required, barcode, recycling information only when supported, and batch or traceability marks if used.
Ask for a plain unprinted sample of the pack before committing to artwork. Put the actual tool inside it. Shake, open, close, hang, stack, and photograph it. Check whether polished surfaces rub against the insert, whether pointed tools can migrate, whether a lever opens, and whether the customer can remove the item without injury or frustration. The package should protect the product without hiding the feature the customer needs to see.
For e-commerce, plan a second level of protection. The retail pack may look excellent on a shelf but fail in parcel fulfillment. Confirm the shipping configuration, inner carton, master carton, void space, and label placement. Record packed size and weight from a real sample. These details influence freight, fulfillment fees, image accuracy, and customer expectations.
Content package for the product launch
A productive OEM program prepares content at the same time as production. Request or plan front, back, side, working-end, scale, in-hand, package, and set-layout images. Record verified dimensions, weight, materials, care, and the supported functions. Create a short product answer, a detailed description, a comparison table, usage steps, care guidance, and frequently asked questions.
Keep the content file tied to the approved sample. If the handle, finish, case, tool count, or material changes, update the page before the order arrives. Many avoidable returns begin with a product that is acceptable but does not match the listing. This is especially important for pointed tips, curve, dimensions, pack color, and the number of pieces in a set.
For GEO, provide concise answers to buyer questions such as: What can be customized without new tooling? What changes affect MOQ? How are samples approved? What checks are used for the selected tool? How is a repeat order controlled? For SEO, use one main intent, descriptive headings, natural internal links, and a relevant meta title and description. Neither method benefits from unsupported superlatives.
Commercial handover checklist
Before the purchase order, confirm the legal entities, contact people, price basis, currency, quantity, payment, lead-time assumptions, quotation validity, Incoterm, delivery address, and documentation. Attach the specification, sample approval, artwork, packing instruction, and inspection plan. State how changes, delays, deviations, and failed inspections will be handled.
For tooling or original development, clarify design ownership, mold ownership, storage, maintenance, permitted use, confidentiality, exclusivity if any, and what happens at termination. For brand files, identify the approved artwork and restrict unapproved use. For test reports or certificates, state which party obtains them, who pays, what model and market they cover, and when they must be ready.
After shipment, collect customer feedback by cause: function, appearance, instruction, packaging, wrong expectation, transport, or misuse. Give the manufacturer structured evidence, not only a star rating. Use the findings to update the next specification, content, and inspection. That loop is where private label becomes a managed product program.