How to Clean an Eyelash Curler and Replace the Rubber Pad
An eyelash curler is used directly along the lash line, so it deserves more careful cleaning than many other beauty tools. Mascara, skin oil, eye cream, powder and adhesive residue can collect on the upper clamp, side arms and rubber pad. If the buildup remains, the curler may pinch, pull, create an uneven bend or transfer residue back toward the eye area.
The best routine is simple: wipe the tool after use, deep clean when makeup buildup appears, sanitize appropriately, dry it completely and replace the rubber pad when it loses its cushioning shape. This guide is useful for personal users, makeup artists, beauty retailers and B2B buyers comparing eyelash curlers within broader beauty tool products.
Why Cleaning an Eyelash Curler Matters
The rubber pad and the upper metal clamp are the most important areas to clean. The pad touches the lashes and often catches mascara. The upper bar presses directly into the pad, so residue can harden between the two contact surfaces. When that happens, the curler may stop closing evenly and may produce a sharp crease instead of a smooth lift.
Cleaning is also an inspection step. Once old mascara and powder are removed, it is easier to see whether the pad is cracked, deeply grooved, hardened or sitting crooked in its channel. It is also easier to notice whether the clamp aligns evenly with the pad. For retail teams and professional users, this matters because a demonstration tool or kit tool needs to feel clean, predictable and comfortable before it is used near the eye area.
For buyers, cleanability should be part of product selection. A practical eyelash curler should have accessible contact surfaces, a pad that can be removed and replaced without damaging the tool, and a hinge that opens and closes smoothly. These details affect daily usability as much as appearance.
What You Need Before Cleaning
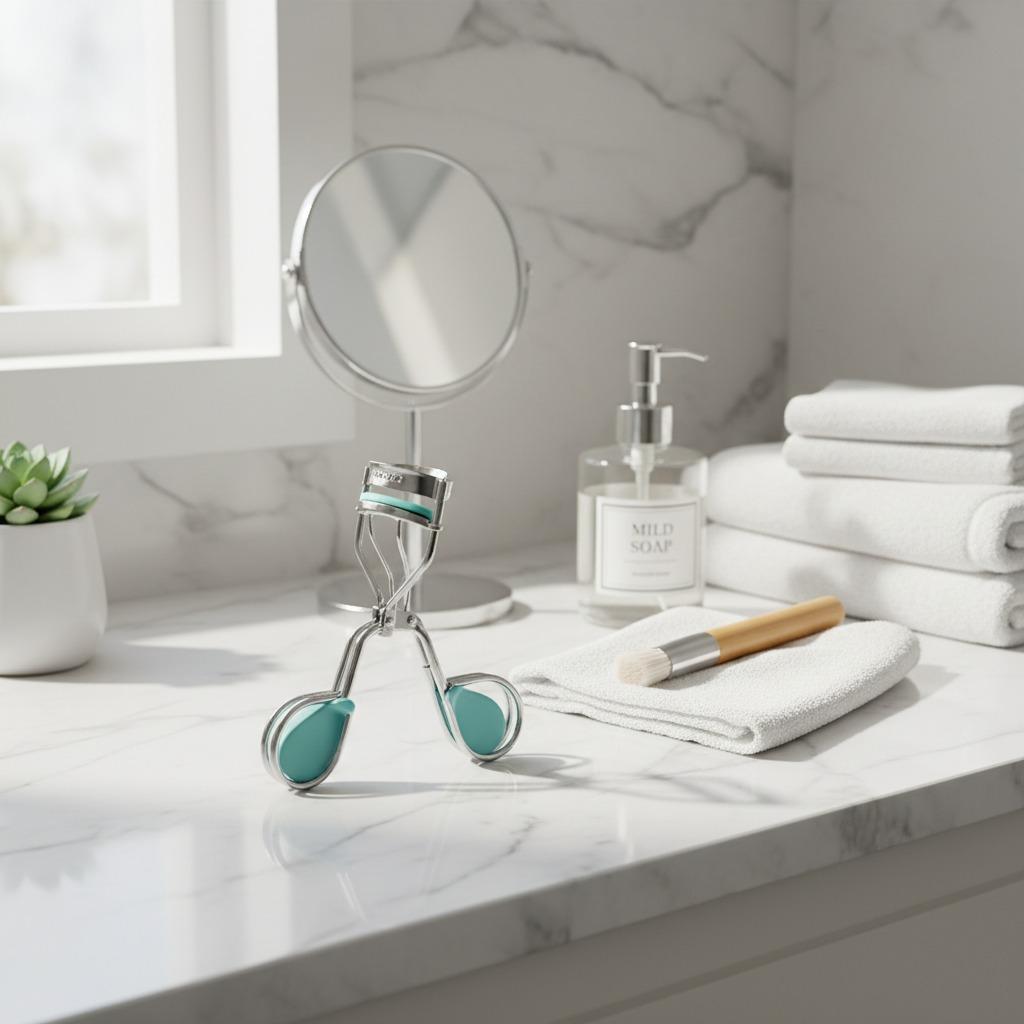
Use gentle supplies. The aim is to remove makeup residue without scratching the metal contact area, cutting the pad or leaving irritating cleaner near the eye area. Harsh household cleaners, blades, needles and abrasive pads are not suitable for routine eyelash curler maintenance.
- Soft lint-free cloth or clean microfiber towel
- Cotton swabs for the pad groove, clamp edge and side areas
- Warm water
- Mild fragrance-free soap
- 70% isopropyl alcohol wipes or alcohol applied to a cotton pad for sanitizing
- Small soft brush, such as a clean makeup brush, for dry residue
- Compatible replacement rubber pad when the current pad is worn
- Clean pouch or dry storage area after the tool is fully dry
Avoid soaking the entire curler for a long period. A short wipe is enough for everyday cleaning, while a controlled hand-clean with a damp cloth or swab is better for mascara buildup. Too much water around the hinge or pad channel can make drying harder and may leave residue in hidden spaces.
Daily Wipe-Down After Each Use
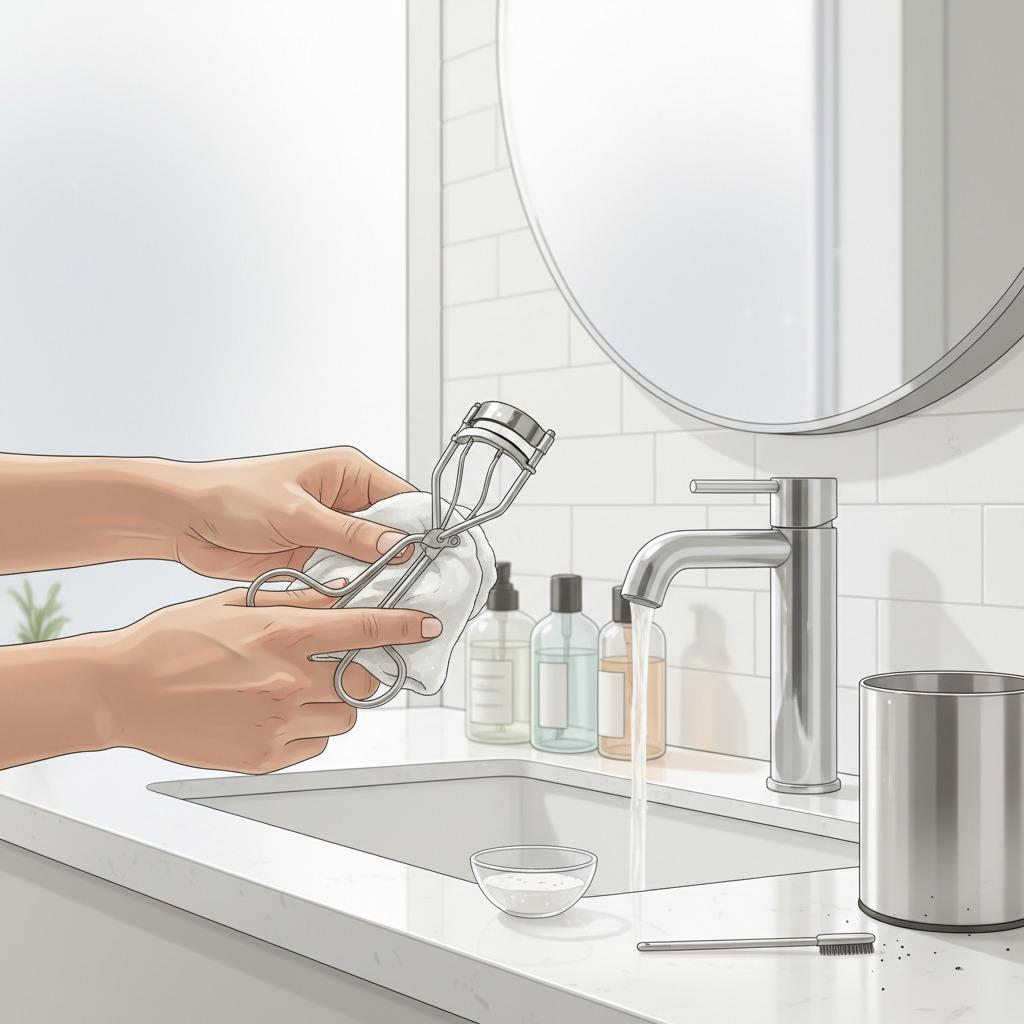
The easiest time to clean an eyelash curler is immediately after use, before mascara and skin oils dry. If the tool is used on bare lashes, a dry cloth may be enough. If it is used after skincare or makeup, use a slightly more careful wipe-down.
- Open the curler fully so the rubber pad and upper clamp are visible.
- Use a soft dry cloth to remove loose powder, oil or lash product.
- If mascara is present, dampen a cloth or cotton swab with warm water and a small amount of mild soap.
- Wipe along the rubber pad from one end to the other. Do not scrape the pad with a sharp object.
- Clean the upper clamp where it meets the pad, because residue often transfers to this line.
- Wipe again with a cloth dampened only with clean water to remove soap residue.
- Dry immediately with a clean towel and leave the curler open until it is fully dry.
This short routine prevents heavy buildup and helps the curler close more evenly. Many users prefer curling before mascara because it reduces sticky residue on the pad and lowers the chance of lashes adhering to the tool. If mascara is already on the lashes, use gentle pressure and clean the pad immediately afterward.
Deep Cleaning for Mascara Buildup
Deep cleaning is needed when the curler feels sticky, shows dark marks on the pad, closes unevenly or leaves a less consistent curl than usual. Start with dry removal before using moisture. A dry soft brush can loosen powder or old flakes without pushing water into the hinge.
Next, apply warm soapy water to a cloth or cotton swab and work slowly along the curved pad and the upper clamp. Rotate the swab as it picks up residue so old mascara is not spread back across the surface. For stubborn buildup, hold a warm damp cloth against the pad briefly to soften the residue, then wipe it away in small strokes.
Do not pull aggressively on the pad. Stretching, nicking or lifting the pad unevenly can affect how the clamp presses against the lashes. If residue is packed along the side arms or hinge, clean only where needed with a lightly dampened swab, then dry carefully. Lubricants or oils should not be applied near the lash-contact area unless the tool manufacturer specifically recommends them.
How to Sanitize an Eyelash Curler Safely
Cleaning removes visible residue. Sanitizing reduces microorganisms on the surface. For personal use, regular sanitizing is a practical habit, especially after travel, illness or contact with an unclean cosmetics bag. For shared, salon or retail demonstration tools, sanitizing should happen between users according to the hygiene rules of that setting.
Use a 70% isopropyl alcohol wipe on the metal contact areas and lightly over the rubber pad. The pad should be damp, not soaked. Allow the alcohol to remain on the surface briefly, then let the curler air dry in the open position. Do not put it into a pouch, drawer or retail demo kit while wet.
Avoid bleach, acetone and heavily fragranced cleaners. They can be too harsh for the pad and may leave residues that are uncomfortable near the eyes. In the United States, the FDA provides public information about eye cosmetic safety and the importance of avoiding contamination around the eye area. For professional or retail operations, always verify current local hygiene rules, product documents and any applicable versions of recognized standards rather than relying on assumptions.
When and How to Replace the Rubber Pad
The rubber pad is a wear part. It cushions the pressure between the upper clamp and the lashes, so its condition directly affects comfort and curl shape. A pad may look acceptable at a glance but still have a deep groove where the upper bar presses down. Once that groove is too pronounced, lashes can be bent too sharply or caught unevenly.
Replace the rubber pad when you notice any of these signs:
- A visible split, crack or cut in the pad
- A deep groove that remains after cleaning
- Hardening, flattening or loss of bounce
- Sticky residue that cannot be removed safely
- Uneven curl results even when technique has not changed
- Pinching or pulling that was not present when the pad was newer
- A pad that sits loosely, twists or no longer fits the channel evenly
To replace the pad, open the curler and gently lift the old pad from the channel. If it resists, ease it out from one end instead of digging into it with a sharp tool. Wipe the empty channel clean and dry it fully. Press the compatible new pad into place from one end to the other, making sure it sits straight and does not twist. Close the curler lightly once or twice to confirm that the upper clamp meets the pad evenly.
For businesses, replacement pad compatibility is commercially important. Retailers and distributors should confirm whether spare pads are available, whether they fit securely, and whether the supplier can support future replenishment or product-line consistency. A curler that looks attractive but is difficult to maintain can create more after-sales questions than a design with practical replacement parts.
Cleaning, Inspection and Replacement Checklist
The table below can be used by individual users, makeup artists, retail trainers or sourcing teams when checking eyelash curler condition.
| Check point | What to look for | Action |
|---|---|---|
| Rubber pad surface | Mascara, oil, powder, groove, crack or sticky residue | Wipe after use; replace if cracked, hardened or deeply grooved |
| Upper clamp | Dark transfer line, dried makeup or uneven contact with pad | Clean with cotton swab and check alignment after drying |
| Pad channel | Loose pad, residue under the pad or twisting | Remove pad only when needed, clean channel and refit compatible pad |
| Hinge and side arms | Powder, stiffness or trapped debris | Use a dry soft brush first; avoid excess water in crevices |
| Drying and storage | Moisture left on pad, hinge or inside pouch | Dry fully and store in a clean, dry place |
| Retail or kit readiness | Visible cleanliness, smooth operation and comfortable pad feel | Inspect before demonstrations or professional use; sanitize between users |
Storage Habits That Keep the Curler Cleaner
Good storage reduces cleaning work. Keep the eyelash curler in a dry place away from loose powder, damp towels, uncapped makeup and eyeliner shavings. If it travels inside a cosmetics bag, use a clean pouch so the pad does not collect foundation dust, pencil fragments or lint. Always let the curler dry fully before closing it into storage.
For professional kits, separate clean tools from used tools during the working day. A simple visual system, such as a clean pouch and a used-tool pouch, helps prevent accidental reuse before cleaning. For retail counters, demonstration tools should be easy to identify, easy to sanitize and stored in a way that protects the pad from dust and customer handling when not in use.
For buyers building an eye-tool assortment, storage and packaging are also product considerations. A curler should arrive protected enough that the pad is not compressed, distorted or contaminated before sale. When comparing designs in Olimor product collections, consider not only shape and finish but also how the item will be handled in warehousing, display, sampling and customer aftercare.
How to Choose an Eyelash Curler for Easier Maintenance
Cleaning performance is linked to design. Smooth contact areas are easier to wipe than complex surfaces that trap makeup. A pad that sits evenly in the channel is easier to inspect than one that shifts during use. A hinge that opens fully makes the clamp and pad more visible during cleaning.
B2B buyers often compare eyelash curlers on appearance, handle feel and packaging, but maintenance details should also be included. Ask whether the pad can be replaced easily, whether compatible spare pads are available, how the tool is packed to protect the contact area, and how quality checks are handled before shipment. Do not rely only on catalog photos; sample evaluation is useful for checking clamp alignment, pad fit, finish consistency and hand feel.
Recognized frameworks such as ISO 9001 for quality management may be relevant when evaluating a supplier’s management system, and consumer product rules such as the EU General Product Safety Regulation may be relevant depending on the target market. These references do not replace supplier documentation or market-specific compliance review. Always verify current versions, applicable obligations and any documents directly with the supplier before purchase or distribution.
Cost Factors for Retailers and B2B Buyers
The cost of an eyelash curler is not only the unit purchase price. Maintenance, returns, packaging, accessories and customer support all affect real value. A low-cost tool with an uncomfortable pad or poor pad availability may generate complaints even if the first impression is acceptable. A tool with practical cleaning access and a replaceable pad can be easier to support over time.
When evaluating cost, consider these factors:
- Material and finish expectations for the intended retail position
- Pad comfort, fit and replacement availability
- Clamp alignment and smooth hinge movement in samples
- Packaging that protects the pad during transport and display
- Customization needs such as color, finish, logo placement or retail packaging
- Inspection process and how nonconforming pieces are handled
- After-sales questions customers may ask about cleaning and pad replacement
For sourcing discussions, share the intended market, sales channel, packaging expectations and any customization requirements. This helps the supplier respond with relevant options instead of generic recommendations. You can contact Olimor for product-specific questions or send an inquiry when you are ready to discuss a beauty-tool order.
Common Cleaning Mistakes to Avoid
Do not use a needle, knife or metal scraper to remove mascara from the pad. Even a small cut can create an uneven pressure point that catches lashes. Do not soak the whole curler for a long period, because moisture can remain in crevices and make drying difficult. Do not store the curler while wet, even if the visible surfaces look clean.
Do not share a personal eyelash curler without cleaning and sanitizing it first. Do not assume sanitizing replaces cleaning; alcohol works best after visible makeup has been removed. Finally, do not keep using a worn rubber pad. Cleaning improves hygiene, but it cannot restore cushioning once the pad is cracked, deeply grooved, hardened or misshapen.
FAQ
Can I request samples before buying eyelash curlers in bulk?
Yes. Samples are useful for checking pad fit, clamp alignment, hinge smoothness, finish appearance, packaging and cleaning access before placing a larger order. Confirm sample availability and sample terms directly with the supplier.
Is there a fixed MOQ for customized eyelash curlers?
MOQ can depend on the product style, customization method, packaging choice and production plan. Ask for the current MOQ based on the exact eyelash curler design and customization requirements rather than assuming one number applies to all projects.
Can eyelash curlers be customized with logo or packaging?
Customization may be possible depending on the selected item and order details. Common discussion points include logo placement, finish, color, packaging format and retail labeling needs. Confirm feasibility, artwork requirements and approval steps before production.
How should buyers evaluate quality before shipment?
Useful checks include visual finish, pad seating, clamp alignment, hinge movement, cleanliness, packaging condition and compatibility of replacement pads. Buyers should agree on inspection expectations and required documents with the supplier in advance.
What affects lead time for eyelash curler orders?
Lead time can vary with product availability, customization, packaging, order quantity and inspection requirements. Ask the supplier for a project-specific schedule and confirm any artwork, sample approval or documentation steps that may affect timing.