

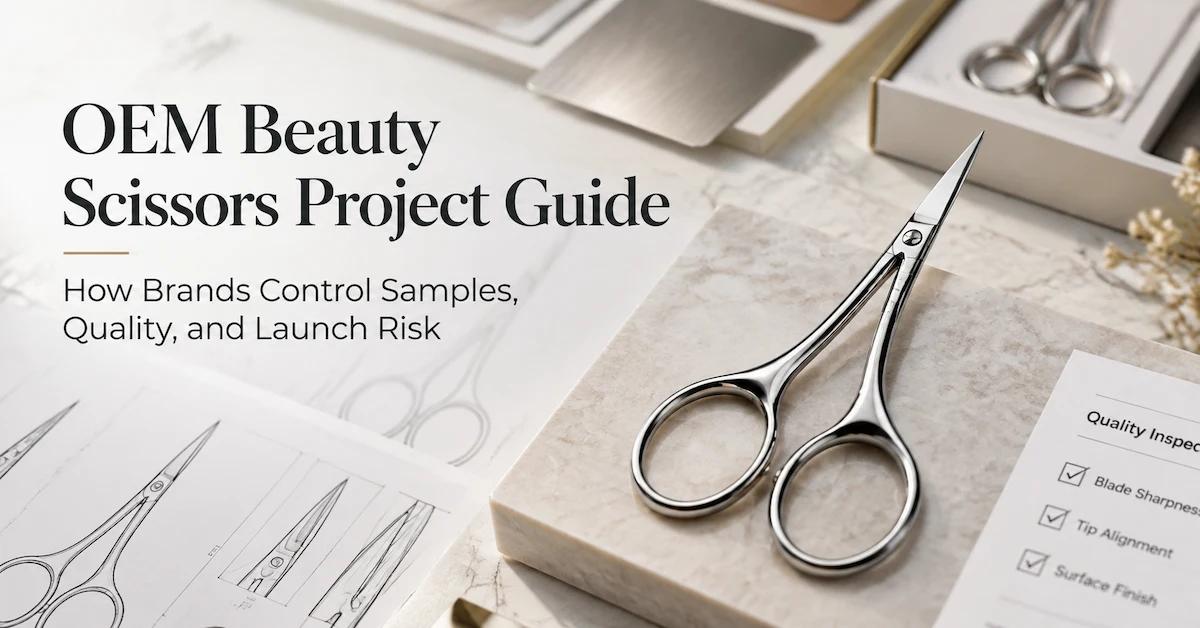
Introduction: the real OEM product is the controlled decision trail
A custom logo on a standard scissor can be useful private label, but it is not the full meaning of OEM. In an OEM beauty scissors project, the buyer brings controlled input: a physical reference, a drawing, dimensional limits, a blade concept, a handle direction, a functional requirement, or a defined retail configuration. The manufacturer's job is to review that input, identify risks, make a representative sample, build a repeatable production route, and preserve the approved result through finishing, packaging, shipment, and replenishment.
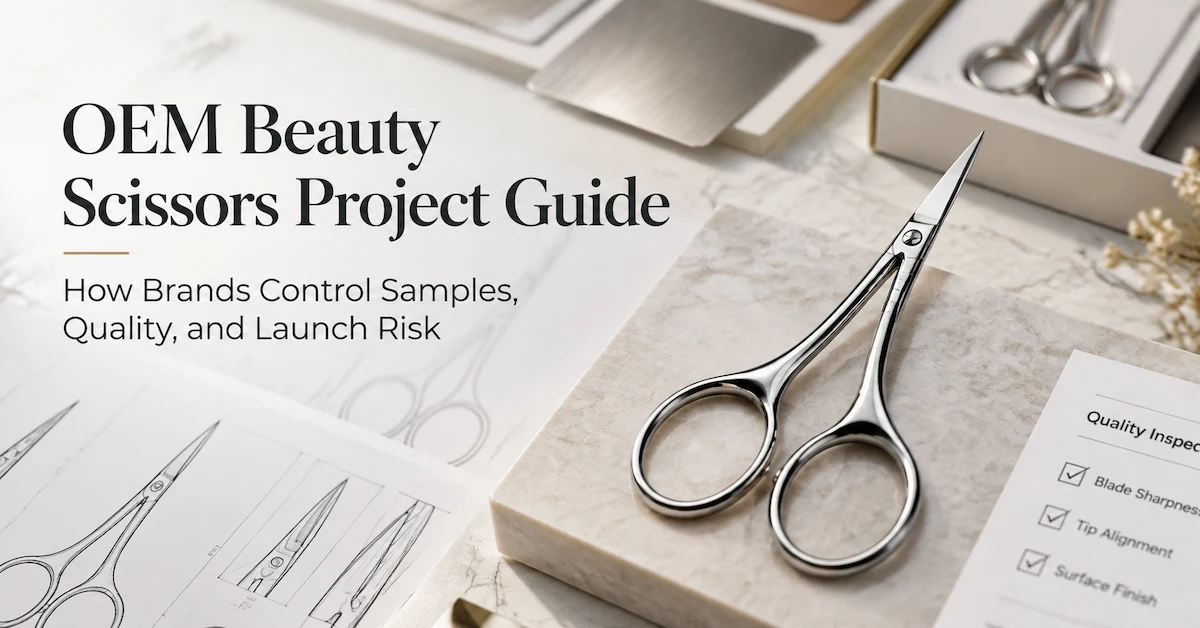
The tool looks simple because it contains few visible parts. Its performance depends on the relationship between them. Blade shape affects the cutting path. Tip geometry affects access and protection. Pivot setting affects blade contact and hand movement. Finger loops affect control. Surface treatment can affect appearance and sometimes assembly. Packaging can protect the approved product or damage it after final inspection.
This relationship creates commercial risk when teams approve features separately. Product development may approve a bare functional sample. Marketing may approve a colour proof. Packaging may approve a digital insert. Purchasing may approve a quotation based on a standard pouch. Production then receives several partial decisions that do not describe one saleable SKU. The result may be attractive but functionally different, functional but poorly protected, or correctly made but incorrectly labelled.
This guide treats the OEM project as a sequence of decision gates. It is written for beauty brands, importers, distributors, e-commerce operators, salon suppliers, and retailers that need brow, lash, facial-grooming, manicure, or compact beauty scissors. The focus is not finding a supplier that uses the most impressive adjectives. It is creating enough clarity for buyers and the manufacturer to identify, test, quote, release, and repeat the same product.
What are OEM beauty scissors?
OEM beauty scissors are manufactured to buyer-controlled requirements. Those requirements may include a reference sample, drawing, dimensions, blade profile, tip style, pivot concept, finger-loop geometry, component materials, finish, logo, packaging, inspection method, and customer-facing use statement. The OEM scope can range from adapting an existing platform to developing a substantially new configuration.
The word OEM should not be used as a promise that every part or process is completed inside one building. A responsible supplier should identify which operations apply to the selected SKU, which are performed internally, which are partner-managed, and who releases the final packed unit. Ownership and control matter more than a vague claim of complete in-house production.
OLIMOR BEAUTY supports OEM and ODM beauty-tool projects from drawings, physical samples, appearance concepts, and structural requirements. The company reports a 2011 company foundation and a factory established in 2017 in Yangjiang, Guangdong, China. Its confirmed capability list includes metal stamping, heat treatment, injection moulding, polishing, water deburring, assembly, and packaging, with in-process inspection and finished outgoing inspection. These are company capabilities; the applicable route must still be confirmed for each scissor model.
Buyers can review OLIMOR's beauty scissor category to identify starting directions. Product pages are useful references, but a listed size, material, finish, or image belongs to that particular model. An OEM specification should never generalize one SKU's data across the complete category.
1. Decide whether the project is really OEM, ODM, or private label
Teams often use OEM, ODM, and private label as if they are interchangeable. The useful distinction is how much product definition the buyer brings and how much development the supplier must perform. In OEM, the buyer usually controls more technical input. In ODM, the supplier proposes an existing platform or design direction for adaptation. In private label, the buyer often selects an established model and changes decoration, finish, package, or assortment.
The route affects cost, timing, evidence, and ownership. A new blade curve may require feasibility work, tooling, several sample rounds, new protection, and new inspection criteria. A logo change on an established platform may mainly require artwork, decoration proof, and packaging approval. Neither route is automatically superior. The correct choice depends on the differentiation the brand needs and the evidence already available.
Write the opening brief in three columns: fixed, preferred, and open. The target task, maximum size, or customer requirement may be fixed. A colour or finish may be preferred. The logo process, protector style, or pack construction may remain open for the supplier to recommend. This prevents a useful factory proposal from being mistaken for a requirement change.
| Route | Typical buyer input | Main development work | Key approval |
|---|---|---|---|
| OEM beauty scissors | Drawing, reference sample, dimensions, blade or handle requirement, functional brief | Feasibility, engineering translation, prototype, model-specific controls | Released functional specification and production-intent sample |
| ODM beauty scissors | User, task, market, price position, visual direction | Supplier platform selection and adaptation | Coded platform sample with approved modifications |
| Private-label beauty scissors | Approved model, brand assets, finish and pack direction | Decoration, colour, presentation, retail configuration | Final decorated and packed golden sample |
2. Convert search intent into a usable buyer brief
A brand may begin with a search for OEM beauty scissors, but the factory cannot quote the keyword. It needs a use case. State who will use the tool, what material or hair it will cut, where the work occurs, how often it will be used, how it will be stored, and where it will be sold.
“Compact curved brow scissors for an adult beauty retail line, used for occasional eyebrow touch-up and packed on a protective card” is a useful starting statement. “Premium precision scissors” is not. The first can guide blade length, curve, tip visibility, loop dimensions, protection, product copy, and sample testing. The second is a marketing ambition with no acceptance method.
Identify the channel. A hanging retail card needs stable product orientation and visible information. An e-commerce package needs parcel protection and factual product content. A travel kit needs secure retention and a compact case that does not press the tips. A salon range may prioritize repeated movement, hand feel, and reorder consistency.
Identify the target market and buyer responsibility as well. Product naming, warnings, labels, importer information, care instructions, and claim evidence can vary by destination and channel. The manufacturer can provide product and process information, but the brand and qualified advisers must determine the applicable market requirements.
3. Build a requirement hierarchy before asking for a price
Not every requirement has equal importance. Separate critical-to-function features from major commercial requirements and minor appearance preferences. Blade meeting, cutting action, unintended sharpness outside the working area, and model identity may be critical for one project. Pivot feel, logo position, and pack retention may be major. A small acceptable mark in a concealed package area may be minor. The actual classification must be agreed for the SKU.
Circle adjectives in the brief. Words such as sharp, precise, comfortable, durable, premium, smooth, and professional cannot be inspected without translation. Replace them with observable statements. “The selected material separates in the approved cutting region without folding under the agreed sample method” is more useful than “very sharp.” “No stick point is felt through the normal opening range compared with the approved reference” is more useful than “smooth.”
Create a requirement owner for each line. Product development may own blade and handle direction. Quality may own the inspection method. Marketing may own logo and customer copy. Packaging may own the insert and carton. Purchasing may own the quotation format and commercial assumptions. The manufacturer should identify its corresponding owner. This prevents an artwork approval from silently changing a product requirement.
| Requirement area | What to define | Evidence at approval | Owner question |
|---|---|---|---|
| User and task | Target user, cutting material, working area, frequency, storage | Task statement and review method | Who confirms the product is fit for the intended application? |
| Scissor geometry | Blade direction, tip style, size envelope, loops, pivot concept | Drawing, measurements, coded functional sample | Who controls the current revision? |
| Appearance | Material wording, finish, colour, logo, visible limits | Physical finish and decoration proof | Who approves colour and logo on the actual surface? |
| Packaging | Protector, insert, card or box, copy, barcode, carton | Complete packed sample and artwork release | Who verifies protection and printed identity? |
| Quality | Defect definitions, checks, records, release responsibility | Inspection plan and first-piece/final records | Who can stop or release production? |
4. Use design-for-manufacture review before freezing artwork
A design-for-manufacture review asks whether the requested product can be made and repeated through the proposed process route. It should happen before the buyer commits to photography, packaging dimensions, or printed claims. A shape that looks convincing in a rendering may be difficult to grind, assemble, adjust, decorate, or protect.
Ask the manufacturer to identify assumptions, open questions, risk features, tooling implications, sample stages, partner-managed operations, and the information needed from the buyer. If a blade curve changes, discuss cutting contact and tip protection. If finger loops change, discuss hand position and pack size. If a plastic insert is added, discuss moulding, colour reference, fit, assembly, and care wording.
Review the decoration surface early. A logo placed near the pivot may compete with hardware. A narrow curved handle may not reproduce fine artwork. A coating can change contrast or interfere with the planned logo method. Physical proof on the intended material and finish is more reliable than a digital mock-up.
Record each recommendation as accepted, rejected, or pending. If the factory proposes a change to improve manufacturability, the buyer should understand its effect on task performance, appearance, intellectual property, packaging, and public copy. The decision becomes part of the project history.
5. Freeze the product, decoration, and packaging as one release stack
Many OEM problems begin when teams believe the product is frozen even though finish, logo, or packaging remains open. Use one release stack with linked revisions. The product file should define geometry, components, material wording, functional checkpoints, and applicable measurements. The decoration file should define artwork, size, position, orientation, method, and colour. The packaging file should define protection, insert, copy, barcode, item count, and carton configuration.
A change at one level can affect the others. A thicker coating may influence pivot movement or blade contact. A new handle shape may require a larger insert. A moved logo may change the product photograph and artwork. A different protector may change the packed dimensions. The team should review downstream effects before accepting a change.
Give the release a revision and date. List the approved sample code, drawing, finish master, artwork filename, packaging dieline, inspection plan, and accepted deviations. Avoid relying on separate chat threads or unlabelled attachments. Production needs a single controlled view of the current product.
If a buyer must launch before every item is final, identify the open points and the decision deadline. Do not label an incomplete package “approved” simply to move the schedule. A transparent open-item list is safer than a false design freeze.
6. Design the sample ladder around project questions
One sample rarely proves the complete OEM SKU. A form sample can answer shape, size, blade direction, tip style, loop dimensions, and package envelope. A functional sample can answer blade meeting, cutting action, pivot movement, and hand control. A finish sample can answer colour, gloss, texture, and visible marks. A decoration proof can answer logo clarity and position. A packed sample can answer protection, identity, printed content, and component count.
Each sample should carry a model, revision, date, and purpose. The review sheet should state what is representative and what is temporary. A functional prototype may use a standard finish. A colour proof may use a non-functional display part. A package mock-up may use a dummy tool. These limitations are acceptable when they are visible.
Use coded samples where practical. Reviewers should perform the defined task before seeing supplier identity or commercial preference. Apply one method, collect observations, and compare several pieces. One carefully adjusted sample cannot establish production consistency.
Feedback should describe the observation and location. “Sample B shows resistance near the final third of closure; the approved test material folds at the tip; logo position is acceptable; insert allows handle movement” gives the factory actions. “Make it better” does not.
| Sample stage | Main question | What it can approve | What may remain open |
|---|---|---|---|
| Form sample | Is the product direction physically suitable? | Size, curve, tip, loops, pack envelope | Final material, finish, function, logo |
| Functional sample | Does the cutting system work for the defined task? | Blade meeting, pivot, cutting action, hand position | Colour, decoration, final pack |
| Finish/decorated sample | Does the appearance match the brand direction? | Finish, colour, logo, visible surface | Production consistency and shipping protection |
| Packed sample | Is the saleable SKU correct and protected? | Protector, insert, artwork, item count, identity | Lot-level production evidence |
| Golden sample | What reference controls production and repeat orders? | Complete approved configuration linked to released files | Only documented deviations or future approved changes |
7. Approve cutting performance with a task-relevant method
Beauty scissors may be intended for brows, facial hair, moustache detail, lash-related cosmetic material, manicure use, or another defined task. The test material and review method should correspond to the public use statement. Cutting paper can reveal some edge behaviour, but it does not prove performance on every grooming material.
Watch the blades through the closing movement. Identify where contact begins, whether it travels as expected, and whether the test material slips, folds, tears, catches, or separates. Record the cutting region, hand position, sample condition, and result. If the project needs a numerical value, define the instrument, fixture, conditioning, and acceptance limits with qualified technical owners.
Inspect tips open and closed. Check position, visible symmetry, outside edges, and relationship to the protective cap. Pointed tips may improve access but need stronger handling and packaging controls. Rounded tips change the approach but do not automatically prove suitability for babies, children, or another special population.
Separate edge feedback from pivot feedback. Excess resistance can be caused by pivot setting, blade contact, geometry, finish, contamination, or assembly. “Not sharp” is too broad. The more clearly the observation is recorded, the more efficiently the supplier can investigate the relevant process.
8. Treat the pivot and finger loops as functional components
The pivot maintains blade relationship and influences hand movement. Too much free play can reduce control. Too much resistance can fatigue the hand or create uneven closure. The appropriate setting depends on model geometry, intended task, handle design, and user expectation.
Open and close coded samples with the same grip. Note initial resistance, smoothness, stick points, sound, tip play, and whether the setting changes after repeated movements. If the pivot is screwed, riveted, pinned, or constructed another way, identify the current design and whether it is intended to be adjusted after assembly.
Finger-loop dimensions, internal edge, spacing, handle angle, inserts, and surface texture affect control. Have relevant users perform the actual movement, not simply hold the tool. Record visibility, pressure points, stability, and grip shift. Keep subjective comfort notes separate from measured dimensions.
A design can be acceptable for occasional retail use and unsuitable for repeated professional work, or the reverse. The target user and session pattern should remain visible in the specification. Avoid universal ergonomic claims based on a small internal review.

9. Confirm material wording and finish without overclaiming
“Stainless steel beauty scissors” is a category statement, not a complete technical record. Ask for the material of blades, pivot hardware, handles, plastic inserts, and protector where relevant. If a specific grade or performance claim matters, request evidence linked to the selected model or material batch.
Do not infer alloy grade, hardness, heat-treatment condition, corrosion performance, or cleaning resistance from the word stainless steel. Hardness data is meaningful only when the method, location, sample condition, and range are defined. This guide deliberately does not invent a grade or number.
Finish should be controlled separately. Polished, satin, coloured, patterned, coated, plated, or mixed-material designs can affect appearance, logo contrast, grip, assembly, care wording, and package contact. Approve the finish on the actual geometry under relevant lighting. Check gloss, colour, texture, marks, residue, and contact points.
OLIMOR's SXS5005 beauty scissors reference and SCB3057 beauty scissors reference can help a buyer discuss curved and pointed product directions. Their live-page information remains specific to those models. OEM material, finish, logo, function, and packaging should be approved for the project sample.
10. Make logo approval a physical product decision
Beauty scissors offer limited decoration area. A logo can sit near the pivot, along a blade or handle, or on a plastic component, depending on model and method. The brand should provide vector artwork, intended size, orientation, colour, preferred method, and a revision code. The manufacturer should review feasibility on the selected material, curvature, and finish.
Evaluate the physical proof for line clarity, fill, contrast, position, distortion, surface damage, and visibility in the package. Examine the mark from product-photo, shelf, and use positions. A logo hidden by the insert or by the user's fingers may not serve the intended branding purpose.
Do not describe decoration as permanent, scratch-proof, or chemical resistant without a relevant method and result. If abrasion performance matters to the brand, define the contact condition and evidence expected. Keep the approved proof with the release package.
For a family of scissors, create a brand-placement rule rather than forcing an identical logo size onto different shapes. Define clear space, orientation, relative scale, and approved exceptions. This can improve visual consistency without compromising a small or curved surface.
11. Engineer the final package around blade and tip protection
A functional scissor can reach the customer damaged if the pack allows tips to strike the carton, blades to open, or surfaces to rub. Packaging is part of product quality, not a decoration added after final inspection. Develop the cap, pouch, blister, tray, insert, or box around the production-intent geometry.
Remove and replace the tool several times. Check tip clearance, blade restraint, pivot pressure, finish contact, logo visibility, and the user's ability to return the tool to storage. For a kit, verify that scissors do not move against tweezers, nail clippers, files, or nippers. Close the case with all components loaded.
Review printed content against the released SKU. Product name, intended task, material wording, finish, item count, warnings, care instructions, languages, barcode, and importer details should be correct for the project. A copy error can create a market problem even when the product is made correctly.
Packaging changes can affect carton quantity, freight volume, pallet pattern, artwork, and unit economics. Link the current pack revision to the quotation and golden sample. A supplier comparison is not valid if one price includes a fitted box and another assumes a simple pouch.
12. Translate the golden sample into a quality control plan
A golden sample is useful only when the factory and buyer know what it controls. Connect it to the drawing, measurements, material wording, finish reference, logo file, packaging files, task method, and accepted deviations. Protect it from casual cutting, sharpening, adjustment, or display use.
Build inspection around customer-visible failures and production risk. Possible checks include model identity, component identity, dimensions, blade and tip relationship, pivot movement, handle edges, finish, colour, logo, cutting task, protector, package contents, artwork, and carton marks. The actual plan depends on the model and project.
Place checks at useful stages. Incoming review can verify material and component identity. First-piece approval can verify the assembled direction before a run continues. In-process inspection can detect drift. Finished inspection can verify function and appearance. Packed-unit inspection can verify protection and retail identity.
Ask how nonconforming pieces are marked, separated, reviewed, corrected, and rechecked. Sorting can contain one shipment, but a repeated program also needs cause review and change control. Avoid zero-defect or 100-percent-perfect promises. A transparent control and correction process is more credible.
| Control stage | OEM beauty scissors question | Possible evidence | Release decision |
|---|---|---|---|
| Incoming | Do components and stated materials match the released identity? | Incoming record, supplier document, component code | Accept, hold, or investigate |
| First piece | Do blade, tip, pivot, loops, finish, and logo match the reference? | First-piece report linked to model and revision | Run, adjust, or stop |
| In process | Are function and appearance remaining stable? | Patrol record with observation and disposition | Continue, contain, or correct |
| Final tool | Does the completed tool meet functional and visual requirements? | Finished inspection record | Accept, sort, rework, or reject |
| Packed unit | Are product, protector, artwork, count, and carton correct? | Pack release and outgoing inspection record | Release or correct packing |
13. Make supplier responsibility visible
An OEM project can involve the brand, importer, factory, component suppliers, finishing partners, packaging vendor, inspection provider, and logistics team. Problems arise when everyone assumes another party owns a decision. Create a simple responsibility matrix for each project stage.
The buyer may be accountable for intended use, claims, destination requirements, brand artwork, and commercial approval. The manufacturer may be responsible for feasibility, applicable process control, sample production, assembly, internal inspection, and packing. A packaging vendor may supply a dieline or print. A qualified third party may review a specific test or market requirement. Assign one accountable owner even when several parties are consulted.
Ask who can approve a deviation. A production operator should not silently substitute a protector because the specified cap is unavailable. A salesperson should not change a blade description to fit a customer request without technical review. A buyer should not approve a colour change without checking artwork and photography implications.
Document escalation. Identify who is contacted when a sample fails, artwork conflicts with geometry, packaging damages the finish, or production differs from the golden sample. Timely escalation protects both schedule and product integrity.
14. Compare quotations for the same saleable configuration
A useful quotation names the model, revision, blade and tip direction, component materials, finish, colour, pivot, handle, logo, protector, retail package, inner pack, carton quantity, inspection scope, quantity, currency, trade term, destination assumptions, and validity. Open decisions should be labelled rather than filled by supplier assumptions.
Separate one-time charges from recurring unit cost. Development, tooling, artwork, logo plate, colour setup, samples, testing, or special inspection may not repeat with each order. Ownership, storage, maintenance, and future access to tooling should be written where relevant.
Ask how MOQ applies. It may be per model, finish, colour, logo, package, or combined order. MOQ depends on product platform, material, process batch, tooling, decoration, packaging, and configuration. No universal figure responsibly describes every OEM beauty scissors project.
Request schedule milestones rather than one unsupported lead-time promise. Feasibility, tooling, prototype, functional approval, finish proof, decoration proof, packaging approval, material preparation, production, inspection, packing, and dispatch may each depend on buyer decisions. Define the event that starts each stage.
| Quotation line | What the buyer should normalize | Why it matters |
|---|---|---|
| Product configuration | Same model revision, geometry, components, finish, and logo | Prevents comparison of different tools |
| Packaging | Same cap, insert, box or card, print, inner pack, and carton | Packaging can materially change cost and protection |
| One-time charges | Development, tooling, artwork, sample, testing, setup | Separates launch investment from reorder economics |
| Quality scope | Checks, records, inspection party, sample basis | A unit price without quality scope is incomplete |
| Trade assumptions | Currency, term, named place, destination, validity | Makes total commercial comparison more reliable |
15. Protect intellectual property and revision ownership
Before sending proprietary drawings or samples, decide which information is confidential and what agreement is appropriate. Mark controlled files, use revision codes, and limit distribution to the people who need them. A confidentiality agreement does not replace clear ownership language for drawings, tooling, artwork, samples, and improvements.
Record who owns buyer-supplied work and who owns supplier background know-how or standard platforms. If the manufacturer proposes a change, document whether it becomes part of the buyer's released design, remains a supplier platform feature, or requires a separate agreement. Avoid assumptions.
File names should identify the product and revision. “Final-final-logo-new” is not a control system. Keep an approved-file register and archive obsolete versions so they cannot return to production. The physical sample should carry the same revision as the digital release package.
When a project is discontinued, define the treatment of buyer-owned tooling, unused packaging, printed labels, and confidential files. These commercial terms should be discussed before a dispute arises.
16. Use a pilot order as a system test
A pilot order should test production, inspection, packaging, warehouse handling, and customer presentation together. It is not simply a smaller commercial order. Review several pieces across the lot rather than repeating the original sample check on one unit.
Give packed units to purchasing, quality, merchandising, warehouse, and customer-service colleagues. Ask them to identify the model, finish, logo, barcode, pack contents, instructions, and carton reference without reading factory messages. Confusion can reveal naming, artwork, or traceability problems.
Observe opening and storage. Do tips remain protected? Does the finish rub? Does the insert release the tool without force? Does the package communicate the correct task? Does the outer carton support the retail pack? Does the website describe the same version?
Close pilot actions by revision. Update the product file, inspection plan, artwork, pack drawing, or customer copy as needed. Accepted exceptions should be documented rather than forgotten. The final production release should reflect what the pilot taught the team.
17. Control repeat orders before production restarts
Replenishment can drift when materials, components, equipment, partners, or packaging vendors change. Before production, ask the supplier to confirm whether any source, process, tool, pivot part, plastic insert, surface finish, logo method, protector, artwork, or carton arrangement differs from the released order.
Not every change requires full redevelopment, but every change deserves an impact review. Decide whether it can affect cutting action, hand feel, appearance, packaging protection, public claims, evidence, or cost. Define which events trigger a new sample, first-piece review, finish proof, pack test, or document update.
Keep a retained sample and the current release package. Compare the new first piece with the reference before volume production proceeds. If the original finish master or component becomes unavailable, approve a replacement openly rather than allowing an invisible substitution.
Track customer complaints by model, revision, order, and failure description. “Scissors bad” is not useful. A record such as “pivot resistance increased after repeated movement on order revision C” gives the project team a starting point for investigation.
18. What should the first OEM beauty scissors inquiry include?
A good inquiry makes it possible for the manufacturer to ask technical questions rather than guessing. Include the buyer type, target market, sales channel, intended user, grooming task, reference model or drawing, blade and tip direction, size envelope, handle concept, material request, finish, colour, logo artwork, packaging direction, quantity range, destination, launch window, and required evidence.
Mark fixed, preferred, and open points. If blade direction is open, ask the supplier to propose two or three platforms for one task. If packaging is conceptual, describe the protection and channel rather than inventing dimensions. If a test requirement is uncertain, explain the customer concern and request a proposed method.
Request a written list of assumptions. Ask which operations apply to the model, which are internal, which are partner-managed, what the sample will represent, and which decisions drive MOQ, cost, and timing. This list becomes the first version of the project risk register.
Use the OLIMOR contact page to send the intended task, reference, finish, logo, package, quantity range, and destination. The more specific the brief, the more useful the feasibility response and quotation can be.
Frequently Asked Questions
What are OEM beauty scissors?
They are beauty scissors produced to buyer-controlled requirements such as a drawing, reference sample, blade direction, handle concept, finish, logo, package, or performance brief. The exact OEM scope should be stated in the released specification.
How does OEM differ from private label beauty scissors?
OEM normally involves more buyer-controlled product definition or structural development. Private label often uses an established platform with brand, finish, colour, or package changes. Both need functional and packed-sample approval.
How should a brand start an OEM beauty scissors project?
Start with the user, task, market, channel, reference product, fixed requirements, open decisions, quantity range, package direction, and evidence needs. The manufacturer can then review feasibility and propose sample stages.
What should a beauty scissors specification include?
Include model name, revision, task, geometry, dimensions, materials by component, finish, colour, pivot and handle details, functional checkpoints, logo, protector, retail package, artwork, inspection requirements, and approval status.
What should an OEM sample prove?
Samples should prove form, blade and tip geometry, cutting action, pivot movement, hand feel, material wording, finish, logo, packaging fit, product identity, and the controls needed to reproduce the result. Use multiple stages if one sample cannot represent everything.
How should beauty scissors cutting performance be checked?
Use a material and method relevant to the stated task. Record blade region, sample condition, hand position, contact movement, and whether material slips, folds, tears, catches, or separates. Do not use one unrelated demonstration as universal proof.
Can an OEM manufacturer add a custom logo?
Logo options depend on the selected material, geometry, finish, area, and method. Provide vector artwork and approve a physical proof for clarity, contrast, position, orientation, surface effect, and package visibility.
What is the MOQ for OEM beauty scissors?
MOQ depends on platform, geometry, materials, process batch, finish, logo method, tooling, packaging, variants, and order configuration. Request the minimum tied to the complete written SKU.
How much do OEM beauty scissors cost?
Cost depends on development, blade and pivot design, materials, finish, handle components, decoration, packaging, inspection, quantity, and trade assumptions. Separate one-time charges from recurring unit price and compare the same configuration.
How long does an OEM project take?
Timing depends on feasibility, tooling where needed, sample rounds, buyer approvals, material preparation, finishing, decoration, packaging, production, inspection, and dispatch. Request milestones rather than relying on a universal duration.
What is a golden sample?
A golden sample is the approved physical reference for the saleable configuration. It should be linked to the current drawing, material wording, finish, artwork, package files, inspection plan, and accepted deviations.
How can a brand keep repeat orders consistent?
Keep the released specification, golden sample, material and finish references, artwork, packaging files, inspection plan, deviations, and change history. Require disclosure and impact review before any component or process change.
What documents should buyers request?
Request documents relevant to the exact project, such as the current specification, drawing, approved sample record, artwork release, packaging file, inspection plan, production and outgoing records, material information, and shipment documents. Verify scope and product identity.
Final decision: launch the file set and the product together
A scalable OEM beauty scissors program is not built around one attractive sample. It is built around a connected release: buyer brief, feasibility decisions, product specification, functional method, finish and logo proof, packed golden sample, quality plan, quotation, pilot findings, and change history. Each document points to the same model and revision.
That discipline improves conversion as well as quality. A buyer can send a clearer inquiry, the manufacturer can answer with fewer assumptions, commercial teams can compare like with like, and the final web page can describe the actual product. When the order repeats, the team has a reference for deciding whether a proposed change is acceptable.
OLIMOR BEAUTY supports beauty-tool development from drawings, samples, appearance concepts, and structural requirements. Buyers can review the company background, explore beauty scissor options, and submit a project brief through the contact page.
Tag:
Related articles
- Beauty Tools Sourcing Guide
- OEM & Private Label
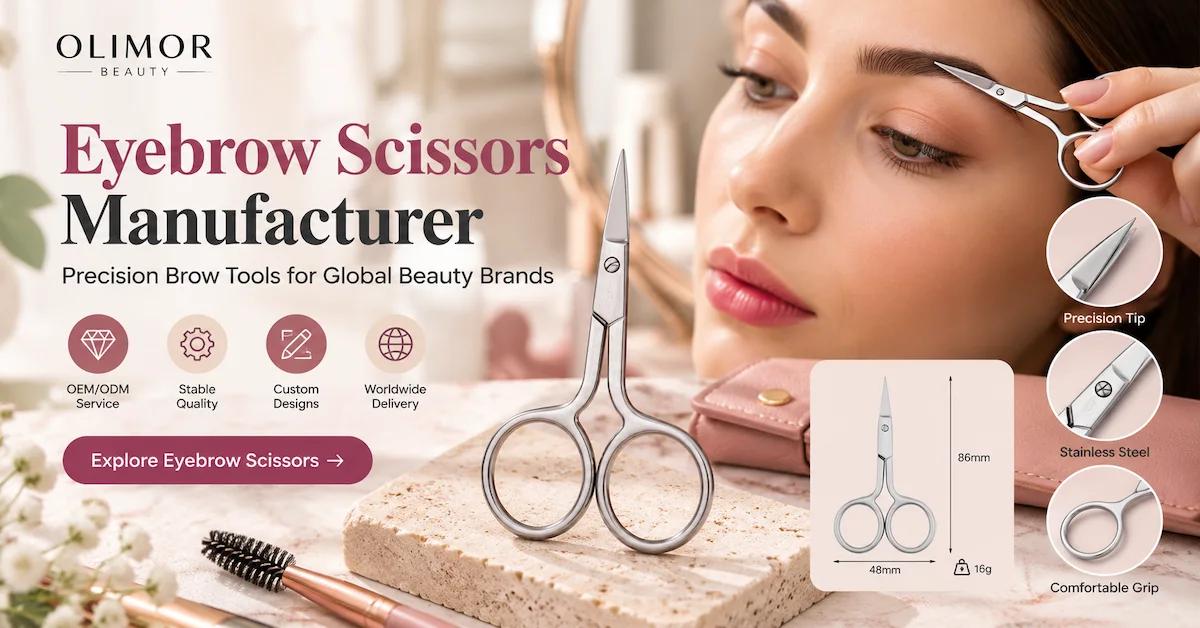
Eyebrow Scissors Manufacturer: Building Retail-Ready Brow Tools That Customers Understand
- Beauty Tools Sourcing Guide
- OEM & Private Label
Beauty Scissors Manufacturer China: How to Qualify Brow Scissor Designs for OEM Retail Programs
- Beauty Tools Sourcing Guide
- OEM & Private Label