

Nail Clipper Types and Ergonomics: A B2B Buyer Guide
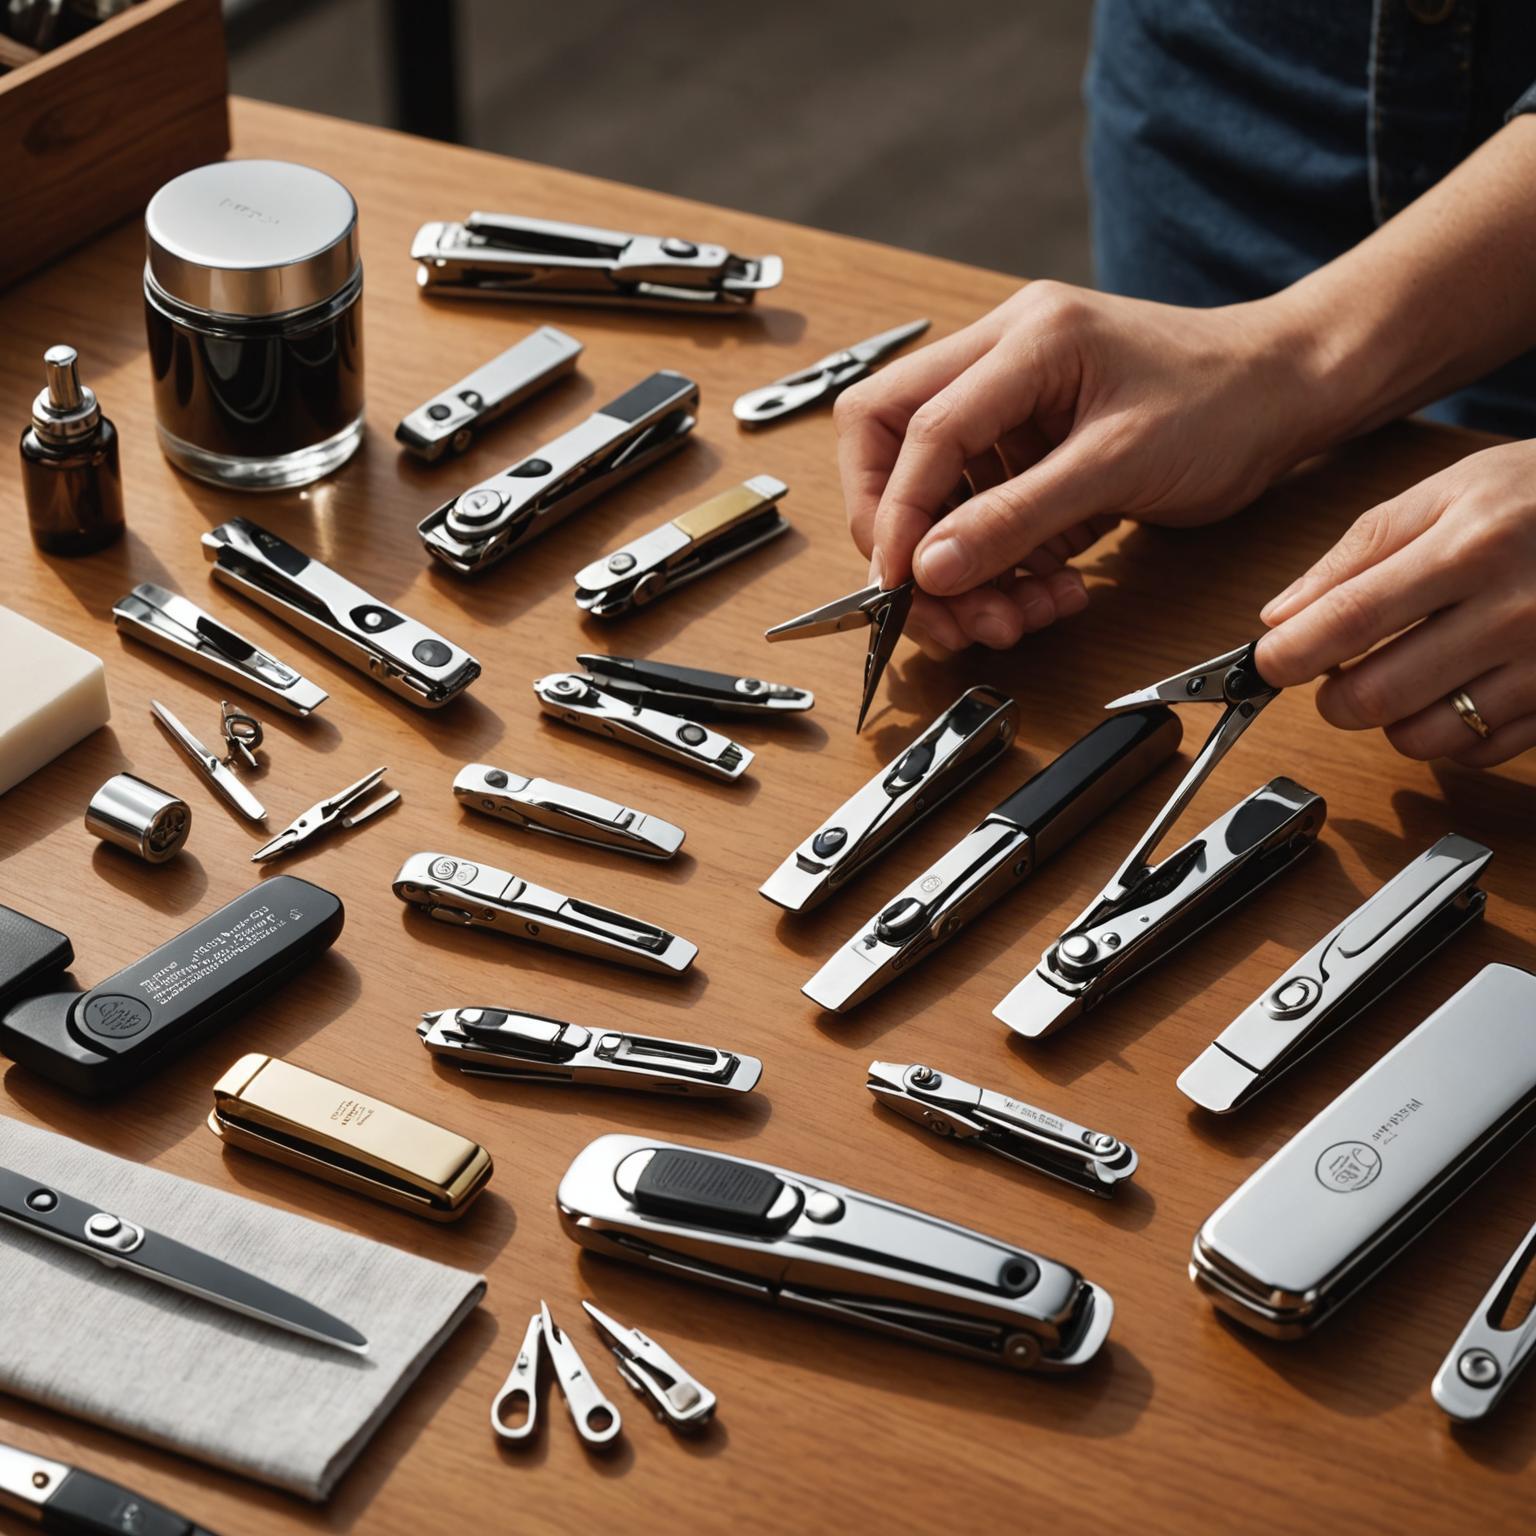
Nail clipper types should be compared by the nail and user they are intended to serve, not by appearance or a broad "premium" label. B2B buyers should define cutting geometry, leverage, grip, operating force, finish and packaging before choosing a format for a retail or professional range.
The best choice is the format that meets a documented use case consistently across approved samples. A decorative finish cannot compensate for poor edge contact, an unstable lever or a body that is difficult for the intended user to control.
Start With the Nail and User
Define the intended nail type, user and sales channel before reviewing designs. A compact fingernail clipper for a travel set, a larger toenail clipper for home grooming and a plier-style tool for a specific heavy-duty use do not have the same geometry or handling requirements.
The brief should state:
- intended nail type and approximate working range;
- home, travel, salon or gift-set use;
- expected grip and operating motion;
- standalone, kit or counter-display packaging;
- cleaning and storage instructions required for the market;
- branding and appearance requirements that must not affect function.
Avoid medical or therapeutic positioning unless the product and its claims have been reviewed for the destination market. A beauty tool should not be presented as treating a nail condition without appropriate evidence and regulatory review.
Compare the Main Formats
Product names vary by market, so define the physical format instead of relying on a label alone.
| Format | Typical buyer question | Sample points to compare |
|---|---|---|
| Compact lever clipper | Does it fit a travel or fingernail program? | Blade curve, lever travel, grip area and pack space |
| Larger lever clipper | Does the body and opening suit the intended toenail use? | Opening, leverage, body stability and cutting contact |
| Wide-jaw or specialty lever format | Is the geometry matched to the stated use case? | Jaw profile, access, edge meeting and user control |
| Plier- or nipper-style format | Does the handle and spring support controlled operation? | Jaw alignment, pivot play, spring response and tip protection |
| Kit-specific clipper | Does it work within the complete set? | Tool function, retention, removal and contact with other tools |
This table is a sourcing framework, not a statement that every Olimor SKU is offered in every format. Confirm the available formats, dimensions and intended-use guidance for the shortlisted products before approval.
Review Cutting Geometry as a System
The two cutting edges, body, pin and lever work together. Buyers should inspect the closed edge from more than one angle and compare several units. Look for a visible gap, lateral offset, chipped area, burr or a contact pattern that changes across samples.
Blade opening and curve should be matched to the intended job. A larger opening is not automatically better: the user still needs visibility and control, and the edges must meet correctly under load. Record the test medium, method and acceptance result used for sample approval.
Do not assign a steel grade, hardness value or cutting-life claim from the product category alone. Request documentation for the selected SKU and write the agreed value into its controlled specification.
Evaluate Ergonomics With Real Motions
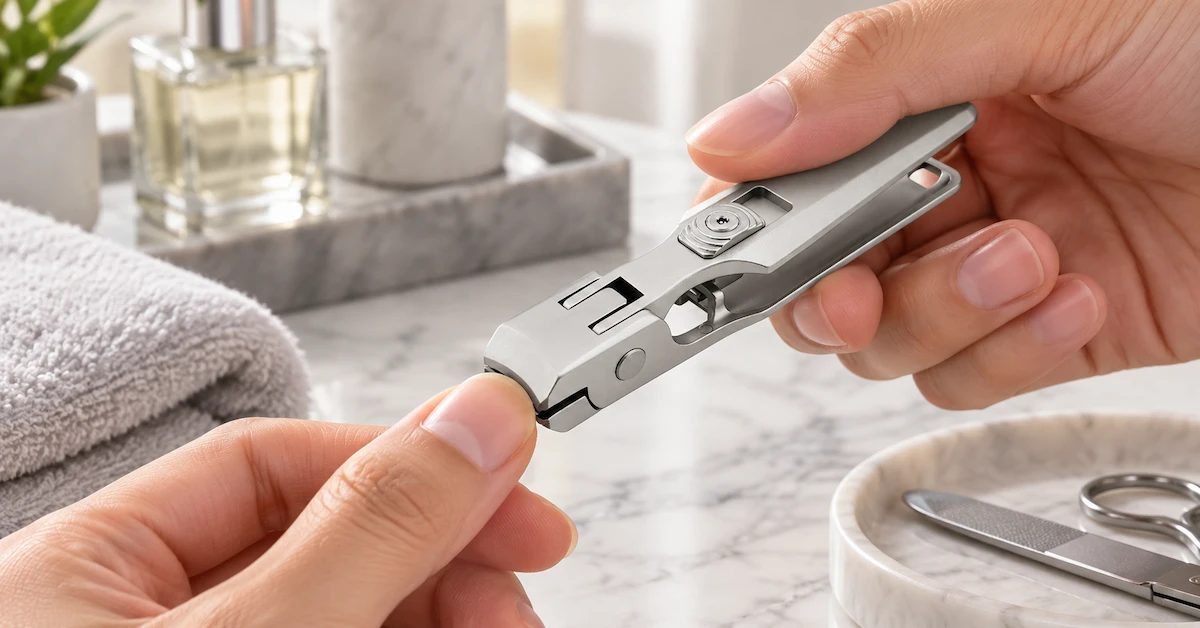
Ergonomic nail clippers should be tested in the hand, not selected from a rendering. Ask representative users to open the lever, position the tool, complete the intended motion and release it repeatedly. Record observations against the exact sample revision.
Useful comparison points include:
- grip security with dry hands under the intended use conditions;
- lever reach and travel;
- operating force and how smoothly it builds;
- visibility of the cutting area;
- sharp corners or rough transitions outside the cutting edge;
- unwanted movement at the pivot or pin;
- ease of cleaning and drying around joints.
Hand size and mobility differ, so one tester's preference should not become a universal claim. Use a small user panel and document the target audience represented.
Treat Premium Design as a Controlled Specification
"Luxury" and "premium" are positioning words, not inspection criteria. Translate the desired market position into attributes a supplier and inspector can compare.
| Positioning goal | Specification question | Approval evidence |
|---|---|---|
| Refined appearance | What finish, color range and visible-surface standard apply? | Approved range sample under defined lighting |
| Comfortable operation | What lever travel, grip area and motion are acceptable? | User test record tied to the sample |
| Gift-ready presentation | How is the product held and protected? | Complete packed sample and pack specification |
| Private label identity | Where will the mark sit and how is artwork controlled? | Marked sample and approved artwork file |
| Consistent range | Which attributes must match across sizes or SKUs? | Assortment board and SKU-level checklist |
A heavier tool is not automatically more durable, and a mirror-like finish does not prove cutting quality. Keep functional and appearance approval as separate gates.
Build a Sample Matrix
Compare products on the same controlled checklist. A useful matrix has one row per SKU and columns for intended use, dimensions, blade opening, edge contact, lever action, grip notes, material evidence, finish, marking, package and unresolved questions.
Use more than one sample per proposed SKU. A single hand-selected unit cannot show variation. Label every sample and retain the approved production reference after the functional, appearance and packaging decisions are complete.
If the assortment includes multiple sizes, test whether each size solves a distinct job. Remove a SKU that only duplicates another item without a clear user or channel purpose.
Check Finish, Marking and Cleanability
Inspect visible and recessed areas for consistent workmanship. Handle all non-cutting edges and check around the lever and pivot for residue or roughness. Ask how the selected finish should be cleaned, dried and stored, and confirm that the proposed instructions match its actual material and surface treatment.
Review the logo on a physical sample. Its position should not interfere with grip, edge contact or moving parts. Test the mark and finish using an agreed method before approving a durability claim.
Before approval, confirm with Olimor the finish process, care compatibility and marking-test criteria for the selected models.
Approve the Packaging With the Tool Inside
Packaging should protect the cutting edge and prevent the lever or body from rubbing against the tray, card, pouch or adjacent kit component. Verify removal, replacement and product orientation using the actual tool.
Check that labels and instructions identify the correct format and intended use. If replacement parts or care steps differ by model, the pack should not use generic guidance that could be applied to the wrong SKU.
Questions for the RFQ
- Which format and size does the supplier recommend for the documented use case, and why?
- What material, hardness and finish evidence is available for each SKU?
- How are edge contact, lever action, pivot security and burrs inspected?
- Which dimensions and functional limits appear on the controlled specification?
- What changes require a new sample or buyer approval?
- Which logo and packaging routes are available for the selected quantity?
- How will approved samples be linked to production and shipment inspection?
FAQ
Is a larger nail clipper always better for toenails?
No. Size, blade opening, curve, leverage and user control must work together for the intended nail type. Approve the format through documented sample tests rather than size alone.
Does an ergonomic handle prove easier operation?
Not by itself. Handle shape, lever travel, operating force, visibility and user hand size all affect the result. Compare several controlled samples with representative users.
Which format should a wholesale range include?
Include only formats with a distinct user, nail type, price position or packaging role. A focused assortment is easier to explain, inspect and replenish than several near-duplicate products.
Is comfort a measurable claim?
It can be documented through a defined user trial, but avoid universal claims from one reviewer.
Can a larger clipper be more comfortable?
It may suit a particular hand or nail task; size alone does not establish comfort.
What if the sample feels good but cuts poorly?
Do not release it. Function and handling must both meet the agreed specification.
Can an online review prove production quality?
No. Use physical samples and an agreed inspection plan for the exact model being ordered.
What makes a clipper precise?
Visible positioning, consistent edge contact, stable leverage and a controlled trimmed result are practical indicators.
Should buyers publish one score?
Keep function, comfort, finish and packaging as separate findings so the decision remains auditable.
Does an ergonomic design need a special material?
Not necessarily. Ergonomics comes from the relationship between geometry, grip and motion; confirm the actual material separately.
What is a useful sample size?
Use enough units to see variation and involve more than one relevant reviewer.
Can the same model serve every nail type?
Do not assume so; match opening, leverage and access to the defined task.
Can style justify a higher specification?
Only when the finish, marking and pack are documented and the tool still meets functional checks.
How do buyers compare finishes?
Review physical samples under agreed light and handling, then record acceptable variation.
What should happen if the coating scratches?
Stop approval, identify the cause and confirm a revised finish or protection method before release.
Build a Defined Nail Clipper Range
Review the Olimor nail clipper range, compare an ergonomic nail clipper reference, and request nail clipper samples. Include the intended user, nail type, preferred format, finish, marking, packaging and inspection expectations in the inquiry.
Score Ergonomic Nail Clippers on the Whole Hand Fit
- Observe where fingers rest and whether the wrist stays neutral while positioning the edge.
- Check lever reach, lateral movement and jaw contact through the full stroke.
- Review cleaning access, surface condition and unit protection before approving a retail assortment.
Grip and Handle Material: Why G10 Is Not Just Decorative
The handle is one of the most important parts of an ergonomic nail clipper because it determines how confidently the user can control the tool. G10 composite material, when used as a handle, is valued for strength and a secure grip. In nail care, that matters because clipping requires short bursts of pressure. If the handle slips even slightly, the user may cut at the wrong angle or apply more force than needed.
Texture should be evaluated with both dry and slightly damp hands because nail care often happens after washing, soaking or bathing. A handle that feels comfortable in a product photo may be too smooth in real use. Buyers should also check edge comfort: a grippy surface is helpful, but sharp handle corners can create pressure points during repeated clipping.
The best ergonomic handle is not necessarily the thickest one. It should fit the hand naturally, allow the thumb or fingers to rest securely and keep the cutting head visible. Visibility is especially important when trimming short nails or shaping corners. If the handle blocks the view of the cutting edge, precision suffers.
Who Benefits Most from an Ergonomic Nail Clipper?
An ergonomic nail clipper can help many users, but it is especially relevant for people who value control or find standard clippers uncomfortable. That may include older adults, users with reduced grip strength, people who trim thicker nails, salon professionals who repeat the same motion many times and buyers assembling practical grooming kits.
- Home users: Look for a comfortable grip, clear view of the cutting edge and simple cleaning after use.
- Salon and spa buyers: Prioritize consistent cutting action, easy wipe-down surfaces and durable components suitable for repeated handling.
- Retail beauty brands: Compare ergonomics, packaging clarity and whether the feature set is easy for shoppers to understand.
- Caregivers: Choose designs that reduce slipping and allow slow, controlled trimming.
- Travel kit buyers: Consider safety, compact handling and whether the clipper can be stored without snagging nearby items.
To compare how nail care tools may fit into a broader assortment, browse Olimor product collections and group products by use case rather than appearance alone.
Turn Ergonomic Nail Clipper Design into Testable Checks
- Measure the useful opening and lever reach on the selected model.
- Check jaw alignment before cutting, then observe stability through the full lever stroke.
- Review grip texture, finish, debris access and pack protection without making unsupported comfort claims.
Keep Style and Nail Clipper Function in One Brief
- Describe the target hand position and nail task before selecting a silhouette.
- Test lever travel, jaw contact and grip stability across several units.
- Review coating, logo contrast and pack protection under the lighting and handling expected in the sales channel.
Tag:
Related articles
- Manicure & Nail Tools
- OEM & Private Label Solutions
Manicure Scissors Manufacturer: Private Label Guide
- Manicure & Nail Tools
- Manufacturing & OEM Solutions
Travel Manicure Kit Manufacturer: Retail-Ready Buyer Guide
- Manicure & Nail Tools
- Manufacturing & OEM Solutions