How to Choose, Use, and Source Brow Trimming Scissors
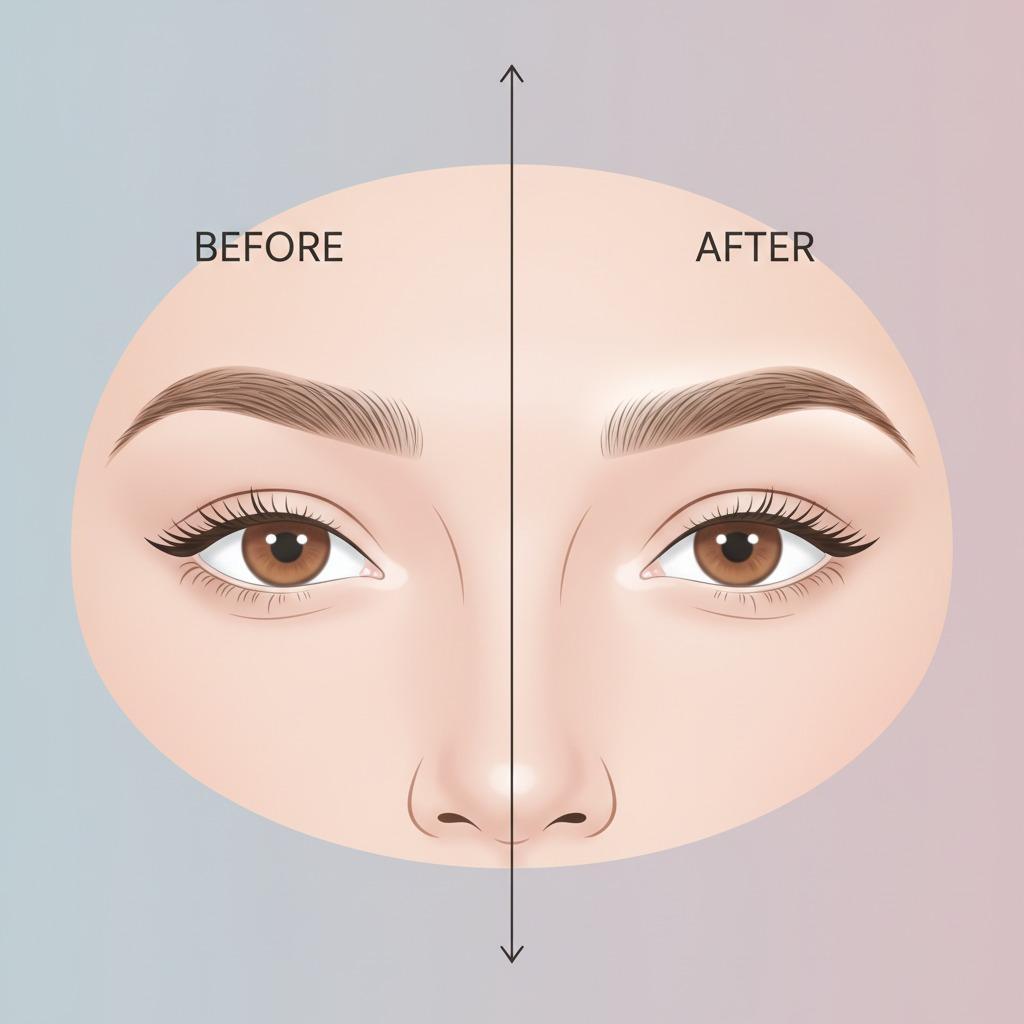
Brow trimming is a small grooming step with a big visual effect. The goal is not to cut eyebrows into a perfectly flat line. It is to shorten only the longer hairs that interrupt the brow outline while preserving natural fullness, direction, and texture.
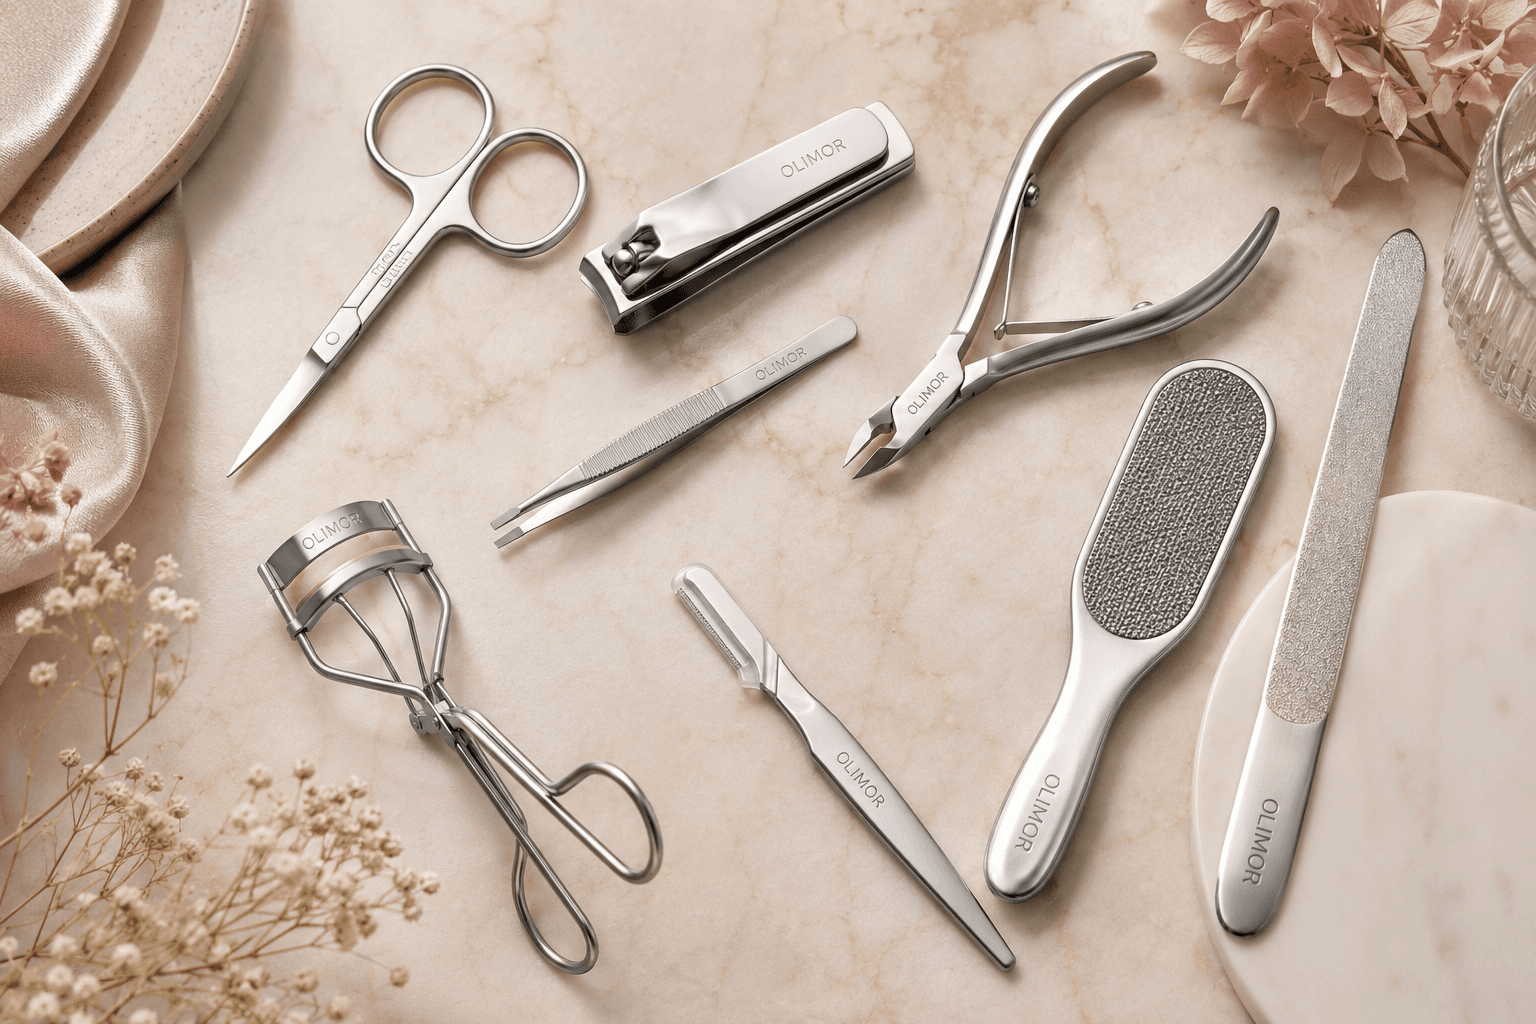
This guide explains how to trim brows at home, how to choose precision scissors for eyebrow work, and what retailers, salons, and beauty brands should review when evaluating brow tools for an assortment. It is written for two common search needs: practical grooming advice and commercially relevant product selection. Olimor Beauty offers precision beauty tools for detailed personal grooming, and buyers comparing related items can review the broader beauty tool products range for scissors, tweezers, and kit-building options.
What Brow Trimming Is Really For
Brow trimming controls hair length. It does not replace shaping. Shaping changes the brow outline by tweezing, waxing, threading, or other hair-removal methods. Trimming should be used when the brow looks untidy because a few hairs grow longer, curl downward, or rise above the rest after brushing.
A useful first question is: is the problem length, placement, or density? If a hair sits outside the brow area near the bridge, eyelid, or tail, it may be a shaping issue rather than a trimming issue. If the hair belongs inside the brow but extends beyond the upper edge only when brushed into place, a careful scissor trim may be enough.
For natural-looking results, view the whole face rather than only a magnified patch of hair. Magnifying mirrors help you see fine details, but they can also make tiny irregularities look more serious than they are. Stand back, check both brows in even light, and aim for visual balance. Brows do not need to be identical to look polished.
Before You Cut: Preparation That Prevents Over-Trimming
The safest trim begins before the scissors open. Brow hair should be clean, dry, and free from heavy product. Gel, oil, moisturizer, or foundation can clump hairs together and make you cut more than intended. Wet brow hair may also behave differently from dry hair, so trim only when the brow is in its normal condition.
Use a clean spoolie or fine brow comb to brush the hairs upward and slightly outward, following the natural direction of growth. Do not force every hair straight up against its natural pattern. Aggressive combing can expose hairs that would normally lie neatly, leading to unnecessary cutting.
Quick preparation checklist
- Use even lighting: Soft daylight or a bright bathroom light makes individual hairs easier to see.
- Start with dry brows: Dry hair shows the length you actually wear day to day.
- Comb in sections: Work from the inner brow to the arch, then from the arch to the tail.
- Keep the face relaxed: Raised brows can distort the natural line.
- Step back often: Check the full brow after a few small snips.
If you are unsure whether a hair is too long, leave it. Brow trimming is easiest when you remove only the obvious excess and stop before the brow starts to look thin or overly designed.
How to Trim Eyebrows Step by Step
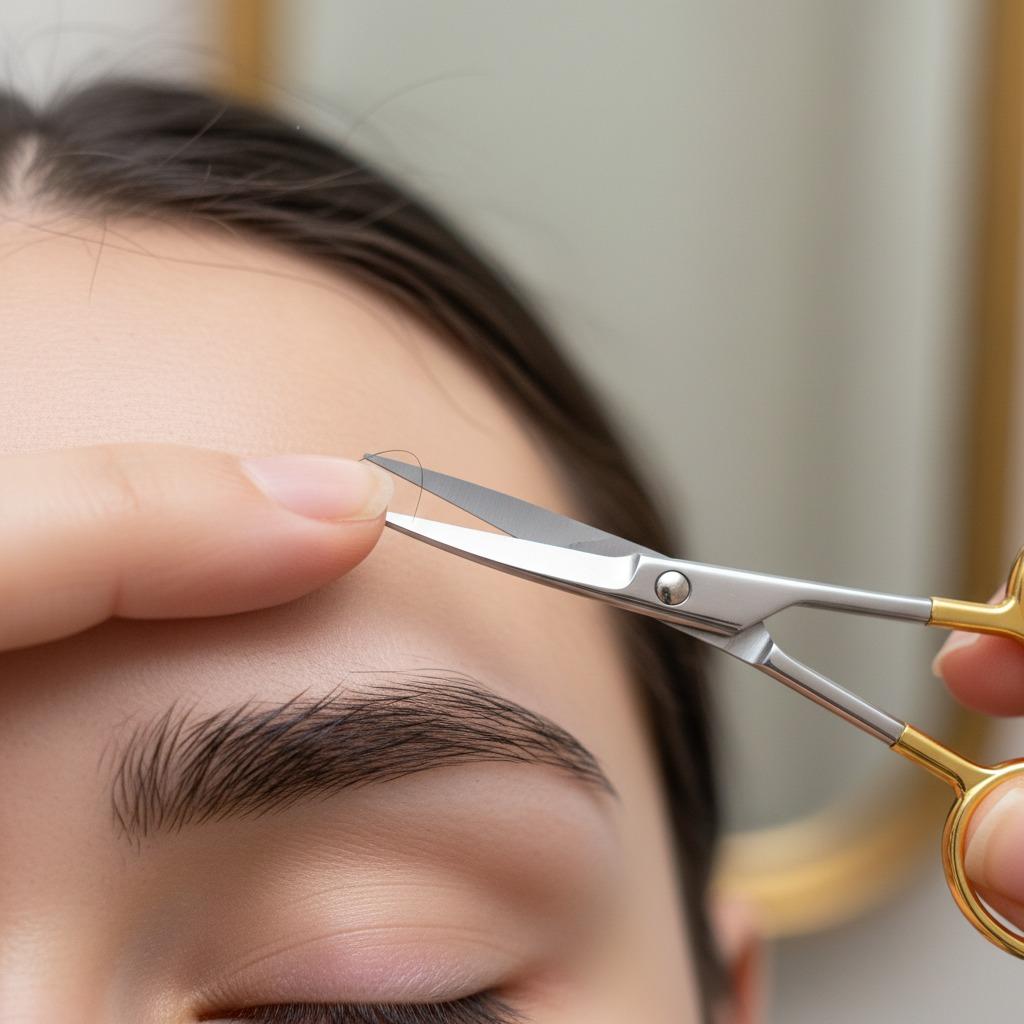
Use small, sharp beauty scissors that feel stable in your hand. Scissors intended for detailed grooming are easier to control than kitchen scissors, craft scissors, or large nail scissors. Olimor Beauty brow-tool guidance highlights slender, slightly curved blades, ergonomic handling, and rust-resistant stainless steel as useful characteristics for precise grooming tasks.
- Brush the inner brow upward. At the front of the brow, comb hairs up and slightly toward the center of the forehead. Trim only the tips that clearly rise above the natural upper line.
- Make tiny cuts, not one long cut. Avoid cutting straight across the top. Small point-by-point trimming keeps texture and prevents a blunt block shape.
- Move toward the arch. Comb the middle brow upward and outward. Cut only the longest ends that interrupt the curve.
- Handle the tail conservatively. Tail hairs are often finer and can reveal gaps if cut too short. Comb them in the direction they naturally fall and remove only obvious extra length.
- Brush the brow back into place. After each section, smooth the hair the way you normally wear it. If it looks tidy, stop.
- Compare both brows from a distance. Make minor adjustments only for visible imbalance. Do not keep trimming in pursuit of perfect symmetry.
The most reliable rule is to trim less than you think you need. You can always shorten one more long tip later, but a short patch can take time to blend back into the brow.
Brow Mapping Without Making Brows Look Artificial
Brow mapping helps you understand where the brow begins, arches, and ends, but it should not become a rigid cutting template. Use a slim makeup brush or brow pencil as a visual guide. Hold it vertically near the bridge of the nose to estimate the starting area. Angle it through the outer edge of the iris to identify the arch region. Then angle it toward the outer corner of the eye to check the tail.
These points are reference markers, not hard lines. Natural brows often have soft variation at the front and a gradual taper at the tail. Cutting every hair to the same height can remove that softness. If the brow is thick, trimming can reduce visual bulk, but it should still preserve density. If the brow is sparse or recovering from over-tweezing, length may help cover gaps, so trimming should be even more conservative.
When in doubt, combine light styling with minimal cutting. Brush the brow into place first. If a clear brow gel or light styling product can guide the hair without shortening it, trimming may not be necessary yet.
Choosing Brow Trimming Scissors: What Matters
Good brow scissors support controlled cutting near a small, visible area. Decorative appearance is secondary. The best tool for eyebrow trimming should let the user isolate one long hair or a small group of hairs without blocking the view or cutting too wide a section.
For personal buyers, the main question is whether the tool feels precise and safe in the hand. For retailers and beauty brands, the question is broader: will the tool satisfy practical user expectations, fit the target assortment, and remain easy to explain in product content or packaging?
| Selection point | Why it matters | What to check |
|---|---|---|
| Blade profile | Small, slender blades help target individual brow hairs. | Check whether the blade shape allows close visibility and short snips. |
| Slight curve | A gentle curve can support controlled trimming along the brow contour. | Confirm the curve does not make the tool awkward for left or right brow angles. |
| Tip alignment | Clean tip closure improves precision on fine hair. | Open and close the scissors to see whether the tips meet neatly. |
| Handle comfort | A stable grip reduces hand tension near the eye area. | Assess finger holes, balance, and ease of control during small movements. |
| Material care | Rust-resistant stainless steel supports easier cleaning and repeated use. | Ask the supplier for material and care information without assuming unverified grades. |
| Storage protection | Protected tips are less likely to dull, bend, or cause accidental scratches. | Review pouch, sleeve, cap, or retail packaging options. |
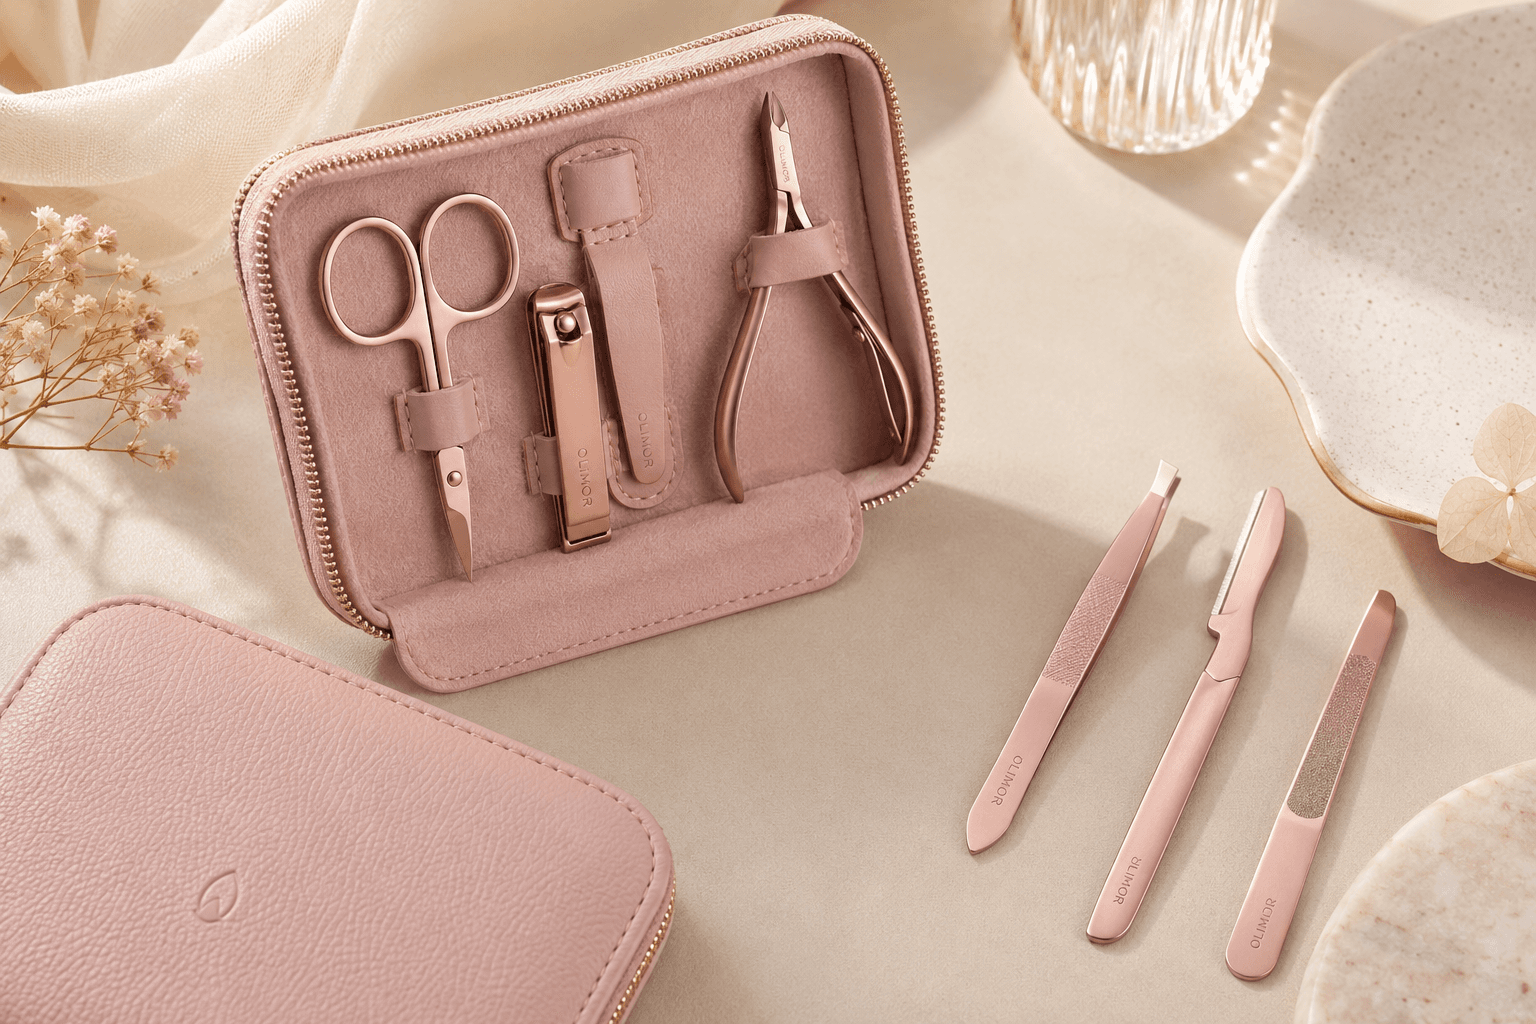
If you are building a grooming kit, brow scissors pair naturally with tweezers, a spoolie, and a small comb. Buyers comparing categories can explore Olimor Beauty product collections to assess how scissors and other beauty tools can fit together in a retail or private-label range.
Common Brow Trimming Problems and How to Fix Them
Most brow trimming mistakes happen because the user keeps cutting after the brow already looks improved. The aim is a cleaner line, not a perfectly uniform surface. Natural variation makes brows look fuller and softer.
The brow looks too blunt
This often comes from cutting straight across the top while the hairs are combed upward. Instead of trying to correct the whole edge immediately, brush the hair into its natural direction and leave it alone. For future trims, use tiny cuts only on the longest tips.
One brow looks shorter than the other
Do not automatically trim the fuller brow to match the shorter one. Step back and check the face as a whole. Sometimes a light brush-through or styling product balances the look without more cutting.
The tail looks sparse
Tail hairs are delicate and contribute to the brow outline. Avoid trimming the tail unless a hair is clearly too long and falls outside the desired shape. If the tail already looks sparse, leave the length to help maintain definition.
Long hairs curl downward again after trimming
Some brow hairs naturally curve as they grow. Trim only the visible excess and use a brow brush to guide the direction. Cutting too short can make the hair stand out more rather than lie neatly.
Cleaning, Maintenance, and Safe Storage
Brow scissors work best when the blades are clean, dry, and properly aligned. After each use, wipe away hair fragments, skin oil, and cosmetic residue. If the tool is used by more than one person or in a professional setting, follow an appropriate sanitation process for that environment.
Rust-resistant stainless steel is helpful for grooming tools, but it still needs care. Dry the scissors thoroughly before storage. Do not leave them in a damp sink area or mixed with loose metal tools where the tips can be knocked out of alignment. If the blades pull hair, feel loose, fail to meet cleanly, or show visible damage, replacement may be more practical than continued use.
For commercial buyers, maintenance instructions are part of the product experience. Clear care guidance can reduce misuse and improve customer satisfaction. Packaging, inserts, or product pages should explain basic cleaning, drying, and storage habits without making unsupported performance claims.
B2B Sourcing: How to Evaluate Brow Scissor Suppliers
For retailers, distributors, salons, and beauty brands, brow scissors are not just a small accessory. They are a precision tool used near the eye area, so supplier evaluation should include product consistency, documentation, packaging support, and communication quality.
Start with the physical sample. Check blade movement, tip alignment, finishing, handle comfort, and whether the scissors cut fine hair cleanly without requiring excess force. Review the product from the customer perspective: can a beginner understand how to use it, clean it, and store it safely?
Supplier evaluation checklist
- Sample review: Request samples before committing to an assortment or customization project.
- Material information: Ask for supplier documents describing the stated material and finish.
- Inspection points: Confirm how the supplier checks blade alignment, opening and closing action, surface finish, and packaging condition.
- Customization options: Discuss logo, packaging, kit configuration, and labeling requirements without assuming all options apply to every item.
- Order terms: Ask directly about MOQ, lead time, and sample availability because these depend on the product and customization plan.
- Regulatory review: Verify current requirements for the market where the product will be sold.
Recognized public bodies and regulations may be relevant depending on destination market. For example, consumer products sold in the United States may fall under general safety expectations associated with the U.S. Consumer Product Safety Commission, while products sold in the European Union may need review under the EU General Product Safety Regulation. Always verify the current versions and request supplier documents for the specific product and market. Do not rely on a general category claim as proof of compliance.
Olimor Beauty can discuss beauty-tool sourcing, product options, and customization questions through the contact page or a direct product inquiry.
When to Trim, When to Tweeze, and When to Wait
Trim when the brow hair itself is too long. Tweeze only when a hair grows outside the shape you want to keep. Wait when the brow is recovering from over-removal, looks sparse, or only seems uneven under magnification.
People with thick brows may benefit from occasional length control, especially where hairs curl downward or push above the top line. People with fine or sparse brows should trim rarely and only at the most obvious points. If brows lie neatly after brushing, there is no need to trim simply because time has passed.
A conservative schedule is better than frequent correction. Brow trimming should be a small maintenance step, not a constant reshaping habit. The most natural results come from respecting the growth direction, cutting tiny amounts, and stopping early.
FAQ: Brow Trimming Scissors, Samples, and Customization
Can I request samples before placing a brow scissor order?
Sample availability depends on the specific product and customization requirements. B2B buyers should request samples to review blade feel, tip alignment, packaging, and overall handling before confirming a larger order.
Is there a fixed MOQ for customized brow scissors?
MOQ can vary by item, packaging method, logo process, and order plan. Ask for the current MOQ for the exact brow scissor style and customization you are considering.
Can brow scissors be customized for retail or private-label kits?
Customization may include elements such as logo, packaging, or kit configuration, depending on the product. Confirm available options with the supplier and review a sample or proof before production.
How should quality be checked before shipment?
Useful inspection points include blade opening and closing action, tip alignment, cutting feel, surface finish, cleanliness, packaging condition, and whether product information matches the agreed specification.
How long does production or delivery take?
Lead time depends on product availability, order quantity, customization, packaging, and shipping method. Buyers should confirm timing directly during inquiry and allow time for sample approval if customization is involved.
Key Takeaway
Neat brows come from restraint, not aggressive cutting. Prepare the brow, follow the natural hair direction, use precise scissors, and trim only the longest tips. For commercial sourcing, evaluate brow scissors as functional precision tools: review samples, confirm material and packaging details, ask about inspection, and verify market requirements with current supplier documents.
Tag: