3D Modeling Nail Clipper Design: A Practical Buyer’s Guide
A nail clipper looks simple until you examine what makes one cut cleanly, feel stable in the hand and remain reliable through repeated use. For beauty tool buyers, salon supply teams and private-label product planners, 3D modeling can make the development process more predictable. A 3D modeling nail clipper is not valuable because it sounds technical; it is valuable when the digital design helps improve leverage, blade alignment, grip comfort, size options and manufacturability before production decisions are made.
At Olimor Beauty, nail clipper development is best understood as a process of refining small details. The angle of the cutting edge, the radius of the jaw opening, the lever length and the curve that rests under the thumb can all affect the user experience. Digital modeling and prototyping allow these points to be reviewed earlier, compared more clearly and adjusted with less guesswork. If you are reviewing beauty tool products for retail, salon, travel, personal care kits or promotional programs, this guide explains what to look for when a nail clipper is developed with 3D modeling and rapid prototyping in mind.
Why 3D Modeling Matters in Nail Clipper Development
Traditional nail clipper evaluation often starts with a finished sample: hold it, press it, cut with it and then request changes. That approach is still useful, but it can be slow when the problem is structural. If the lever is too short, the jaw opening is not suitable for the target user, or the thumb pad feels awkward, a supplier may need to revise tooling or create new samples before the buyer can confirm the next step.
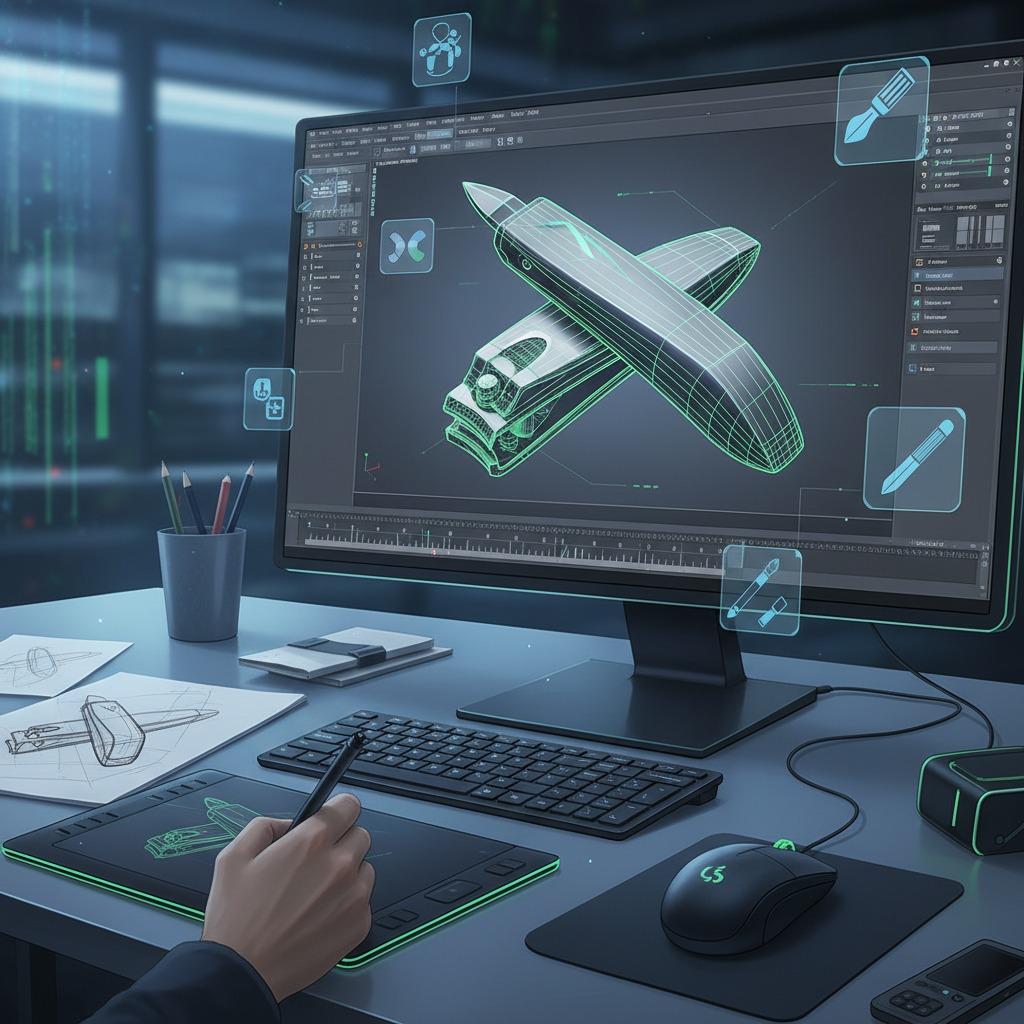
With 3D modeling, the design can be inspected digitally before a physical prototype is produced. The model helps the development team study proportions, surface transitions and part relationships. For a nail clipper, this can include how the upper and lower cutting jaws meet, how the pin location affects leverage, and whether the lever shape gives enough contact area for the user’s thumb. These are not cosmetic issues. They influence cutting control, perceived quality and comfort.
3D modeling also helps buyers communicate more accurately. Instead of saying a clipper should be “more comfortable” or “stronger,” teams can discuss measurable design areas: wider thumb surface, smoother side edge, adjusted jaw curve, modified lever length or a revised profile for better pouch packing. Clearer communication reduces the risk of receiving samples that solve the wrong problem.
Key Design Points to Review Before Approving a Nail Clipper
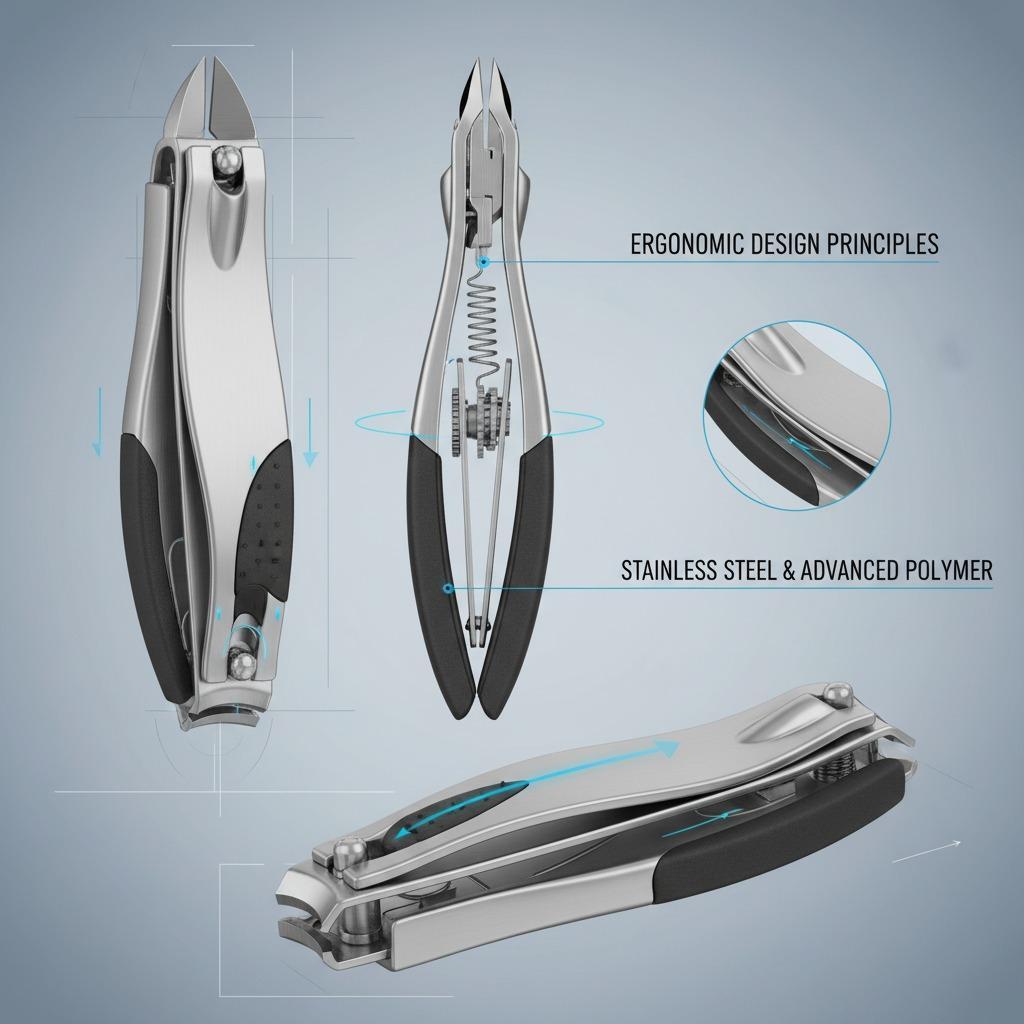
When evaluating a 3D modeling nail clipper, focus on the practical points that affect real use. The most attractive rendering is not enough. A nail clipper must be easy to hold, easy to press and capable of producing a controlled cut without requiring excessive force. Whether the product is intended for home grooming, salon use, travel kits or beauty gift sets, the following details deserve attention.
- Jaw opening: The opening should suit the intended user and nail type. A small opening may feel precise but can be limiting; a large opening can be useful but may reduce a sense of control if not designed carefully.
- Cutting edge alignment: The upper and lower edges should meet consistently. Misalignment can lead to rough cuts, nail splitting or an uneven feel during use.
- Lever length and shape: A longer or better-contoured lever can improve leverage, but it must still pack well and feel balanced.
- Thumb contact area: The surface pressed by the thumb should not feel sharp or unstable. Even a small change in curve can affect comfort.
- Side edges and corners: Areas touched by the fingers should be smooth enough for repeated use and handling.
- Portability: If the clipper is for travel or kits, confirm the folded profile, overall thickness and whether it fits the intended packaging.
These points can be reviewed in a digital model and then verified with prototypes. The benefit of 3D modeling is that it allows comparison between design versions before committing to a direction. A buyer can review whether a sleeker profile reduces grip stability, whether a wider lever affects packaging, or whether a change to the jaw shape supports the intended use case.
How Nail Clipper Prototyping Supports Better Decisions
Nail clipper prototyping turns digital planning into something the buyer can test. A prototype is useful because the hand often notices issues that a screen cannot show. The pressing force, balance, sound, opening movement and cutting feel all need physical evaluation. However, prototyping is most effective when it follows a clear checklist rather than a general impression.
For product teams, it is helpful to separate prototype feedback into three areas: function, comfort and presentation. Function includes the cut, alignment and lever action. Comfort includes the thumb feel, edge smoothness and grip stability. Presentation includes surface finish, visual proportions and how the product appears in packaging or product photos. By separating these areas, buyers can approve one aspect while requesting changes to another.
| Prototype Area | What to Check | Why It Matters |
|---|---|---|
| Cutting action | Clean cut, consistent edge contact, no slipping | Directly affects user satisfaction and repeat purchase potential |
| Ergonomics | Thumb pressure, grip security, finger comfort | Important for daily use, salon use and users with limited hand strength |
| Structure | Lever movement, pin fit, jaw stability | Helps identify weaknesses before scaling production |
| Finish | Smooth edges, surface consistency, overall appearance | Influences perceived value and suitability for retail display |
| Packaging fit | Folded size, profile, safe placement in pack | Prevents late-stage problems with kits, cartons or display formats |
Rapid Prototyping Without Rushing the Wrong Details
Rapid prototyping nail clipper development can shorten the distance between an idea and a testable sample, but speed should not replace disciplined evaluation. The purpose of rapid prototyping is to learn quickly. If the first version reveals that the jaw curve is unsuitable or the lever feels unstable, the next version can address that specific issue rather than restarting the entire discussion.
The best use of rapid prototyping is comparison. Instead of reviewing only one sample, buyers can compare several controlled variations: one with a slightly different lever shape, another with a revised grip surface, or another with an adjusted jaw profile. This makes feedback more objective. A team may discover that the most attractive design is not the easiest to use, or that a small increase in the thumb pad area improves control without changing the overall product identity.
For brands building a range, rapid prototyping also helps maintain consistency. A toenail clipper, fingernail clipper and compact travel clipper may need different sizes, but they can still share a design language. Reviewing prototypes together makes it easier to keep the collection visually related while ensuring each tool performs for its intended use. Buyers comparing options can also explore Olimor product collections to consider how a nail clipper might fit within a broader beauty tool assortment.
Sourcing Questions for a 3D Modeling Nail Clipper Project
When sourcing a nail clipper, buyers should avoid relying only on product photos or general claims. A clear purchasing brief leads to better samples and more relevant quotations. Even when final specifications are not confirmed, you can prepare a practical checklist that defines intended users, selling channel, packaging format and preferred quality priorities.
- Define the use case. Is the clipper for home grooming, salon retail, hotel amenities, travel kits, gift sets or professional resale?
- Clarify the target size. Decide whether the product should be compact, standard hand-held or larger for thicker nails.
- Review cutting expectations. Consider whether the priority is fine control, strong leverage, portability or comfort for frequent use.
- Check finish preferences. Surface appearance, polish level and edge smoothness should match the product’s market position.
- Confirm packaging constraints. A beautiful clipper can still create problems if it does not fit the selected blister, pouch, box or kit layout.
- Plan sample feedback. Use a written checklist so internal teams evaluate the same points instead of giving unrelated comments.
If you are preparing a custom or bulk sourcing discussion, organize sketches, reference dimensions, packaging targets and quality priorities before you send an inquiry. This helps the supplier understand whether 3D modeling is needed for a new design, a design adjustment or a packaging compatibility check.
Care, Handling and Long-Term User Satisfaction
Even a well-designed nail clipper needs proper care to maintain its cutting feel. For end users, basic maintenance is simple: keep the clipper dry after use, remove nail debris from the jaw area and store it away from moisture. If the clipper is included in a retail kit, adding care guidance can reduce avoidable complaints and help customers understand how to keep the tool working properly.
For buyers, care instructions should be considered part of the product experience. A nail clipper sold in a salon or beauty kit may be handled by customers who expect a clean, hygienic tool. Packaging copy or insert cards can remind users not to share personal grooming tools unnecessarily, to clean the cutting area after use and to store the clipper safely. These details are not dramatic, but they support customer satisfaction and responsible product use.
Choosing a Nail Clipper Design With Confidence
A 3D modeling nail clipper should be judged by how well the design process improves the final tool. Digital modeling helps teams refine geometry, prototyping helps confirm real handling, and rapid iteration helps buyers compare options before making a larger sourcing decision. The result should be a nail clipper that fits its intended channel, feels comfortable to use and presents well as part of a beauty tool range.
For brands, distributors and product teams, the strongest approach is to combine design ambition with practical checks. Review the jaw, lever, grip, edge finish, packaging fit and user scenario before approval. If you need support narrowing design requirements or comparing nail clipper options for an upcoming program, you can contact Olimor with your project details and sourcing goals.
Tag: