Eyebrow Tweezers for At-Home Shaping and B2B Sourcing
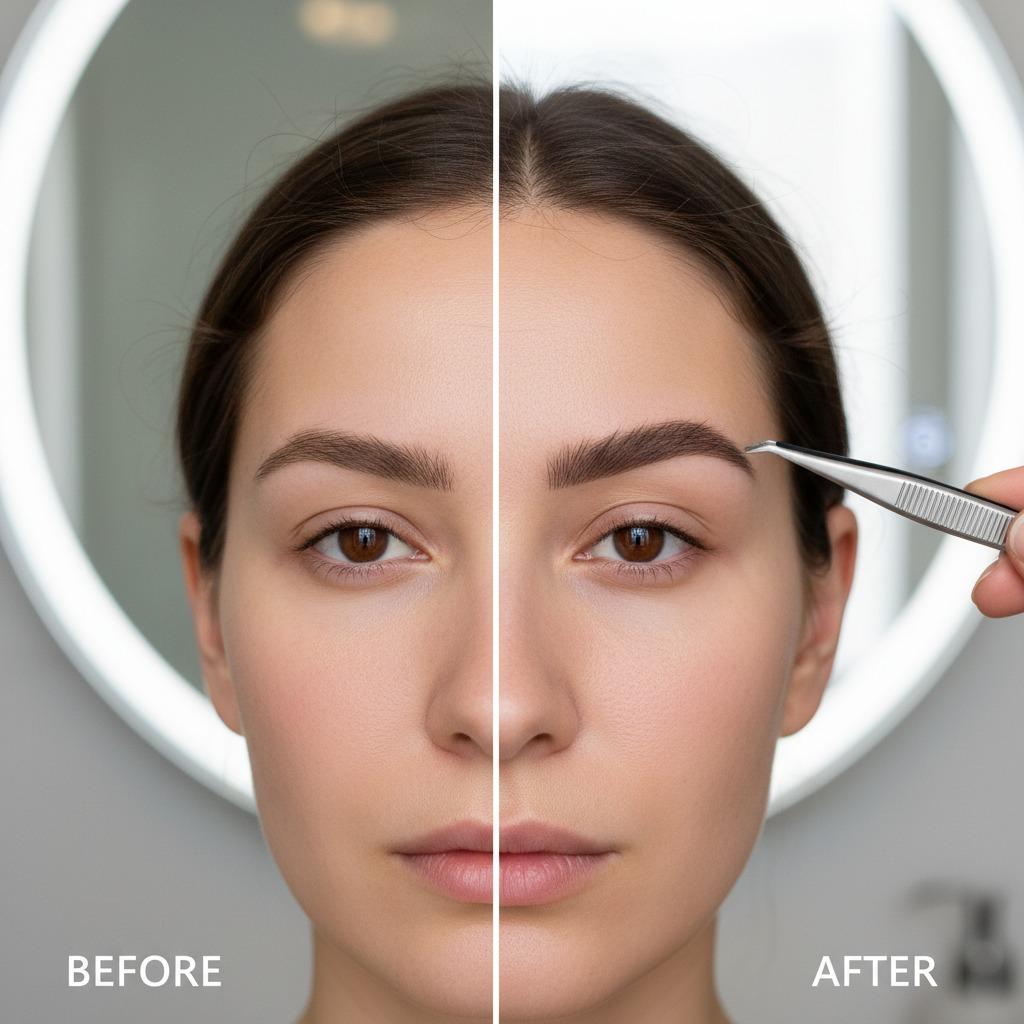
Eyebrow tweezers are one of the most practical tools for controlled brow maintenance because they remove individual hairs with precision. For home users, the main goal is not to create a dramatic new brow, but to clean the natural line, improve balance and avoid over-plucking. For retailers, salons and beauty-tool buyers, the main question is whether the tweezer feels steady, grips short hairs reliably, can be cleaned easily and fits the intended product range.
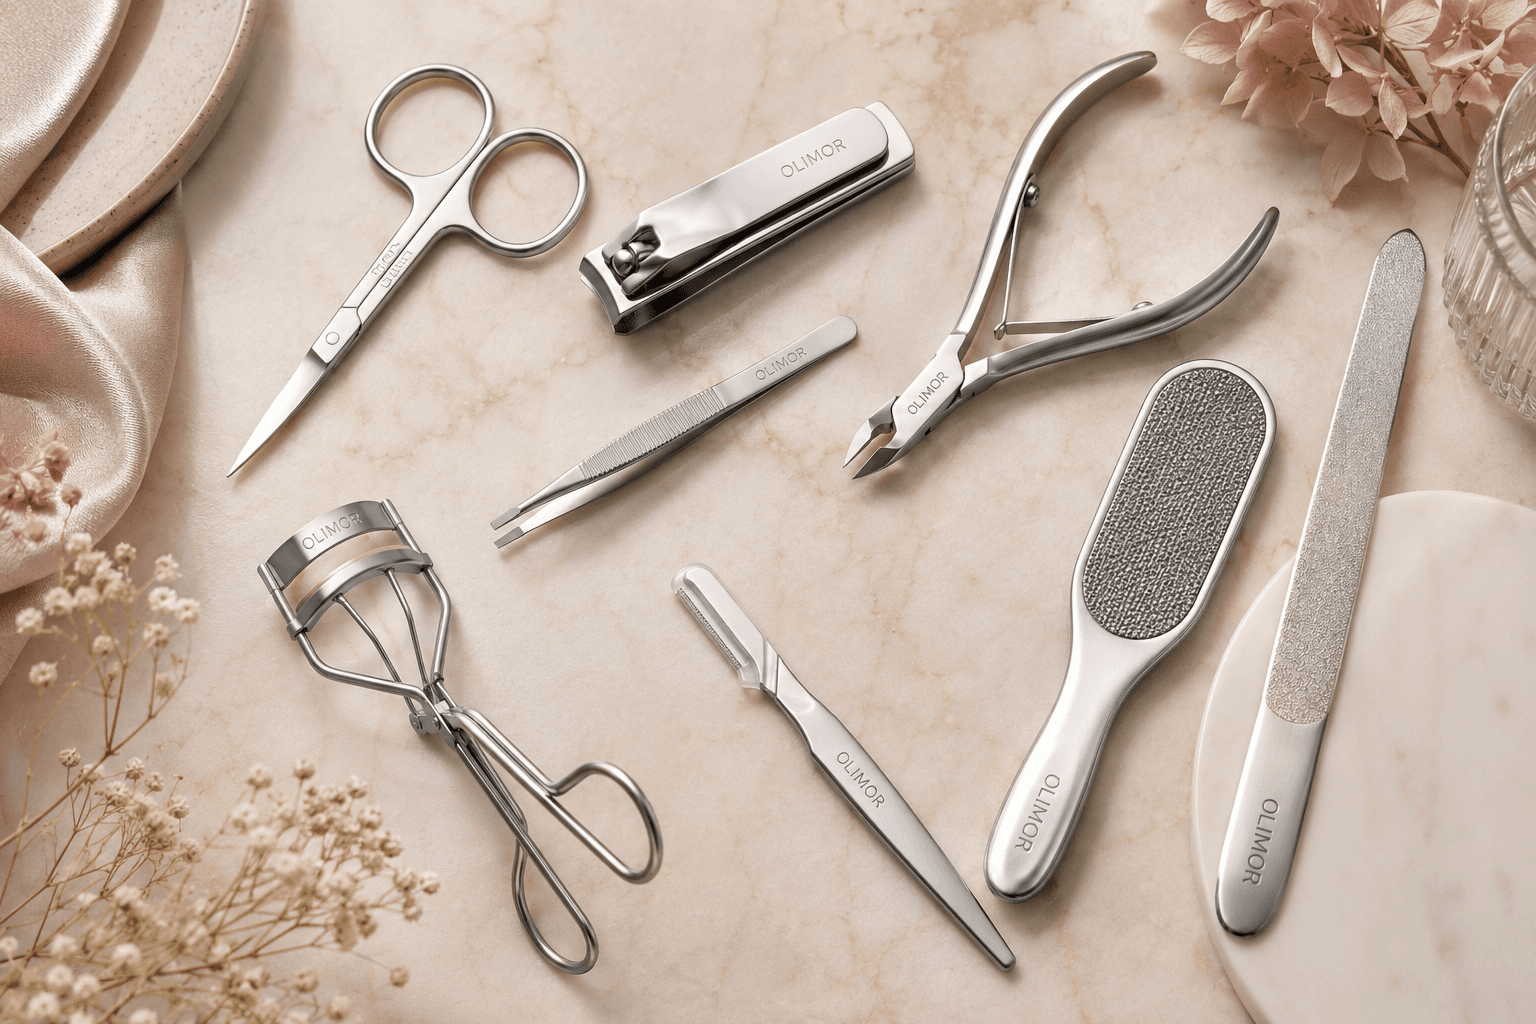
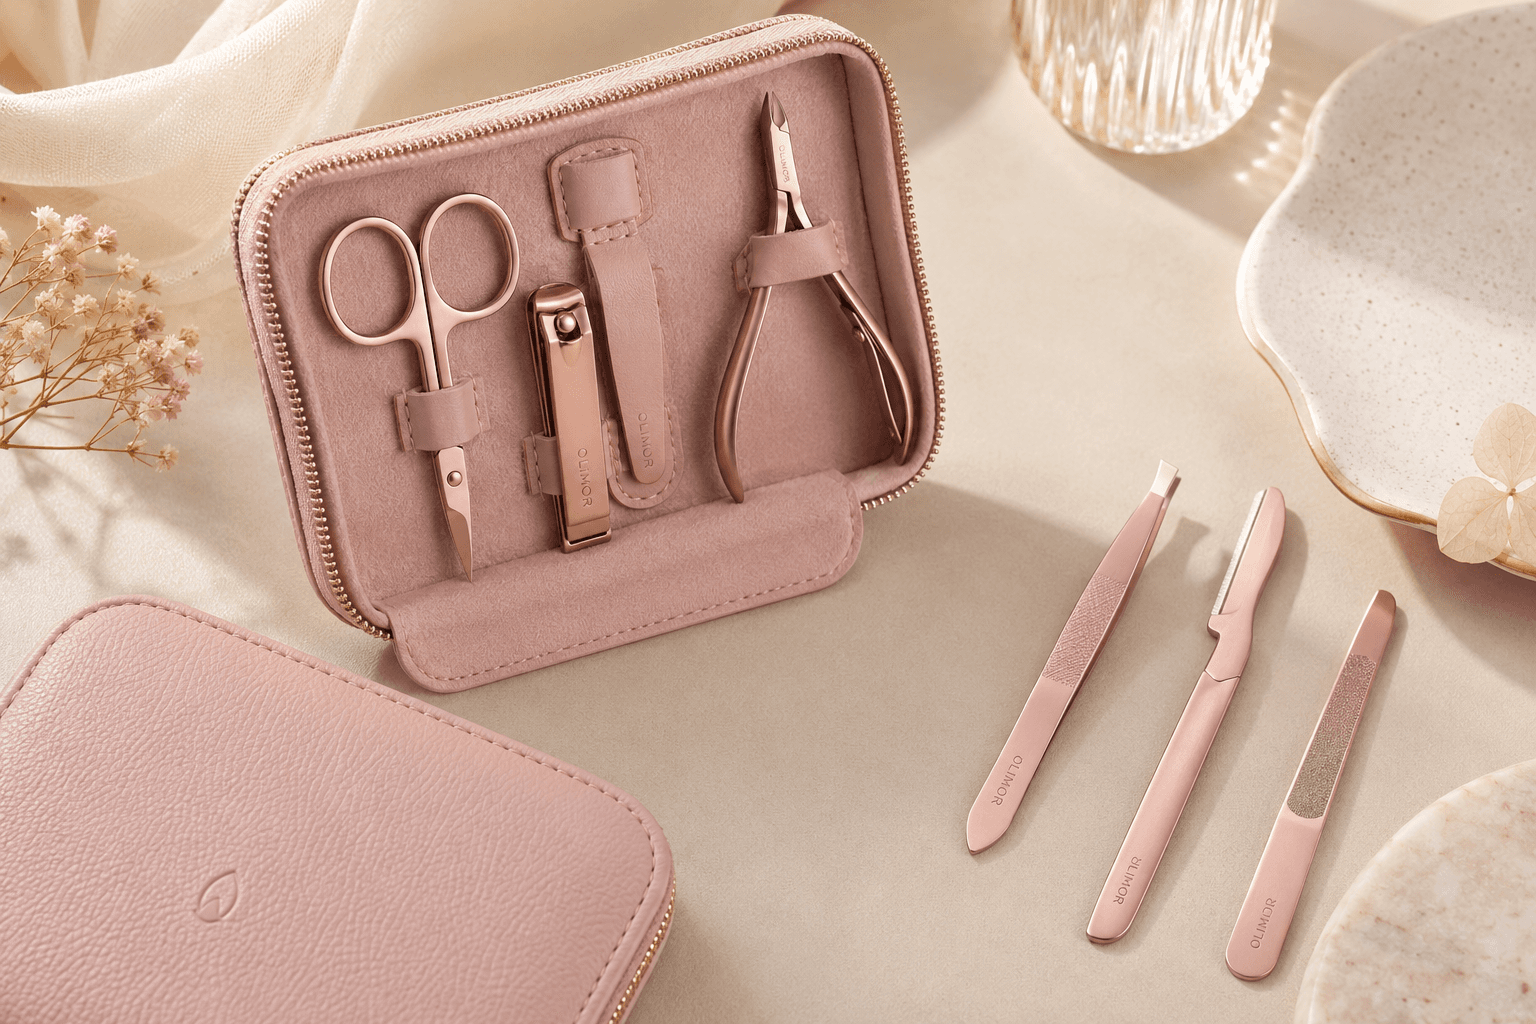
Olimor Beauty offers stainless steel eyebrow tweezers for daily grooming routines, with product details focused on firm grip, ergonomic handling, polished finish and durable construction. Buyers comparing brow tools for personal use, retail assortments or sourcing programs can review related beauty tool products or browse wider Olimor product collections to see how eyebrow tools fit into a complete beauty accessory line.
What Eyebrow Tweezers Are Best Used For
Eyebrow tweezers are best for small, deliberate edits: removing stray hairs between the brows, cleaning the lower brow edge, refining the tail and maintaining a previously shaped brow. They are not the best choice for fast removal across large areas. Their value is control. A good tweezer lets the user isolate one hair at a time, which is why tweezing remains useful for both beginners and experienced brow groomers.
The safest approach is to work with the brow that already exists. Natural brows are rarely identical, and forcing perfect symmetry can lead to thinning, uneven arches or shortened tails. A better target is visual balance: similar starting points, a clean lower outline and a tail that does not drag the eye downward.
For B2B buyers, this use case matters because customers judge eyebrow tweezers during close, repetitive movements. A tool that looks attractive in packaging but slips on fine hairs will not satisfy users. When evaluating a tweezer, consider how it performs on short, angled and fine brow hairs, not only how it looks on a product page.
How to Map Brows Before Tweezing
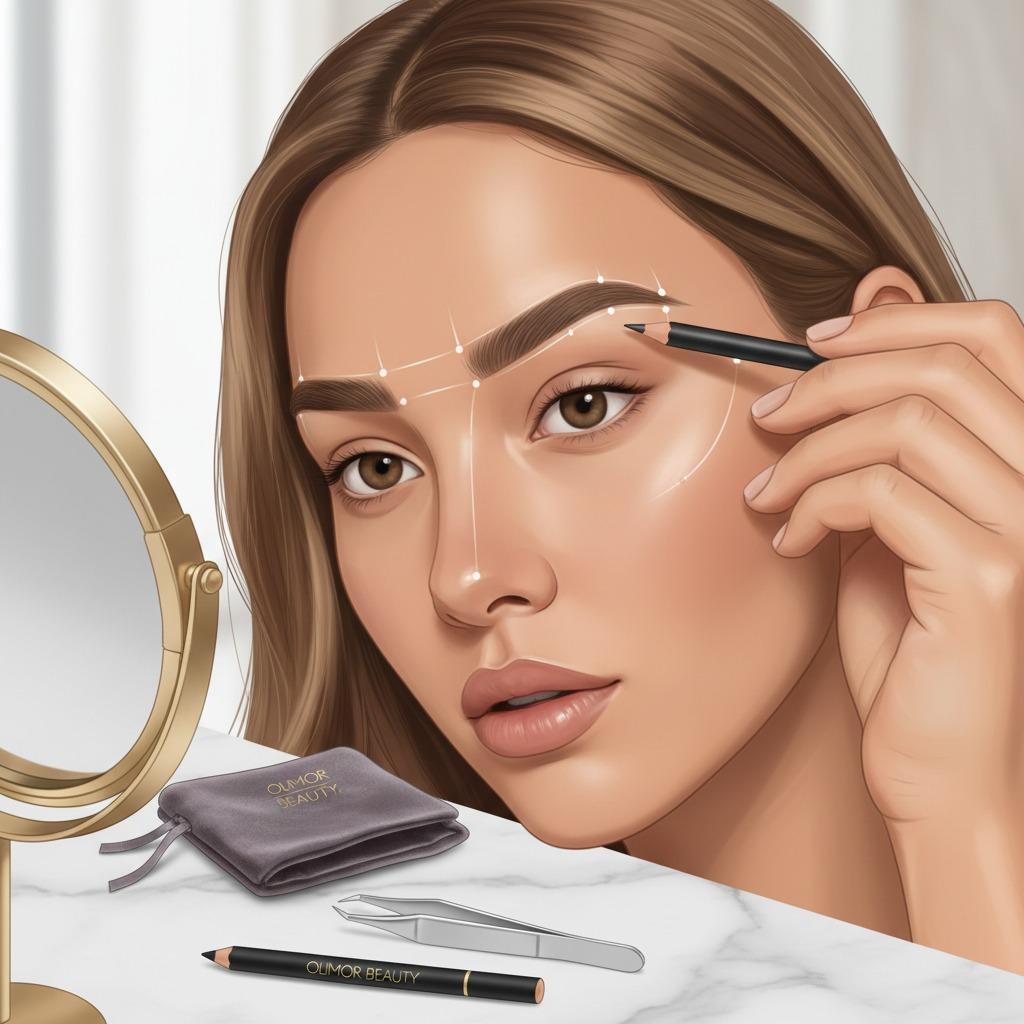
Brow mapping gives a simple framework before any hair is removed. It reduces random plucking and helps beginners understand where the brow should begin, rise and taper. A brow pencil, makeup brush handle or other straight cosmetic tool can be used as a visual guide. Mark lightly if helpful, then remove only hairs that clearly fall outside the intended outline.
- Find the brow start: Hold the guide vertically along the side of the nose toward the inner corner of the eye. Hairs far into the center can usually be cleaned carefully, but avoid making the gap too wide.
- Locate the arch area: Angle the guide from the side of the nose through the outer edge of the iris while looking straight ahead. This indicates the general high point. Avoid carving a sharp peak unless the natural brow already supports it.
- Check the tail: Angle the guide from the side of the nose toward the outer corner of the eye. The tail should generally taper near this line rather than fall too low.
- Review the lower edge: Brush hairs upward and outward. Strays below the main brow body often create the most noticeable untidy effect and can be removed conservatively.
Mapping should guide the process, not force a rigid template. Face shape, eye spacing, natural hair density and brow growth direction all affect the final result. If a brow is sparse, the better choice may be to groom and fill with makeup rather than remove more hair.
Step-by-Step Home Tweezing Routine
A clean, well-lit setup improves both comfort and accuracy. Start with clean, dry skin and a clean tweezer. Avoid heavy moisturizer, facial oil or slippery residue around the brow area because the tweezer needs a stable grip on fine hairs. If the skin is irritated, sunburned or recently treated with strong exfoliating products, wait until it has calmed before tweezing.
- Brush the brows first: Comb hairs upward and outward so the natural shape is visible.
- Use even lighting: Daylight or a bright lamp helps reveal strays without distorting the whole brow.
- Avoid relying only on magnification: A magnifying mirror can make normal hairs look excessive. Step back often to check the face as a whole.
- Grip near the root: Catch one hair at a time and pull in the direction of growth to reduce tugging.
- Alternate between brows: Remove a few hairs from one side, then compare with the other. This helps maintain balance.
- Leave the top edge mostly natural: Remove obvious isolated strays above the brow if needed, but avoid lowering or flattening the brow line.
- Stop early: When the brow looks cleaner but still full, stop. Additional refinement can be done later.
Most brow mistakes happen when the user continues after the shape already looks tidy. If the brow starts to look narrow, uneven or overly arched, stop immediately. Missing hair needs time to grow back, while a slightly full brow can always be refined in a later session.
Choosing Eyebrow Tweezers: Features That Matter
The best eyebrow tweezer is the one that lets the user hold the tool steadily and grip individual hairs without repeated slipping. Olimor Beauty eyebrow tweezers are described as stainless steel tools with a firm grip, ergonomic design, polished finish and durable build. These characteristics are relevant because brow shaping involves small movements, frequent cleaning and repeated contact with fine hairs.
For buyers, tool selection should include both user experience and retail presentation. A tweezer may be sold as a single grooming item, part of a brow-care range or within a broader beauty tool assortment. The target channel affects packaging, finish, handle feel and price positioning, even when the basic function remains the same.
| Selection point | Why it matters | What to check during evaluation |
|---|---|---|
| Tip alignment | Aligned tips help grip a single hair cleanly. | Close the tweezer gently and check whether the tips meet evenly. |
| Grip control | Controlled handling reduces slipping around the arch and tail. | Hold the tweezer as a user would during detailed grooming and assess comfort. |
| Material choice | Stainless steel is practical for grooming tools because it can be wiped clean and suits repeated use. | Confirm material descriptions and care instructions with the supplier. |
| Surface finish | A polished surface can feel smoother in the hand and is easy to wipe after use. | Inspect for rough edges, visible defects or uncomfortable contact points. |
| Tip protection | Damaged tips reduce precision and may create customer dissatisfaction. | Review packaging, caps or inserts that protect the tweezer during transport and storage. |
| Retail fit | The tweezer should match the intended shelf position, beauty set or salon retail offer. | Compare finish, packaging style and product messaging with the rest of the range. |
Slant, Point and General-Purpose Tweezers: How to Compare
Different tweezer tip styles suit different grooming tasks. A slant-tip tweezer is commonly chosen for eyebrow shaping because the angled edge gives access to the lower brow line while still allowing controlled gripping. A pointed tweezer can help with very fine or isolated hairs, but it requires a careful hand. A broader general-purpose tweezer may be convenient for basic grooming but may not offer the same precision around the arch.
For home users, the best starting point is usually a tweezer that feels stable and easy to control. For retail buyers, the decision should be based on the customer profile. Beginner-friendly brow tools should emphasize control and comfortable handling. A more specialized range may include different tip styles for users who already understand detailed grooming.
Cost is also influenced by practical factors rather than by one feature alone. Material, finishing process, tip alignment consistency, packaging complexity, order requirements, customization and inspection expectations can all affect sourcing discussions. Buyers should avoid making decisions from appearance alone. Samples should be handled, inspected and compared before a larger purchasing decision is made.
Hygiene, Storage and Maintenance
Hygiene is important because tweezing removes hair from the root and can leave the skin temporarily sensitive. Wipe the tweezer before and after use, and store it where the tips are protected. Do not throw tweezers loosely into a crowded makeup bag, because pressure or impact can damage the tips and reduce precision.
A simple care routine is enough for most personal grooming use: clean the tool, dry it properly and keep the tip covered or protected. If the tweezer is used in a professional environment, the business should follow the hygiene rules that apply in its location. Requirements can differ by market, service type and regulator.
Retailers and importers should also verify current product safety, labeling and packaging obligations in their target market. For example, public bodies such as the U.S. Consumer Product Safety Commission and the European Commission provide consumer product safety information that may be relevant depending on how beauty tools are sold. Always verify current versions of applicable rules and request supplier documents rather than assuming compliance from general product descriptions.
Common Brow Problems and How Tweezers Help
For uneven brows, use tweezers to remove only the hairs that disrupt the outline. Do not try to make the smaller brow match the larger one by removing large sections. Instead, keep the fuller brow slightly fuller and use cosmetic filling where needed.
For a heavy lower edge, brush hairs up and remove only the isolated strays below the main brow body. This can open the eye area without thinning the brow. For a messy center area, remove hairs that sit clearly between the mapped brow starts, but keep the inner brow soft. A harsh, wide gap can make brows look unnatural.
For sparse brows, tweezing should be minimal. The priority is brushing, gentle trimming only when necessary and makeup support. Removing more hair from a sparse brow usually makes the problem more visible. For tails that look too long or low, remove only the hairs that drag the tail downward, then reassess from a normal viewing distance.
B2B Supplier Evaluation Checklist
Eyebrow tweezers are small tools, but supplier evaluation should still be systematic. A buyer should confirm the product function, surface finish, packaging expectations and inspection approach before moving forward. Clear communication reduces misunderstandings and helps the supplier recommend suitable options.
- Define the channel: State whether the product is for salon retail, e-commerce, beauty sets, promotional programs or private-label grooming ranges.
- Request representative samples: Compare handling, tip alignment, finish and packaging before confirming a direction.
- Clarify customization needs: Discuss logo placement, packaging style and presentation requirements without assuming every option is available for every model.
- Ask about inspection points: Tip alignment, surface condition, grip feel and packaging protection should be checked because they affect the user experience.
- Confirm commercial terms directly: MOQ, lead time and cost depend on product choice, customization and order details, so they should be verified with current supplier communication.
- Keep documentation current: Ask for relevant product, packaging and shipping documents for the destination market and verify any regulatory requirements independently.
If you are preparing a beauty accessory program, it is helpful to share the intended market, packaging concept, quantity expectations and target retail positioning when you send a product inquiry. This gives the supplier enough context to respond with more relevant options.
When to Tweeze at Home and When to Seek Professional Help
At-home tweezing is suitable for routine cleanup, maintaining a known brow shape and removing isolated strays. It works well for users who prefer gradual changes and want control over single hairs. It is less suitable for major reshaping, highly uneven brows or situations where the user cannot identify a flattering arch.
A professional brow service can create a template that is easier to maintain at home afterward. Once the shape is established, tweezers can be used for small touch-ups between appointments. This combination is often safer than attempting a complete transformation without experience.
For retailers and beauty buyers, this means eyebrow tweezers should be positioned as a maintenance and precision tool, not as a promise of instant professional results. Clear, practical product education can reduce misuse and improve customer satisfaction.
FAQ: Samples, MOQ, Customization, Quality and Lead Time
Can I request samples before ordering eyebrow tweezers?
Sample availability should be confirmed directly with Olimor Beauty. Samples are useful for checking grip feel, tip alignment, finish, packaging protection and suitability for your retail or professional channel.
What is the MOQ for eyebrow tweezer orders?
MOQ can vary by product model, packaging choice and customization requirements. Buyers should confirm current order requirements through Olimor Beauty customer support before planning a purchasing schedule.
Can eyebrow tweezers be customized for retail or private-label programs?
Customization may depend on the selected product and packaging format. Share your logo, packaging concept, target market and channel requirements so the team can advise what is practical for your project.
How should quality be checked before shipment?
Relevant inspection points include tip alignment, opening and closing feel, surface finish, cleanliness, packaging condition and protection of the tweezer tips. Buyers should agree on inspection expectations and documentation with the supplier before confirming production.
How long does production or delivery take?
Lead time depends on the product, order details, customization, packaging and shipping arrangement. Confirm timing directly during the quotation stage and allow time for sample review and approval where needed.
A Practical Way to Use and Source Brow Tweezers
Eyebrow shaping is most successful when it is conservative, clean and planned. Map the brow, remove only obvious strays, step back often and maintain the result with small touch-ups rather than aggressive reshaping. A reliable stainless steel tweezer with firm grip, ergonomic handling and a polished finish can support this routine by giving the user control over individual hairs.
For buyers, the same practical thinking applies to sourcing. Evaluate function before appearance, protect the tips through suitable packaging, verify current compliance needs for the target market and confirm commercial terms directly. To compare available options for a grooming range or retail program, review Olimor Beauty product options and prepare clear requirements before requesting a quotation.
Tag: