Eyebrow Razor Guide: Safe Brow Shaping, Tool Care and Buying Checks
An eyebrow razor is a small facial grooming tool used to remove fine hairs around the brow line with short, controlled strokes. Its main purpose is maintenance: cleaning stray hairs between the brows, softening peach fuzz near the brow bone or temple area, and sharpening the visible edge of a natural brow shape. It is not meant to replace careful brow mapping, professional reshaping or skin care judgment.
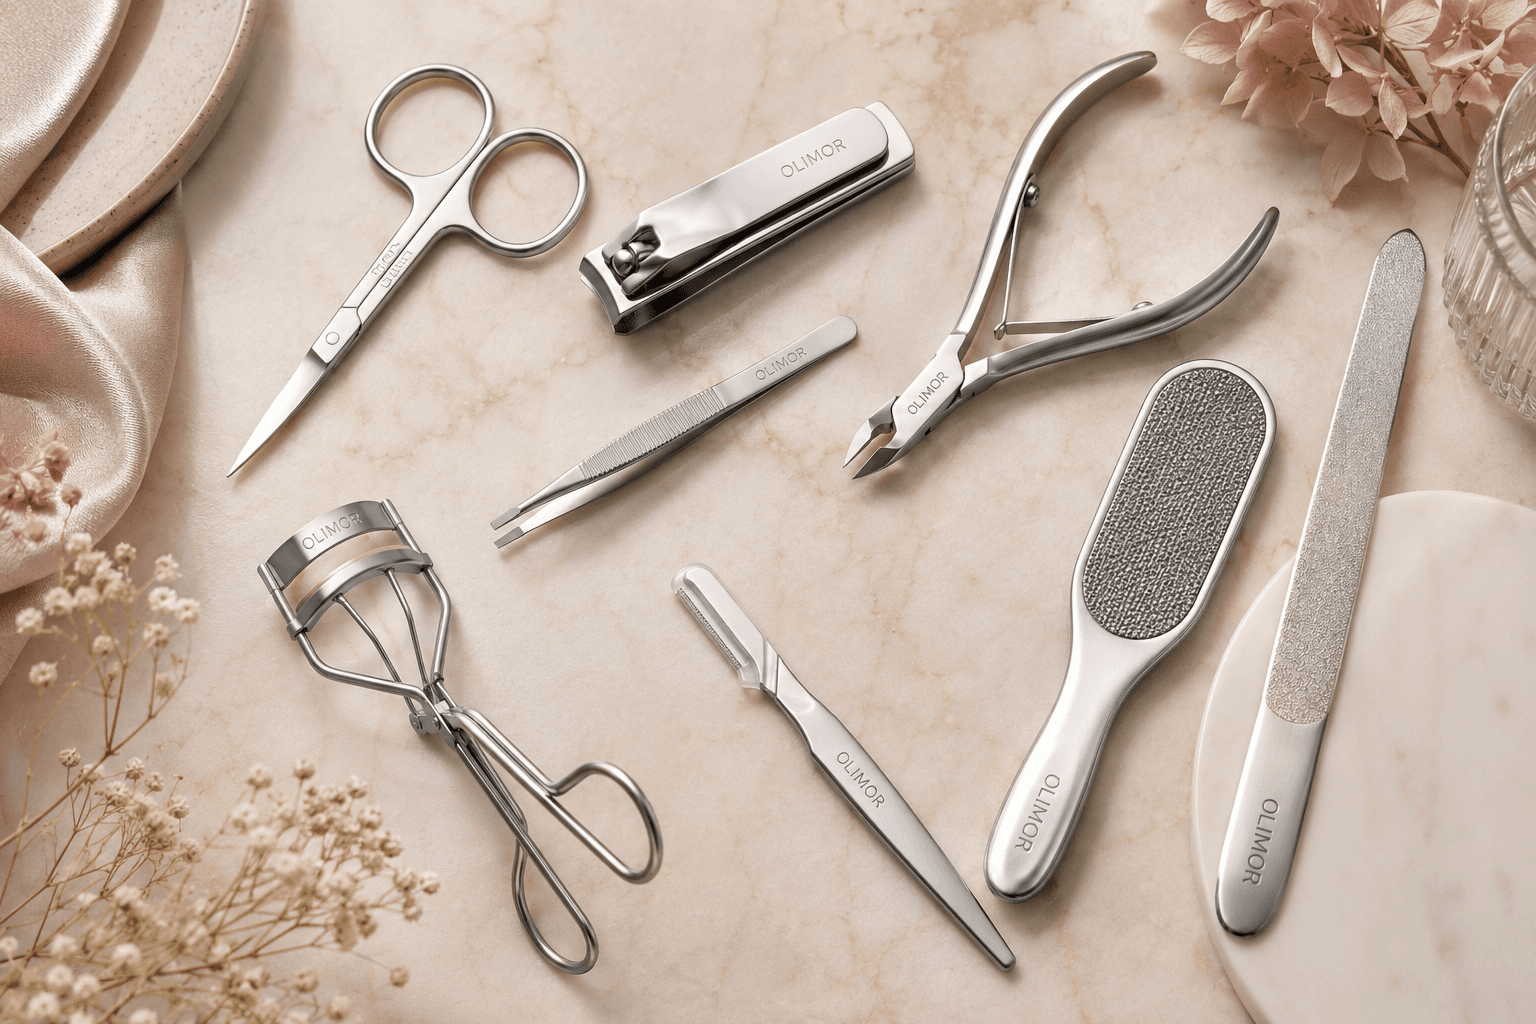
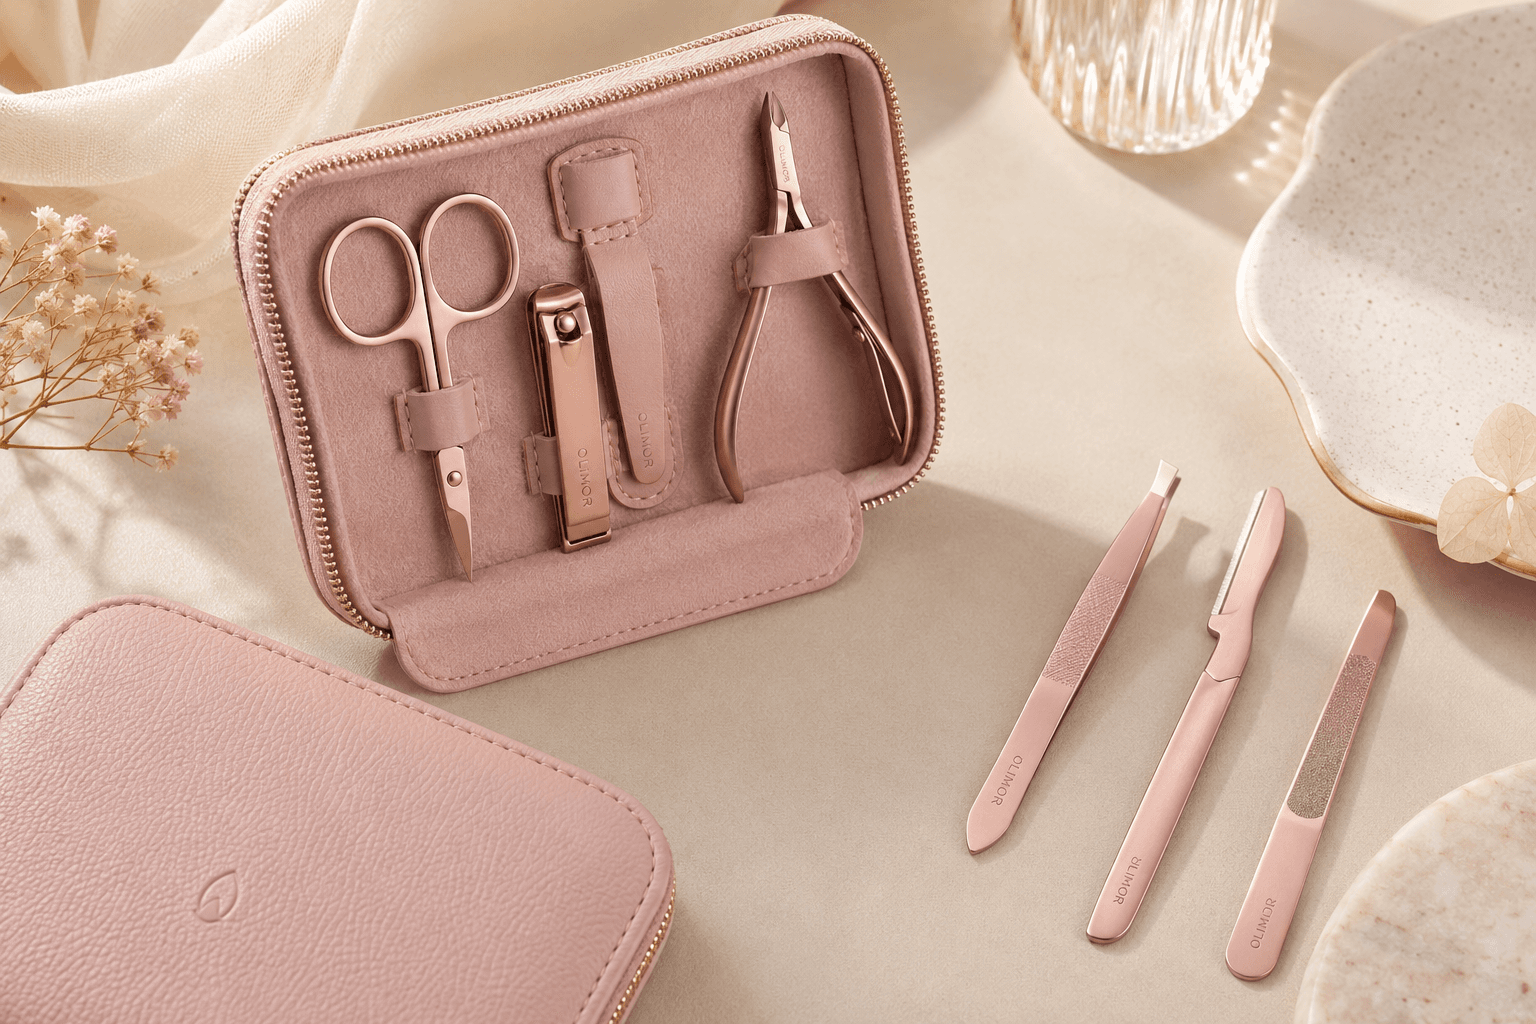
For at-home users, the key question is how to shape brows without irritation, cuts or over-thinning. For retailers, salons and beauty-tool sourcing teams, the commercial question is different: what makes an eyebrow razor easy to use, hygienic to package, clear to explain and suitable for repeat purchase? This guide answers both needs with practical use steps, maintenance advice and supplier evaluation points. To compare related grooming items, review Olimor beauty tool products or browse wider beauty tool collections.
What an Eyebrow Razor Does Best
An eyebrow razor removes hair at the surface of the skin. That makes it fast and useful for visible cleanup, but it also means the result is different from tweezing, waxing or threading. Tweezing removes individual hairs from the root. Waxing and threading can remove groups of hairs and may create a longer-lasting finish. Razoring is usually chosen when the user wants speed, lower pulling discomfort and detailed control around small areas.
The best use cases are simple. Use an eyebrow razor to remove small hairs outside the intended brow outline, clear the area between the brows, tidy the tail, or smooth fine facial hair near the upper brow and temple when appropriate. It can also help makeup sit more cleanly because brow pencil, concealer and powder often apply more evenly when there is less surface fuzz around the brow line.
An eyebrow razor is not the right tool for every situation. Avoid shaving skin that is sunburned, cut, infected, newly irritated, actively breaking out or unusually sensitive. Users who apply retinoids, exfoliating acids, acne treatments or other strong topical products should be cautious because the skin barrier may be more reactive. When in doubt, wait, patch-test on a less visible area, or ask a qualified professional for advice.
Eyebrow Razor vs Tweezers, Waxing and Scissors
Choosing the right brow tool prevents many mistakes. A razor is good for fine, surface-level cleanup. Tweezers are better when one dark or coarse hair must be removed precisely from the root. Brow scissors are for trimming long brow hairs, not for removing hair from the skin. Waxing can clean larger areas quickly but is less forgiving and may not suit sensitive skin.
| Tool or method | Best for | Main advantage | Common risk |
|---|---|---|---|
| Eyebrow razor | Fine hairs, brow edge cleanup and quick touch-ups | Fast, controlled and comfortable when used lightly | Over-shaving if the user rushes or removes hair from the brow body |
| Tweezers | Individual stray hairs and coarse hairs | High precision for single-hair removal | Can be slow and uncomfortable if many hairs are removed |
| Brow scissors | Long brow hairs that extend beyond the desired shape | Maintains fullness while reducing length | Cutting too much length can create gaps |
| Waxing or threading | Larger cleanup areas and defined professional shaping | Can create a clean outline quickly | Less suitable for some sensitive or recently treated skin |
For most users, the best routine combines tools rather than relying on one item for every task. Brush the brows first, trim only excessive length if needed, tweeze isolated coarse hairs, and use the eyebrow razor only on fine hairs outside the chosen shape.
How to Prepare Before Shaping Brows
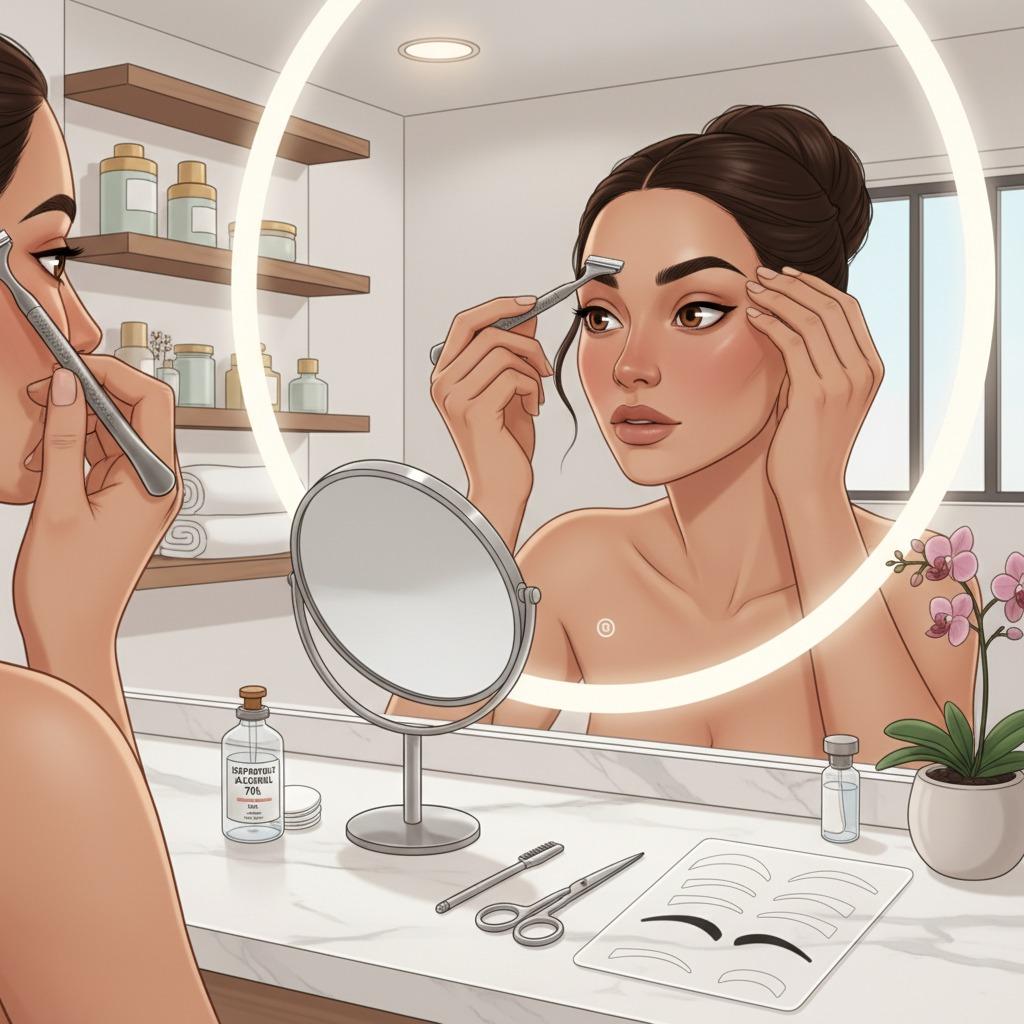
Preparation is the difference between a tidy result and an accidental thin brow. Start with clean skin. Remove foundation, sunscreen, oil and brow makeup so the blade can move smoothly and the true hairline is visible. Wash and dry the area, then use even lighting. Natural daylight or a bright vanity light is better than a dim bathroom mirror.
Use a mirror that shows both brows at once. A magnifying mirror can help with detail work, but it can also make tiny hairs look more important than they are. Step back often so the brows are judged as part of the full face. Brows do not need to be identical; they should look balanced and natural.
Brush hairs upward and outward with a spoolie or clean brow brush. This shows which hairs belong to the main brow body and which sit outside the shape. Identify three simple guide points: where the brow begins near the bridge of the nose, where the arch naturally rises, and where the tail ends. Do not shave into these landmarks unless you are deliberately correcting a known stray.
If the brow hairs are too long, use brow scissors carefully before shaving. A razor should not be used to shorten long brow hairs inside the brow body. That can create blunt patches and uneven density. The razor should stay mainly around the outline.
Step-by-Step Brow Shaping with an Eyebrow Razor
Use the razor with light pressure and short strokes. Olimor eyebrow razor product information highlights practical features such as a lightweight design, secure grip, finely serrated blade and stainless steel construction. Those qualities can support control and durability when the tool is handled and stored correctly, but safe results still depend on the user’s technique.
- Clean the brow area. Begin with freshly cleansed skin. Dry the area unless you prefer a small amount of gentle glide product for comfort. Visibility matters, so avoid anything that hides the hairline.
- Brush brows into their natural position. Comb upward, then outward. This keeps the main brow shape visible and reduces the chance of cutting into the wrong area.
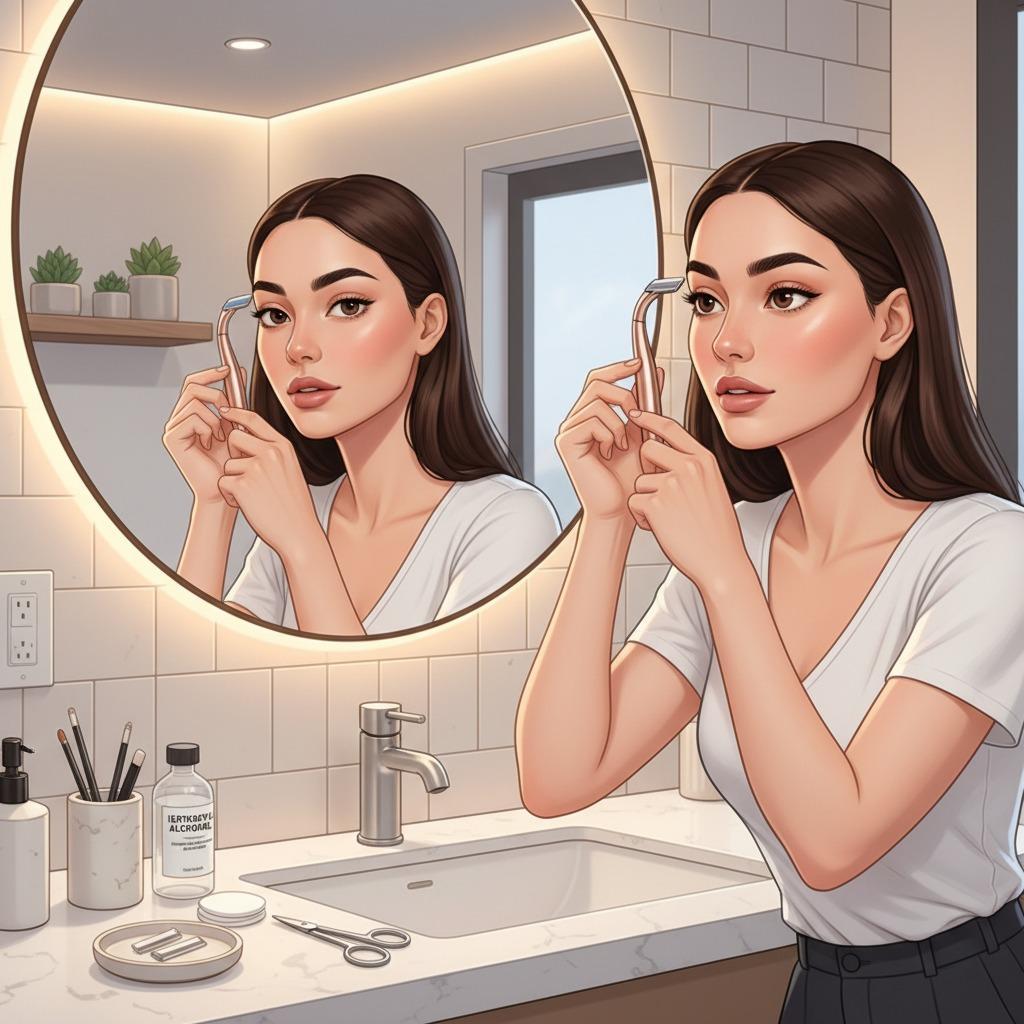
- Hold the skin taut. Use the free hand to gently stretch the skin. A flat surface helps the blade pass over fine hair without snagging.
- Angle the blade, do not press it flat. Hold the razor at a shallow working angle, commonly around 45 degrees. The blade should skim; it should not scrape.
- Work from low-risk areas first. Start between the brows or near the outer tail where small corrections are easier to control. Leave the lower arch until you feel steady.
- Use short, downward or outward strokes. Remove only hairs outside the mapped brow area. Avoid one long sweep across the brow.
- Check the shape repeatedly. After a few strokes, step back and compare both brows in normal lighting. Stop before the brow looks overly sharp or narrow.
- Leave uncertain hairs alone. If you are not sure whether a hair belongs to the brow structure, keep it. You can remove it later after reassessing.
The lower brow line needs the most care because it changes the apparent arch and expression of the face. Keep the blade below the natural brow edge and remove only obvious stray hairs. For beginners, a conservative cleanup looks better than an ambitious new shape.
Common Problems and How to Avoid Them
Uneven brows usually happen when the user works too close to the mirror for too long. Fix this by stepping back frequently and comparing both brows from normal distance. Shape slowly and avoid chasing perfect symmetry.
Redness or stinging often comes from excess pressure, repeated passes or shaving over reactive skin. Use lighter strokes, stop sooner and avoid strong skincare actives immediately before and after shaving. If irritation persists, discontinue use on that area.
Flat arches can result from removing too much hair above the brow. A small amount of cleanup above the brow may be fine, but aggressive shaving along the top can make brows look heavy or unnatural. Keep most shaping around stray hairs, the center area and the lower outside edge.
Patchy brow density happens when the blade enters the brow body. This is more likely when hairs are not brushed into place before shaving. Always brush first, map the shape, then shave only outside the body of the brow.
Dragging or pulling suggests a dull or dirty blade, poor angle or too much residue on the skin. Clean the tool, reassess the angle and replace the razor if it no longer feels smooth. Never compensate for a dull blade by pressing harder.
Aftercare for Comfortable Results
After shaving, remove loose hairs with a clean damp cloth or rinse gently. Pat dry rather than rubbing. If the skin feels dry or warm, apply a simple fragrance-free moisturizer. Avoid harsh scrubs, exfoliating acids, retinoids and alcohol-heavy products directly after razoring because the skin has been mechanically disturbed.
Makeup can be applied after the skin has calmed, but avoid packing heavy product onto irritated skin. If you plan brow shaping before a special event, it is safer to do it ahead of time rather than immediately before makeup. Temporary mild redness may occur, but swelling, persistent burning, broken skin or unusual discomfort is a sign to stop and reassess the tool, skin condition and technique.
Do not share eyebrow razors. The tool contacts skin closely, and sharing increases hygiene risk. In a salon, retail demonstration or training environment, single-user hygiene practices and clear tool handling instructions are essential.
Cleaning, Storage and Replacement
Tool care affects both hygiene and performance. Stainless steel is valued in grooming tools because it can support durability and resist corrosion when cared for properly, but it still needs cleaning and drying. A razor left wet in a humid drawer can deteriorate faster and may become less comfortable to use.
- Clean after each use: Remove visible hair and residue from the blade area carefully.
- Disinfect appropriately: Wipe the blade area with alcohol where suitable, then allow it to dry fully.
- Dry before storage: Do not cap or store the razor while moisture remains on the blade.
- Protect the edge: Use the cap or protective cover if supplied. Do not leave the razor loose with other metal tools.
- Replace when performance changes: If the razor drags, scratches, pulls hair or requires more pressure, stop using it.
Retailers and sourcing teams should look beyond the blade alone. Cap fit, packaging protection, user instructions and the way the razor is secured during transport all influence customer experience. A sharp tool that arrives damaged, uncapped or poorly explained can create avoidable complaints.
What B2B Buyers Should Check Before Sourcing Eyebrow Razors
For beauty retailers, salons, distributors and private-label teams, eyebrow razors are small items with high user-experience sensitivity. A buyer should evaluate how the razor feels in the hand, how the blade is protected, how clear the instructions are, and whether the design matches the target channel. A beginner-friendly retail item may need stronger visual guidance, while a salon-focused tool may prioritize grip and handling consistency.
Important inspection points include blade smoothness, edge consistency, cap security, handle comfort, surface finish, packaging durability and whether the finished product has sharp burrs or loose parts. Check samples using realistic handling: open the packaging, hold the razor with dry and slightly damp hands, remove the cap repeatedly, and inspect how safely the edge is presented to the user.
Cost depends on several factors that should be discussed with the supplier rather than assumed. These can include blade construction, handle material, color requirements, packaging style, quantity, inspection level, customization complexity and shipping arrangement. Avoid selecting only by unit price. A cheaper eyebrow razor that feels unstable, arrives with weak packaging or lacks clear instructions can create higher after-sales cost.
For consumer product compliance, requirements vary by destination market and product positioning. In the United States, the Consumer Product Safety Commission may be relevant to general consumer product safety expectations. In the European Union, the General Product Safety Regulation may apply to products placed on the market. Always verify current regulatory versions, importer duties, labeling rules and supplier documents for your market. Do not rely on a general product description as proof of compliance.
If you are building a brow-care assortment, you can send a sourcing inquiry with your target market, packaging direction and customization questions. For broader category planning, contact Olimor to discuss available beauty tool options.
Supplier Evaluation Checklist
| Buyer question | Why it matters | What to request or inspect |
|---|---|---|
| Is the blade protected during shipping and storage? | Prevents damage and reduces user handling risk | Cap design, packaging structure and packed samples |
| Does the handle support controlled movement? | Grip affects safety around the eye area | Sample testing with different hand positions |
| Are instructions clear for beginners? | Reduces misuse, over-shaving and complaints | Usage warnings, cleaning guidance and packaging copy |
| Is product appearance consistent? | Retail buyers need dependable shelf presentation | Color, finish, printing and assembled product checks |
| Can customization be documented? | Private-label projects need clear approval records | Artwork confirmation, packaging proofs and agreed specifications |
FAQ
Can I request eyebrow razor samples before placing an order?
Samples are commonly used to evaluate grip, blade feel, packaging and appearance before confirming a sourcing plan. Share the intended market and product requirements so the sample review is meaningful.
Is there a fixed MOQ for customized eyebrow razors?
MOQ can depend on the product style, packaging choice and customization scope. Confirm the current requirement directly with the supplier before planning launch quantities.
What customization options should buyers discuss?
Common discussion points include handle color, packaging format, printed information and assortment planning. Any customization should be confirmed with approved samples or written specifications.
How should quality be checked before shipment?
Buyers should review blade protection, handle finish, cap fit, packaging condition, labeling and overall consistency. Ask what inspection documents or sample approvals are available for the order.
How long does production or delivery take?
Lead time varies by order details, customization, packaging and logistics. Confirm timing during the inquiry stage and recheck it after artwork, samples or order specifications are approved.
An eyebrow razor is most useful when it is treated as a detail tool, not a shortcut for reshaping the entire brow. Use clean skin, good light, a light angle and short strokes. For B2B buyers, prioritize handling, safety presentation, packaging and supplier communication alongside cost. The best eyebrow razor is one that users can understand quickly, control easily and maintain hygienically.
Tag: