How to Use an Eyelash Curler Without Fearing for Your Lids
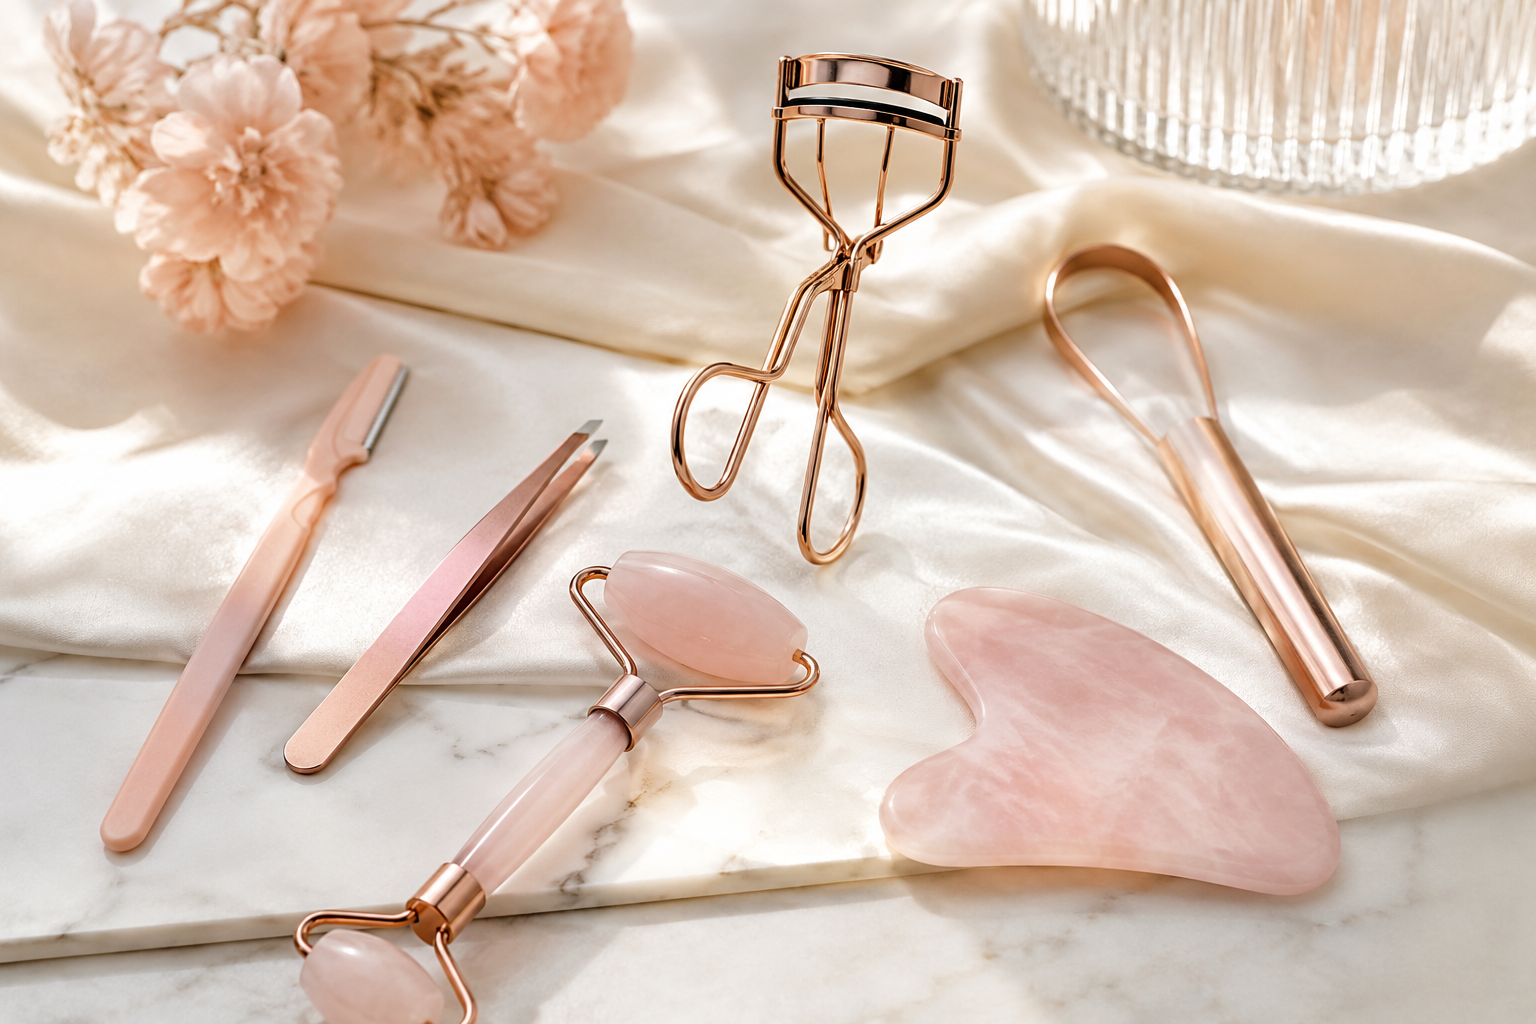
Eyelash curlers are one of the most effective tools in your makeup arsenal for achieving wide-eyed, fluttery lashes. Yet many people avoid them out of fear of pinching their eyelids or damaging their lashes. Don’t worry — with the right technique and a quality Eyelash Curler, you can curl your lashes safely and beautifully every time.
Why Use an Eyelash Curler?
- Instantly opens up the eyes
- Makes mascara look more voluminous
- Gives a natural lift that lasts all day
- Works for almost all eye shapes when done correctly
Essential Safety Tips Before You Start
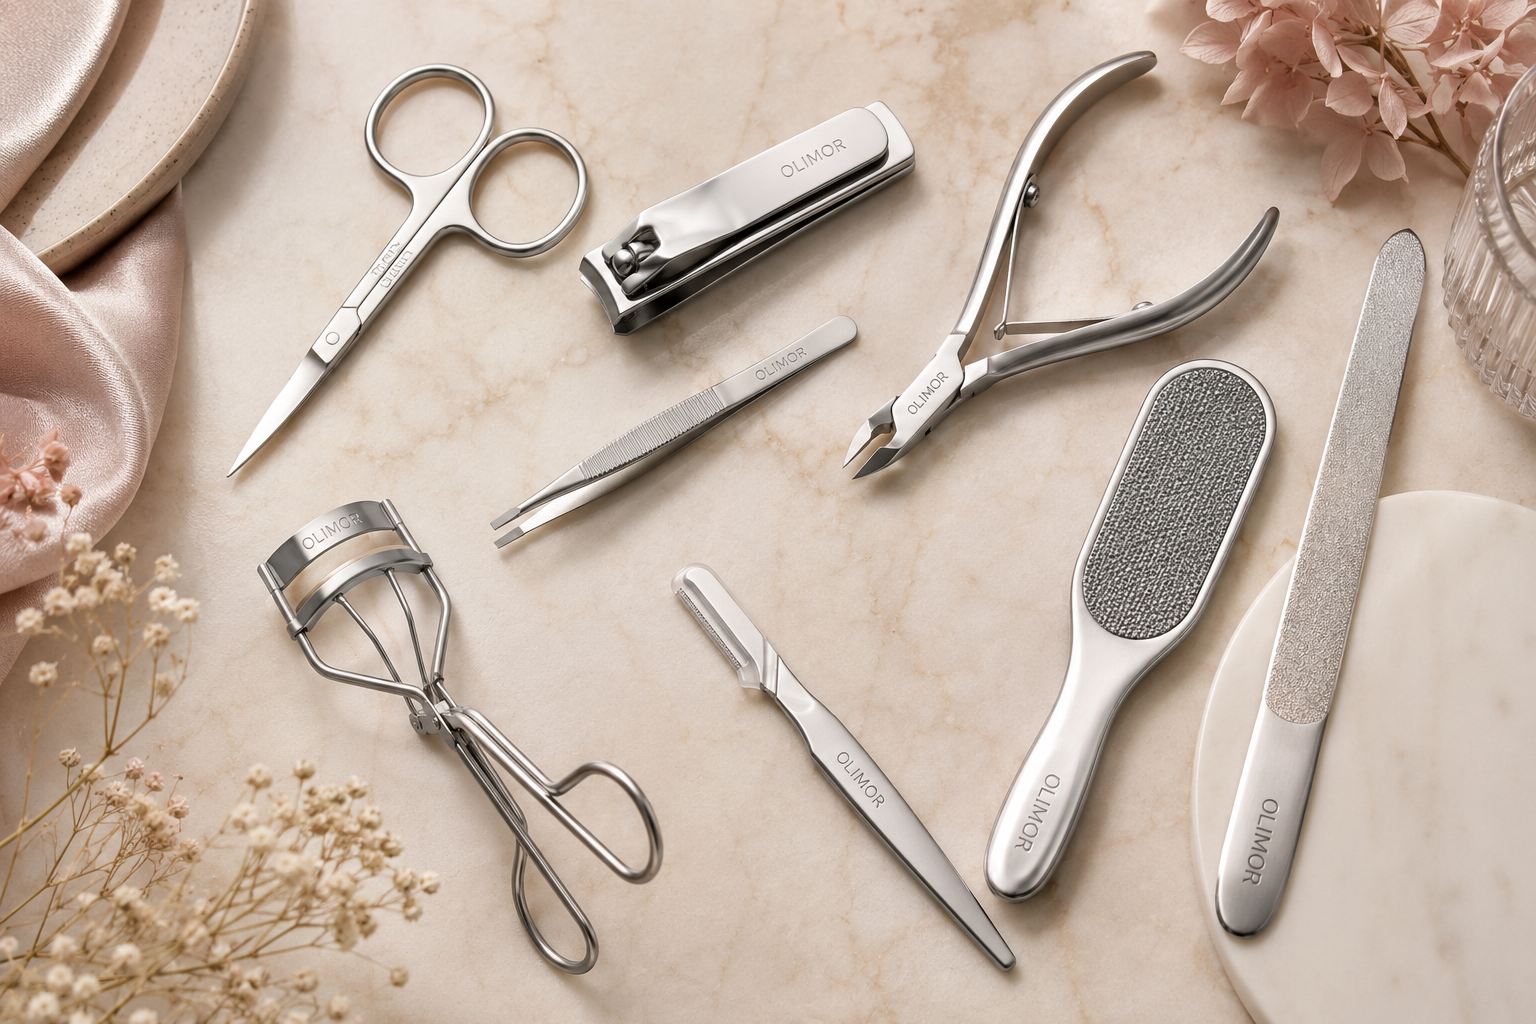
Always choose a high-quality Eyelash Curler with a comfortable grip and replace the rubber pad every 3-6 months.
Quick Safety Checklist:
- Clean your curler before and after each use
- Never curl wet lashes (always wait until they are completely dry)
- Avoid tugging or pulling — gentle pressure is enough
Step-by-Step Guide: How to Use an Eyelash Curler Safely
Step 1: Prepare Your Lashes Start with clean, dry, and mascara-free lashes. Apply a thin layer of eyelash primer if you want extra hold.
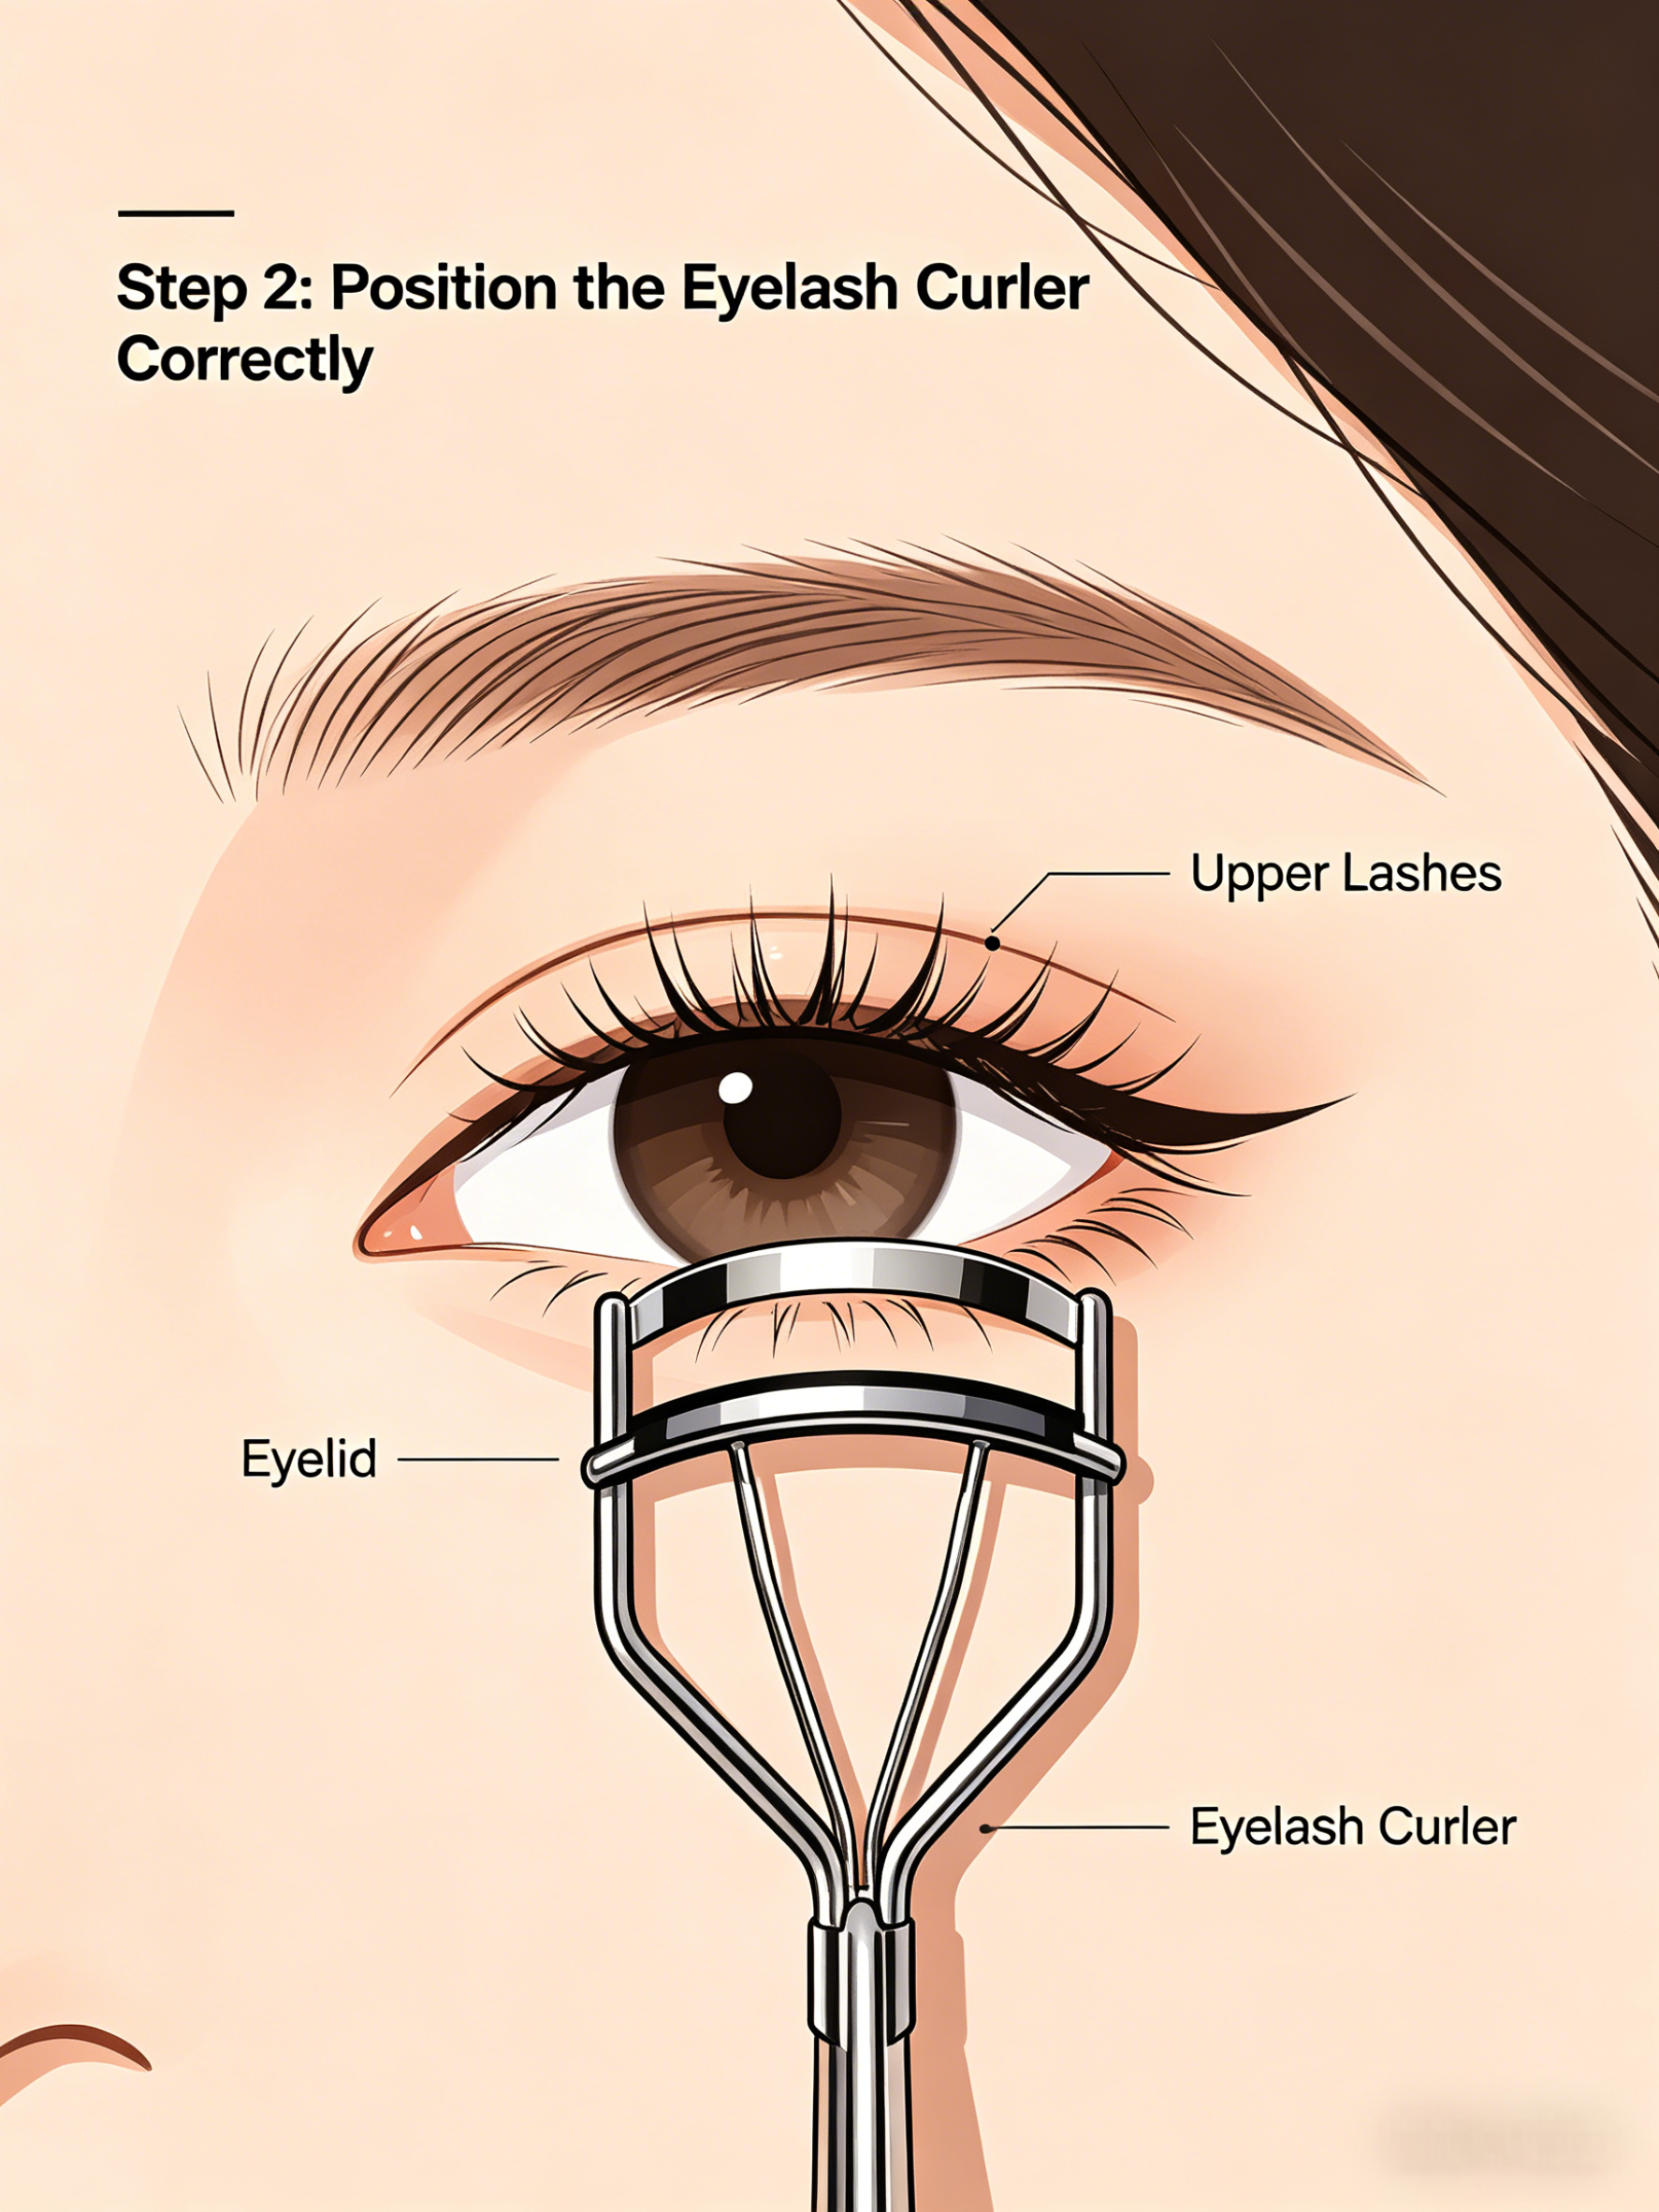
Step 2: Position the Eyelash Curler Correctly Open the Eyelash Curler and place it at the base of your upper lashes, as close to the eyelid as possible without pinching the skin. Keep your eye open and look slightly downward.
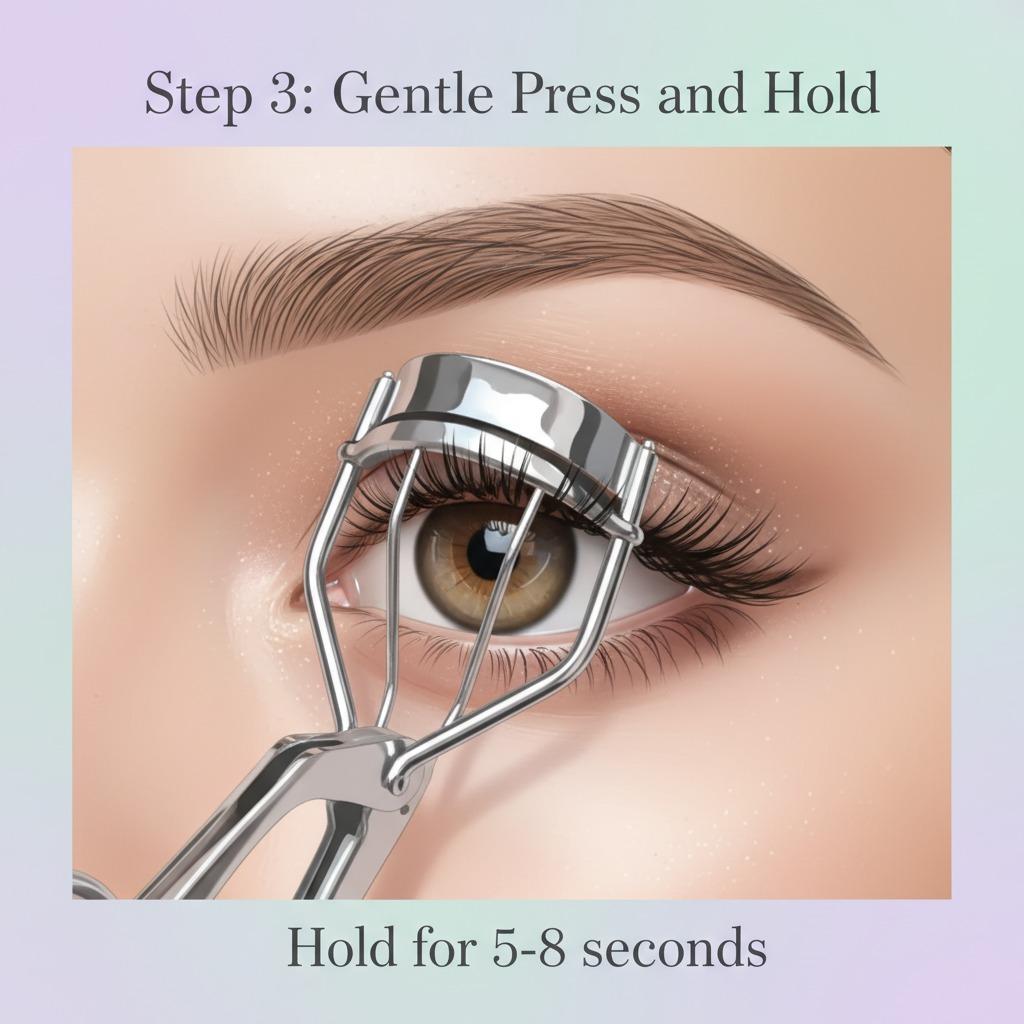
Step 3: Gentle Press and Hold Gently squeeze the handles and hold for 5-8 seconds. Release slowly. Move the curler slightly outward along the lash line (mid-lashes) and repeat for a natural curve. Finish with the tips for extra lift.
Step 4: Apply Mascara Wait 10-15 seconds, then apply your favorite mascara. Curling before mascara prevents clumping and helps the curl last longer.
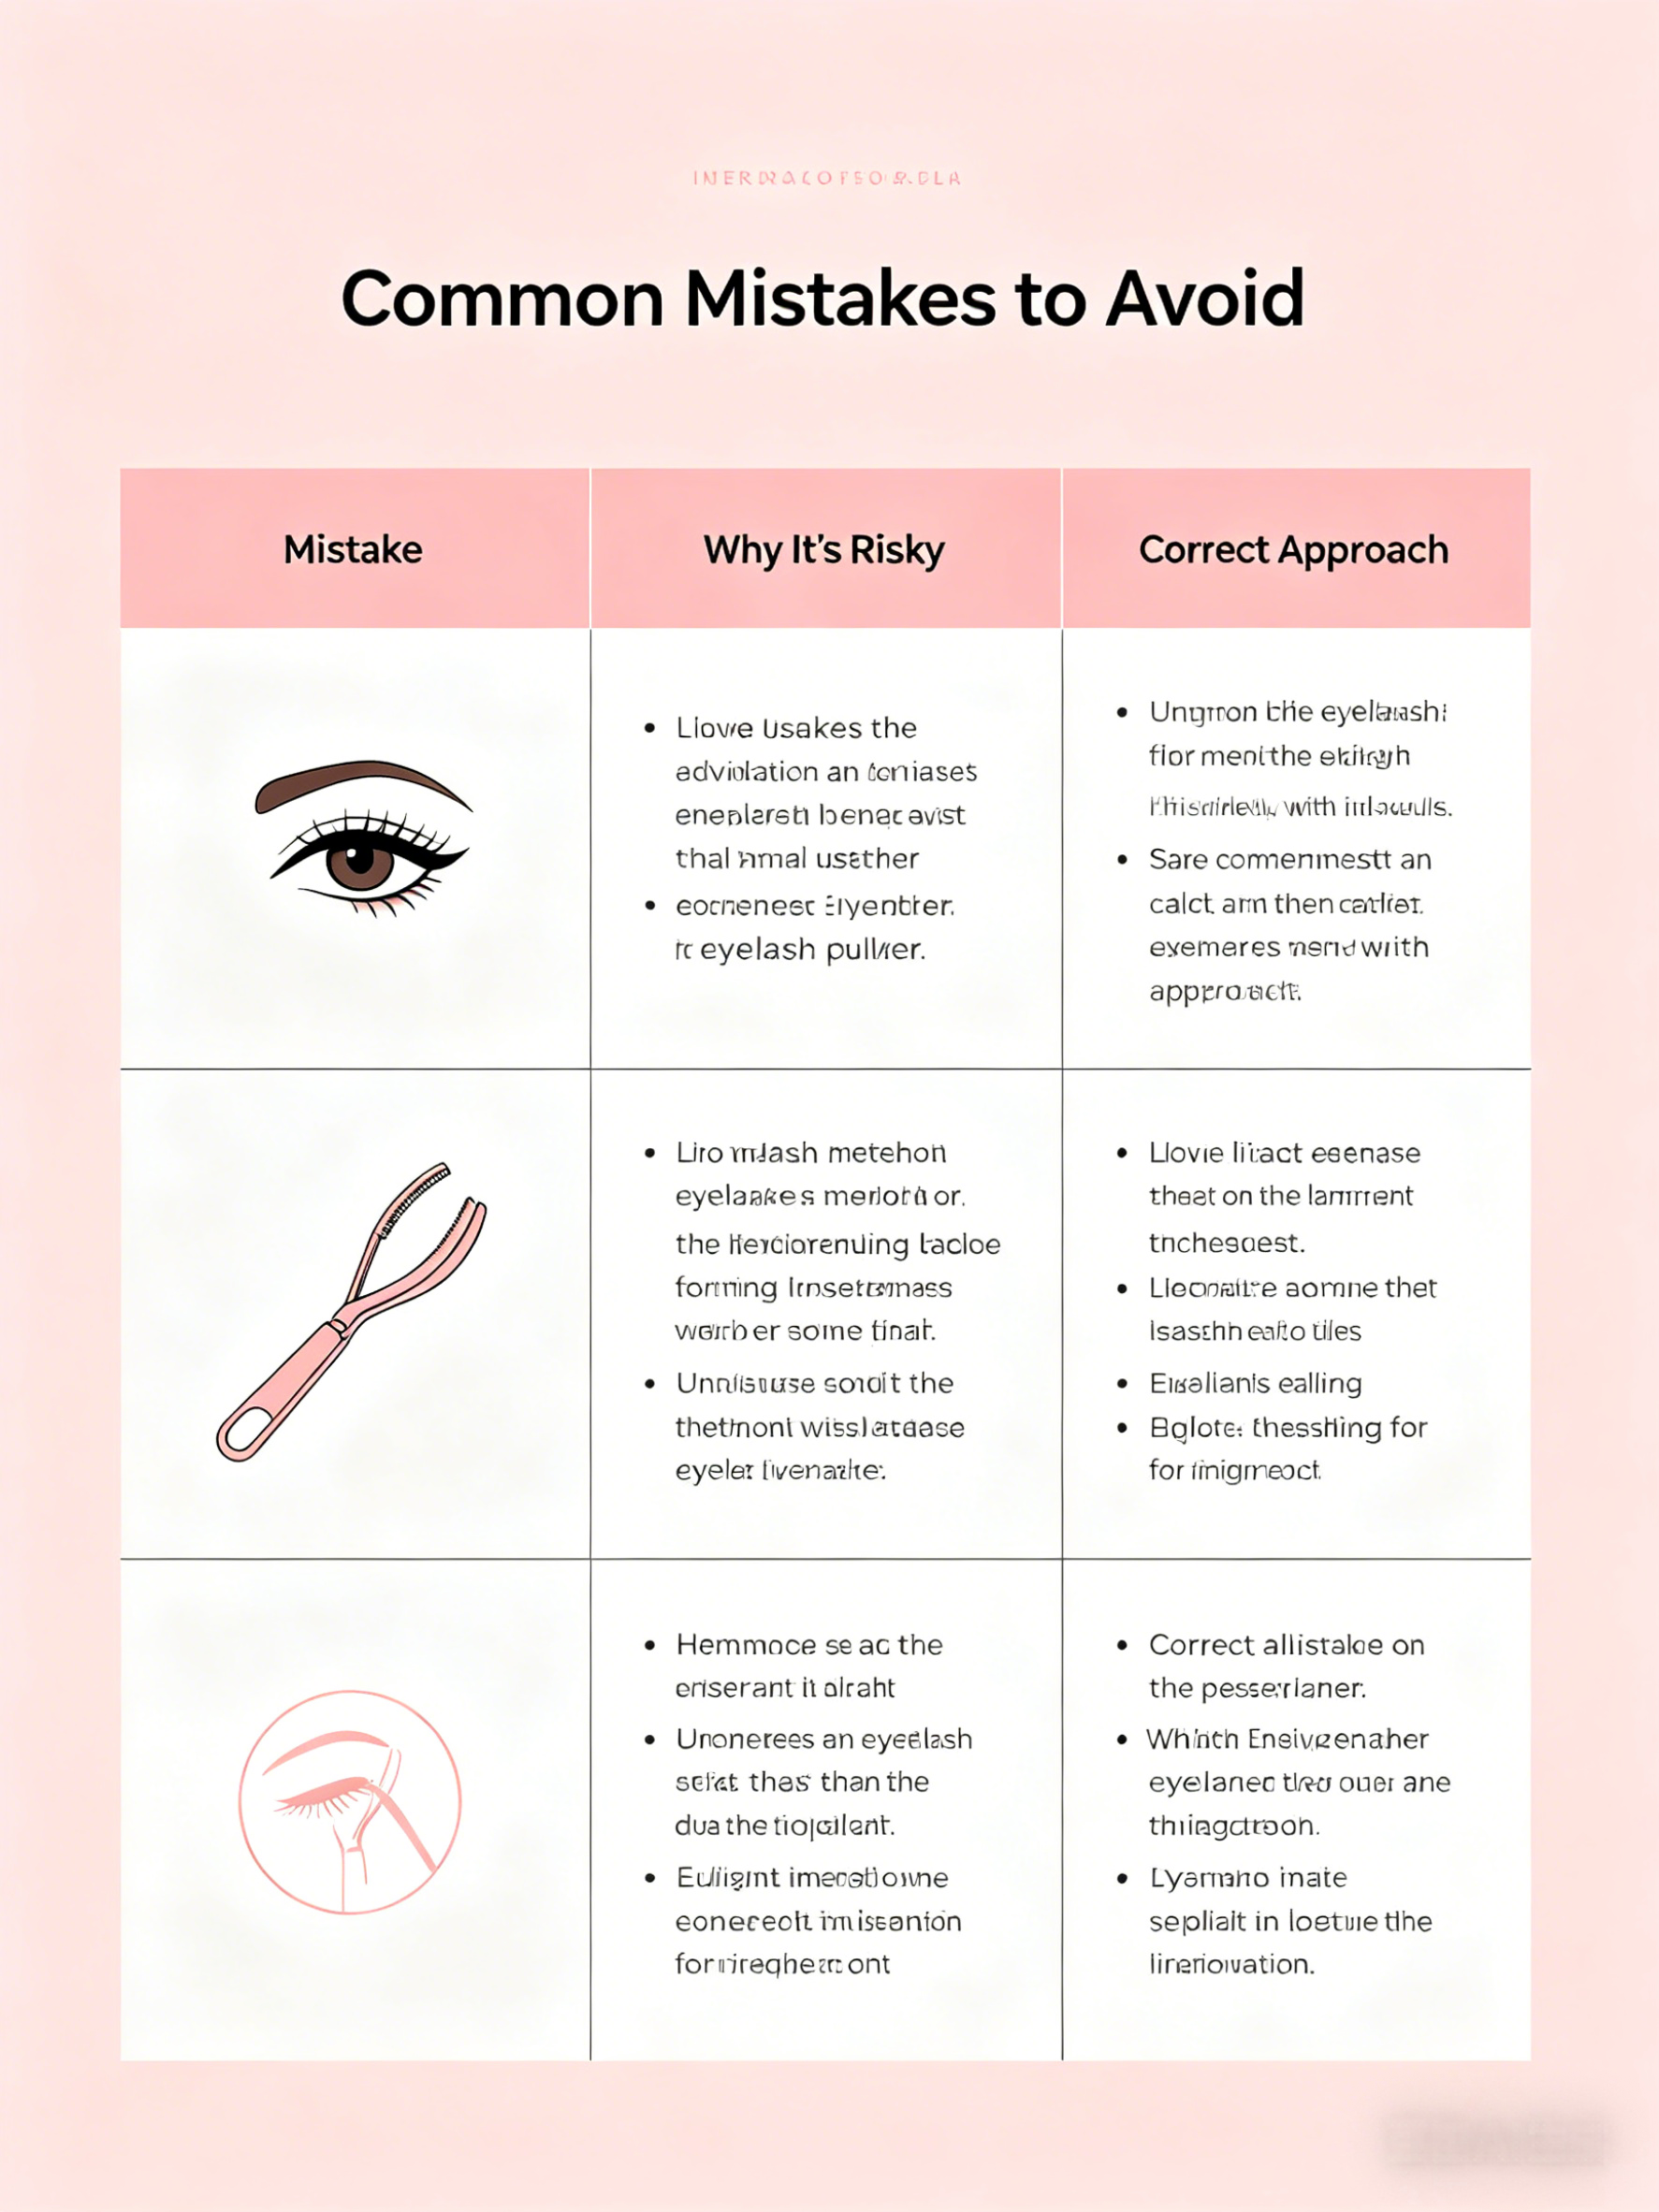
Common Mistakes to Avoid (Table)
| Mistake | Why It's Risky | Correct Approach |
|---|---|---|
| Curling after mascara | Lashes stick to pad and may pull out | Always curl bare lashes first |
| Pinching the eyelid | Causes pain and redness | Place curler at lash line, eye open |
| Using old/damaged rubber pad | Can tug or break lashes | Replace pad regularly |
| Squeezing too hard | Can crease or damage lashes | Use gentle, steady pressure |
| Rushing the process | Uneven curl or accidents | Take time and do small sections |

Pro Tips for Best Results
- Warm your Eyelash Curler slightly with a hairdryer (on low) for 5-10 seconds for a stronger curl (test temperature first!)
- For hooded or deep-set eyes, use a smaller or angled Eyelash Curler
- Practice on one eye first until you feel confident
- Combine with lash serum at night for healthier, longer lashes over time
Final Look
Mastering the Eyelash Curler takes just a little practice. Once you get comfortable, it becomes one of the quickest ways to transform your look and boost your confidence. Say goodbye to the fear and hello to lifted, gorgeous lashes!
Share your own eyelash curling success stories or tips in the comments below!
Always remember: beauty tools are meant to enhance, never to harm. Take it slow and be kind to your eyes.