Beginner Eyebrow Razors: How to Choose, Use, and Source Them Safely
Eyebrow razors are small facial grooming tools designed to tidy stray brow hairs and fine facial fuzz with controlled, shallow strokes. For beginners, the right razor should be easy to hold, simple to clean, and precise enough to work around the brow without removing too much hair. For retailers, salons, and beauty brands, the right eyebrow razor also needs consistent assembly, protected packaging, and clear user guidance.
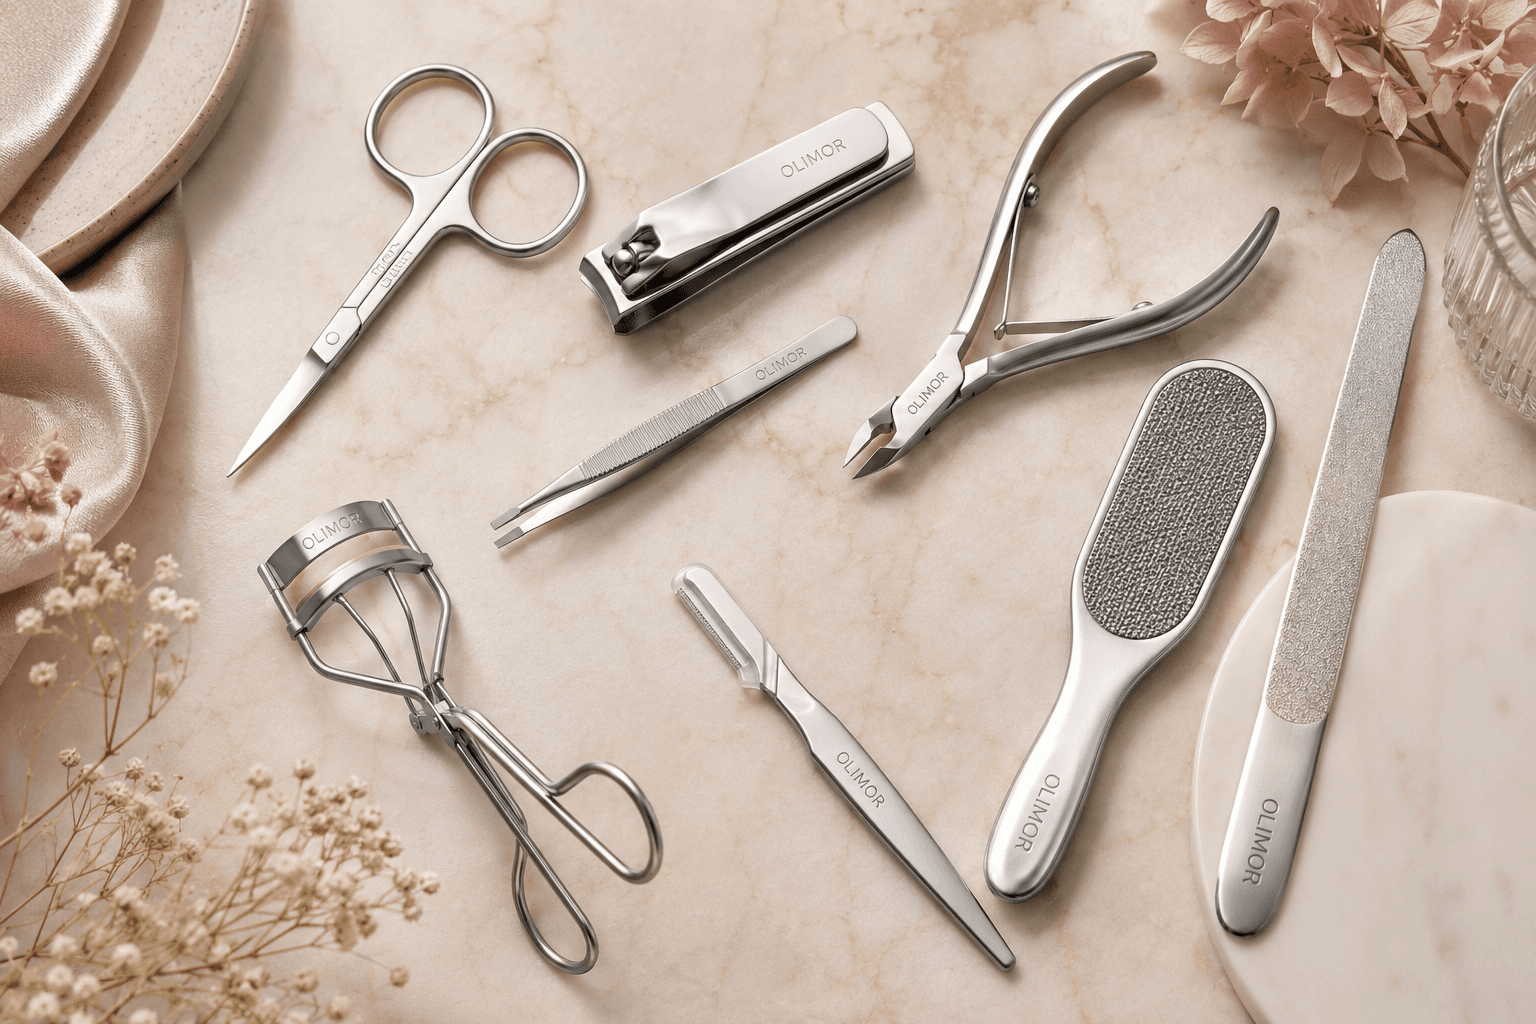
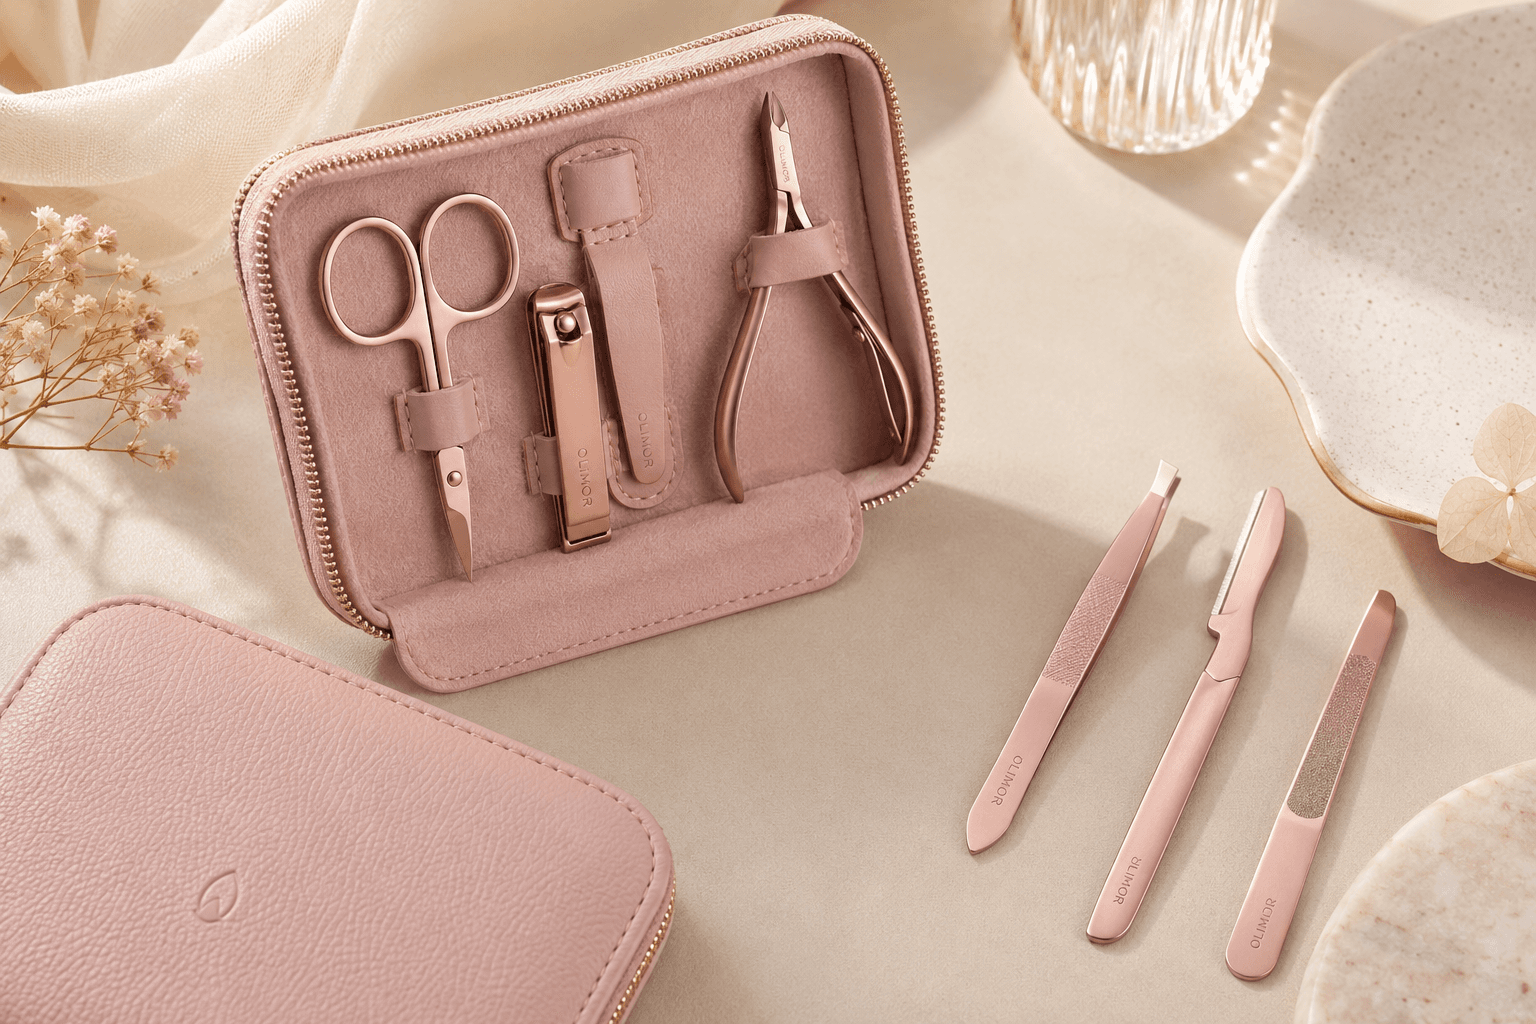
Olimor Beauty offers an eyebrow razor with a slim mint-green handle and a finely serrated blade design for precise facial grooming when used with care. This guide explains how beginners can choose and use eyebrow razors safely, and how commercial buyers can evaluate this type of beauty tool for retail, salon, travel, or promotional assortments. For related grooming items, buyers can review Olimor beauty tool products.
What an Eyebrow Razor Is Best Used For
An eyebrow razor is best for light surface grooming around the brow area. It can remove visible stray hairs above the brow, fine hairs between the brows, and peach fuzz around the brow bone. It is not meant to carve a completely new brow shape, shave the eyelid aggressively, or replace professional shaping when major correction is needed.
Beginners often prefer eyebrow razors because they do not pull hair from the root like tweezers, waxing, or threading. This makes the process feel less intimidating. The user can work in small zones, pause often, and check both brows before continuing. That level of control is useful for people who want a cleaner makeup finish or light maintenance between professional brow appointments.
The main risk is over-shaving. Because the tool removes hair quickly, a beginner may take away too much from the arch or tail before noticing. The safest approach is to treat an eyebrow razor as a detail tool. Remove only the hairs clearly outside the natural brow line, then stop and reassess.
Beginner-Friendly Features to Look For
A beginner eyebrow razor should support steady hand movement and easy blade placement. The best choice is not necessarily the most aggressive-looking blade; it is the tool that gives the user enough control to make short, careful strokes. When comparing options, focus on the handle, blade protection, visibility, and hygiene.
- Slim, controllable handle: A lightweight handle helps the user work close to the brow bone without feeling clumsy. The handle should not feel slippery during use.
- Fine blade edge: A finely serrated blade design can help catch short facial hairs while encouraging careful, small movements.
- Narrow working area: A small facial razor is easier to control around the brow tail and arch than a larger shaving tool intended for broad skin areas.
- Protective cover: The blade should be covered when stored or transported to reduce accidental contact and help keep the edge clean.
- Easy cleaning: The blade area should allow hair and residue to be wiped away after use, followed by drying before storage.
- Clear user instructions: Beginner customers benefit from simple warnings, shaving direction notes, and aftercare guidance on packaging or inserts.
For B2B buyers, these features also affect customer satisfaction and returns. A razor that looks attractive but lacks blade protection, grip comfort, or clear instructions may not be suitable for first-time users. When building a beauty tool assortment, compare eyebrow razors with other facial grooming tools in Olimor product collections to create a more complete retail offer.
Eyebrow Razor vs Tweezers, Waxing, and Threading
Different brow grooming methods solve different problems. An eyebrow razor is a convenient choice for light surface cleanup, but it does not remove hair from the root. Buyers and users should understand the differences before choosing a tool or writing product page copy.
| Method | Best for | Beginner considerations | Commercial buying note |
|---|---|---|---|
| Eyebrow razor | Quick cleanup of stray hairs and fine facial fuzz | Requires light pressure and careful mapping to avoid over-shaving | Good for retail, travel kits, salon add-ons, and entry-level grooming sets |
| Tweezers | Removing individual hairs with high precision | Can be slow and may lead to over-plucking if the user focuses on one hair at a time | Often paired with brow razors in grooming kits |
| Waxing | Removing larger areas of hair from the root | Less forgiving for beginners and may irritate sensitive skin | Usually service-based or sold with more detailed warnings |
| Threading | Professional shaping and defined edges | Requires skill and can be difficult for at-home beginners | More relevant to services than simple retail tools |
For a beginner, the main advantage of an eyebrow razor is control over small surface areas. For commercial buyers, the appeal is that it is easy to explain, compact to package, and suitable for many grooming routines when instructions are clear.
How to Map Brows Before Shaving
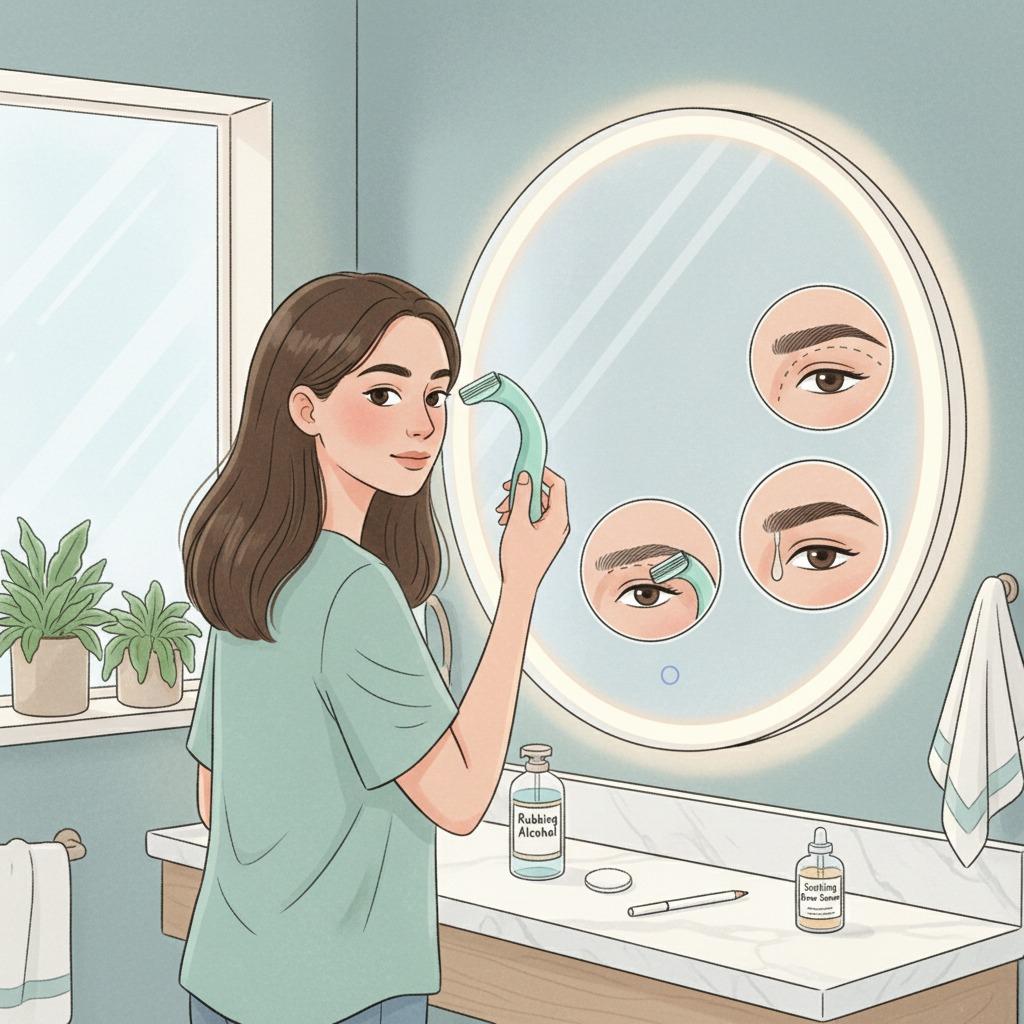
Mapping the brow before shaving helps protect the natural shape. Beginners should never start by shaving into the main body of the brow. Instead, they should identify the start, arch area, and tail, then remove only the hairs clearly outside that outline.
- Find the brow start: Hold a clean pencil or thin makeup brush vertically from the side of the nose toward the inner corner of the eye. This indicates the general starting area.
- Find the arch area: Angle the pencil from the side of the nose through the outer part of the iris while looking straight ahead. This suggests where the brow naturally lifts.
- Find the tail: Angle the pencil from the side of the nose to the outer corner of the eye. This helps estimate where the brow should usually end.
- Mark only the stray zones: Use a light eyeliner pencil to mark hairs outside the desired shape. Avoid marking into the fuller brow body.
- Check both brows together: Brows do not need to match perfectly. Aim for balance and avoid shaving one brow repeatedly to match the other.
If the user is uncertain, the safest choice is to remove less hair. A few remaining strays can be cleaned up later, but a shaved gap in the brow line needs time to grow back.
Step-by-Step Safe Use for First-Time Users
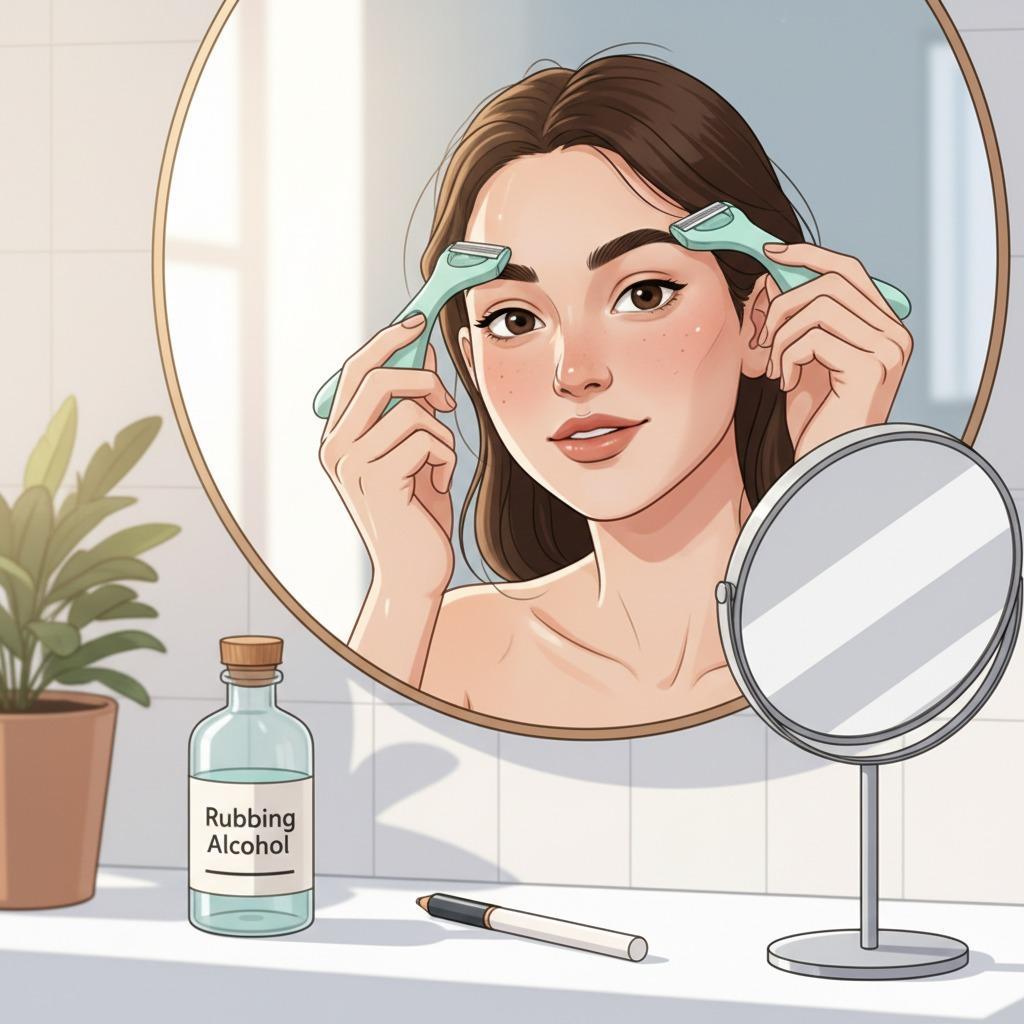
Safe eyebrow shaving depends on preparation, light pressure, and aftercare. Beginners should use a bright mirror and avoid shaving when rushed. They should also avoid shaving skin that is sunburned, broken, inflamed, or recently irritated by strong exfoliants.
- Clean the skin: Remove makeup, sunscreen, oil, and brow product. Pat the area dry so the tool does not slip.
- Inspect the razor: Check that the blade area is clean, undamaged, and securely attached. Do not use a razor that looks bent, rusty, loose, or contaminated.
- Sanitize if appropriate: Wipe the blade area with alcohol and allow it to dry before touching the face.
- Hold skin gently taut: Use the free hand to stretch the skin near the brow bone. This helps the blade glide more evenly.
- Use a shallow angle: Place the blade lightly against the skin rather than straight down. Avoid digging into the skin.
- Make short strokes: Move in small, careful strokes in the direction of hair growth. Do not use long, sweeping motions.
- Start above the brow: The upper brow area is often easier for beginners than the lower edge near the eyelid.
- Wipe the blade often: Clear hair and skin debris so the user can see the working edge.
- Pause and compare: Step back from the mirror after a few strokes. Check both brows before continuing.
- Finish gently: Wipe the area with clean water or a mild soothing product. Avoid fragrance-heavy products, strong acids, and retinoids immediately after shaving.
If the skin stings, becomes very red, or feels scraped, stop immediately. Continuing over irritated skin increases the chance of discomfort and an uneven result.
Common Problems and Practical Fixes
Most beginner mistakes happen because the user presses too hard, works too quickly, or tries to reshape the whole brow in one session. Clear instructions can prevent these problems and help commercial buyers reduce customer complaints.
| Problem | Likely cause | Practical fix |
|---|---|---|
| Skin feels scraped | Too much pressure or repeated strokes over the same area | Stop shaving, soothe the skin, and use lighter pressure next time |
| Brow looks uneven | One brow was shaved without comparing both sides | Pause after every few strokes and check overall balance |
| Too much hair removed | The user shaved into the brow body instead of only stray zones | Map the brow first and stay outside the natural brow line |
| Razor drags | Blade is dull, dirty, or wet with residue | Clean, dry, and replace the tool when it no longer removes fine hairs cleanly |
| Redness after use | Sensitive skin, exfoliation, sun exposure, or harsh aftercare | Avoid shaving irritated skin and keep aftercare simple |
Retailers can turn these troubleshooting points into product inserts, product page content, or salon staff training notes. The goal is to set realistic expectations: an eyebrow razor is effective for surface grooming, but it must be used with patience and care.
Cleaning, Storage, and Replacement
An eyebrow razor should be kept clean, dry, and covered between uses. After shaving, carefully remove trapped hairs from the blade area, wipe the tool, allow it to dry, and replace the protective cover if supplied. Storing a damp razor in a humid bathroom can affect blade condition over time.
Eyebrow razors should not be shared. Even a tool that appears clean may carry oil, skin cells, or microorganisms from another user. For salons or beauty service environments, single-user handling policies and sanitation procedures should be defined before the tool is introduced.
Replace the razor when it no longer removes fine hair cleanly, when the blade feels rough against the skin, or when there are visible signs of damage. A dull blade encourages the user to press harder, which increases the risk of irritation. For retail customers, packaging should explain that the tool needs to be inspected before each use and replaced when performance declines.
B2B Buying Checklist for Eyebrow Razors
Commercial buyers should evaluate eyebrow razors from both a product performance and user safety perspective. The item may be small, but it carries a blade and is often used near the eye area. Consistency, packaging, and documentation are important.
- Product handling: Does the handle shape feel stable for short strokes and controlled work?
- Blade protection: Is the blade covered during packing, storage, and customer handling?
- Assembly consistency: Does the blade area appear secure and uniform from piece to piece?
- Surface finish: Are there rough edges, loose parts, or cosmetic defects that could affect perceived quality?
- Packaging durability: Will the package protect the razor through shipping, display, and customer handling?
- Instruction space: Is there room for basic use, sanitation, warning, and storage guidance?
- Assortment fit: Does the razor complement tweezers, facial grooming tools, mirrors, or brow accessories?
- Supplier communication: Can the supplier discuss intended market, packaging needs, customization options, and quality checks clearly?
Cost is influenced by material choices, blade protection, packaging format, decoration, order requirements, inspection needs, and shipping method. Without confirmed project details, a reliable supplier should not provide unsupported claims. Instead, buyers should define the intended sales channel, target packaging, customization expectations, and quality requirements before requesting a quotation. To discuss a project, submit details through the Olimor product inquiry page.
Quality, Compliance, and Documentation Questions
Because eyebrow razors are grooming tools with blade edges, buyers should check applicable product safety, labeling, and import requirements in the markets where they sell. Regulations may vary by country and channel. Public bodies such as the U.S. Consumer Product Safety Commission and the European Union product safety framework can be useful reference points for general consumer product obligations. Always verify current versions and request supplier documents relevant to the actual product and destination market.
Important documentation questions include whether the product specification is clear, whether packaging artwork includes appropriate warnings, and how inspection is handled before shipment. Buyers should also confirm whether any requested claims, such as skin compatibility language or professional-use positioning, can be supported by appropriate documents. Do not assume that a general beauty tool automatically meets every local labeling or retail platform requirement.
For sourcing teams, inspection should include visible blade condition, cap fit, handle finish, cleanliness, packaging protection, carton markings, and sample comparison against approved reference units. These checks help reduce the risk of receiving products that look inconsistent or are difficult for customers to use safely.
When an Eyebrow Razor Is a Good Retail Choice
An eyebrow razor is a strong retail choice when the target customer wants low-commitment facial grooming, travel-friendly beauty tools, or simple brow maintenance. It is also useful in starter beauty kits because it is easy to understand and does not require wax warmers, thread skill, or professional setup. However, retailers should position it honestly: it is a precision surface razor for tidying and detail work, not a permanent hair removal solution.
The Olimor eyebrow razor’s slim handle and finely serrated blade design make it suitable for controlled facial grooming when used properly. For beauty brands, salons, and distributors, the most important buying decision is whether the product design, packaging, and instructions match the experience level of the intended customer. If the product is aimed at beginners, the message should emphasize mapping, short strokes, clean storage, and gradual grooming.
For help comparing eyebrow grooming options or discussing packaging and assortment needs, buyers can contact Olimor Beauty with their intended market, sales channel, and application.
FAQ
Can I request samples before placing a bulk eyebrow razor order?
Sample availability depends on the product, customization needs, and current stock situation. Buyers should share the intended use, market, and packaging expectations so the sample can be evaluated against the right requirements.
Is there a minimum order quantity for eyebrow razors?
MOQ can vary based on product style, packaging, customization, and production planning. Confirm the current requirement directly with Olimor before building a quotation or launch schedule.
Can eyebrow razors be customized for a retail brand?
Customization may involve packaging, color, branding, or assortment configuration, depending on the project. Buyers should provide artwork needs, sales channel, and target positioning so feasibility can be reviewed.
What quality checks should buyers request?
Useful checks include blade condition, blade protection, cap fit, handle finish, cleanliness, packaging protection, and consistency against approved samples. Buyers should also verify documents required for their destination market.
How should lead time be confirmed?
Lead time depends on order details, customization, packaging approval, production schedule, inspection, and shipping method. Confirm timing after specifications and order requirements are finalized.
Tag: