Eyelash Curler Guide for Natural Lift, Safer Use and B2B Sourcing
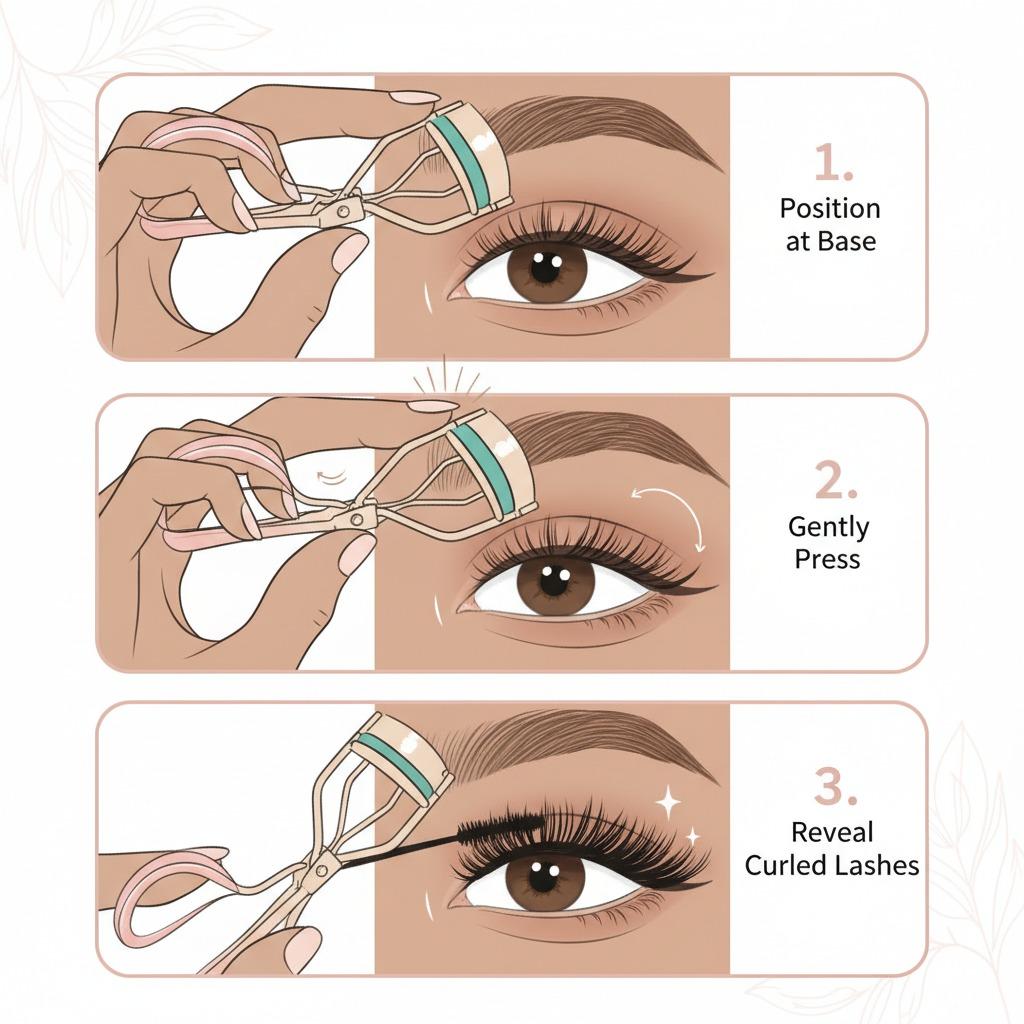
An eyelash curler is a compact beauty tool with a simple purpose: it bends natural upper lashes upward so the eye area looks more open before mascara. For beginners, the challenge is not the tool itself but how to choose a comfortable design, position it correctly, avoid pinching, and keep the pad clean and intact. For retailers, salons and beauty-tool buyers, the same details also affect user satisfaction, return risk and repeat purchasing.
This guide focuses on one practical question: how do you evaluate and use an eyelash curler for a clean, natural-looking lift without unnecessary lash stress? It covers personal use, sample inspection, maintenance, cost factors and supplier questions. Olimor Beauty describes its eyelash curler with stainless steel construction, ergonomic handles, a flexible silicone pad, a wide curling surface and a soft pink finish. Those product-specific details provide a useful framework for understanding what matters in daily handling and B2B sourcing.
What an Eyelash Curler Does
An eyelash curler presses lashes between a curved upper frame and a cushioned pad. The goal is to change the angle of the lashes, not to lengthen them, add fibers or replace mascara. Used correctly, it creates a lifted curve that can make natural lashes appear more visible and defined.
The best result usually comes from curling clean, dry, mascara-free lashes before applying mascara. Mascara can make lashes sticky, rigid or easier to tug, especially after it dries. Beginners should treat the curler as a preparation tool rather than a finishing tool.
A smooth curl depends on three factors: alignment, pressure and cushioning. Alignment keeps the tool away from the eyelid while capturing the lash line. Controlled pressure prevents a sharp crimp. A resilient silicone pad cushions the lashes against the metal frame. If any of these factors is poor, the result may be pinching, an unnatural bend or avoidable stress on the lashes.
Key Parts of a Beginner-Friendly Eyelash Curler
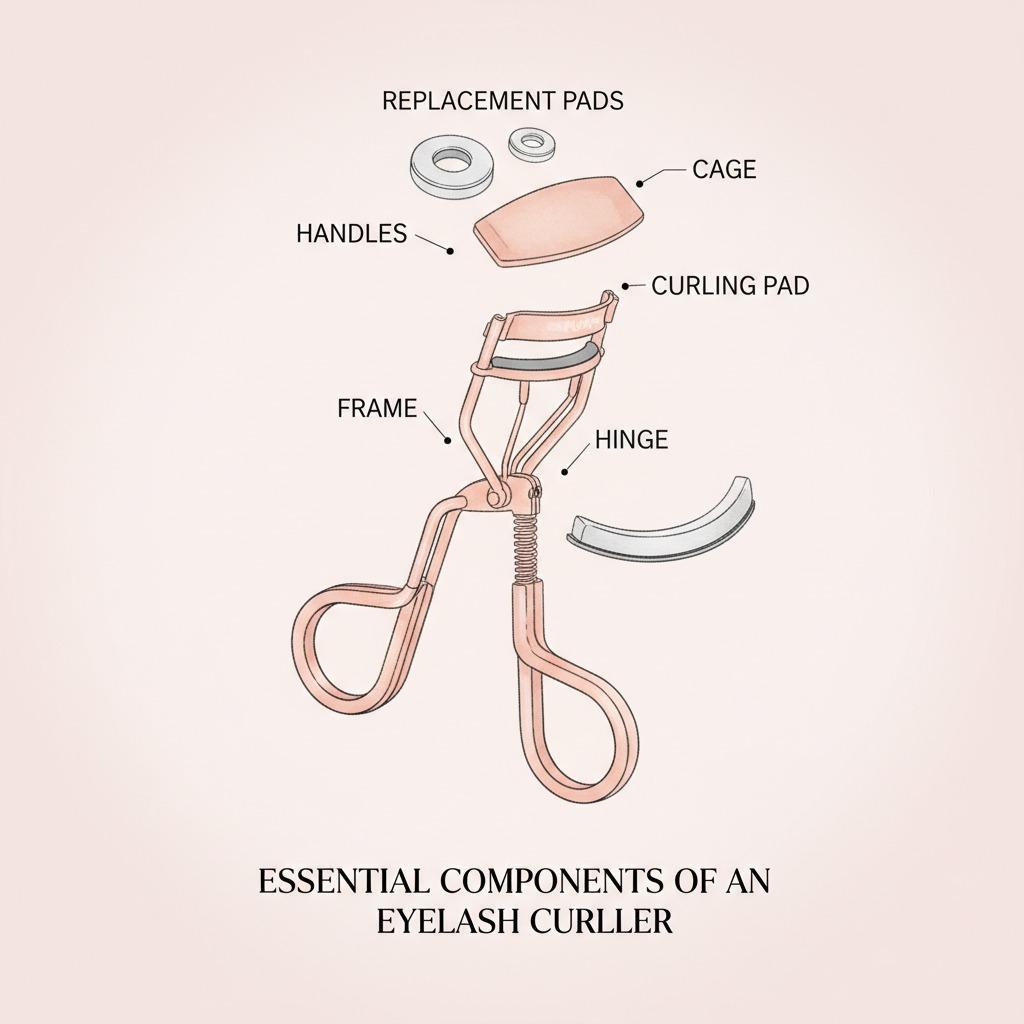
Product photos often emphasize color and shape, but the most important features are the parts that touch the lashes and the parts that control hand pressure. When comparing curlers in a retail assortment, salon kit or personal makeup bag, inspect the frame, handles, pad and closing action before judging appearance alone.
Stainless steel frame
A stainless steel construction gives the tool a firm structure. A stable frame helps keep the two sides aligned when pressure is applied. If the frame twists, rubs or closes unevenly, pressure may concentrate in one area instead of distributing across the lashes. Buyers should check that the frame opens and closes smoothly and that visible edges are finished cleanly.
Ergonomic handles
Handles control how much pressure the user applies. Ergonomic handles can make the tool easier to hold, especially for beginners who may squeeze too quickly. A comfortable grip supports small, controlled movements rather than sudden clamping. For B2B buyers, handle comfort should be tested by more than one person because hand size and grip style vary.
Flexible silicone pad
The pad is the main cushioning point. A flexible silicone pad should sit securely in the channel, feel resilient, and show no deep cuts, cracks or hardened areas. The pad should not slide out easily during normal opening and closing. A damaged pad can create uneven pressure and should not be used near the eye area.
Wide curling surface
A wide curling surface can help capture more of the upper lash line at once, particularly near the center of the eye. However, width alone is not enough. The curve should feel comfortable against the user’s eye shape, and the user should be able to position the tool close to the lash roots without touching the eyelid.
Finish and presentation
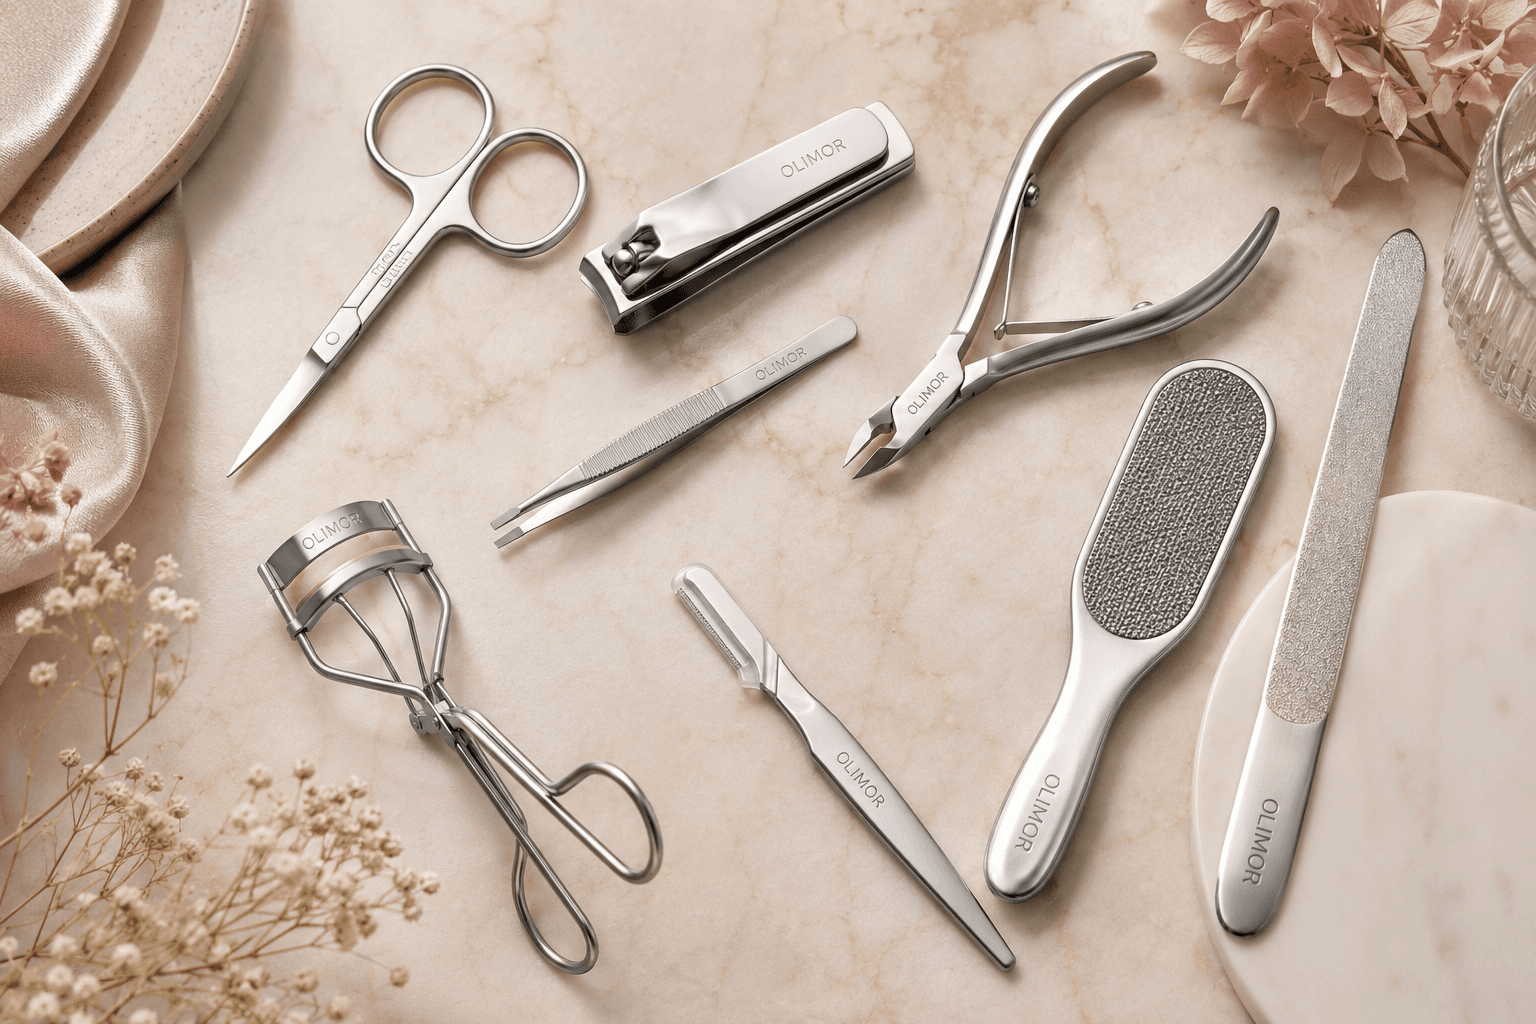
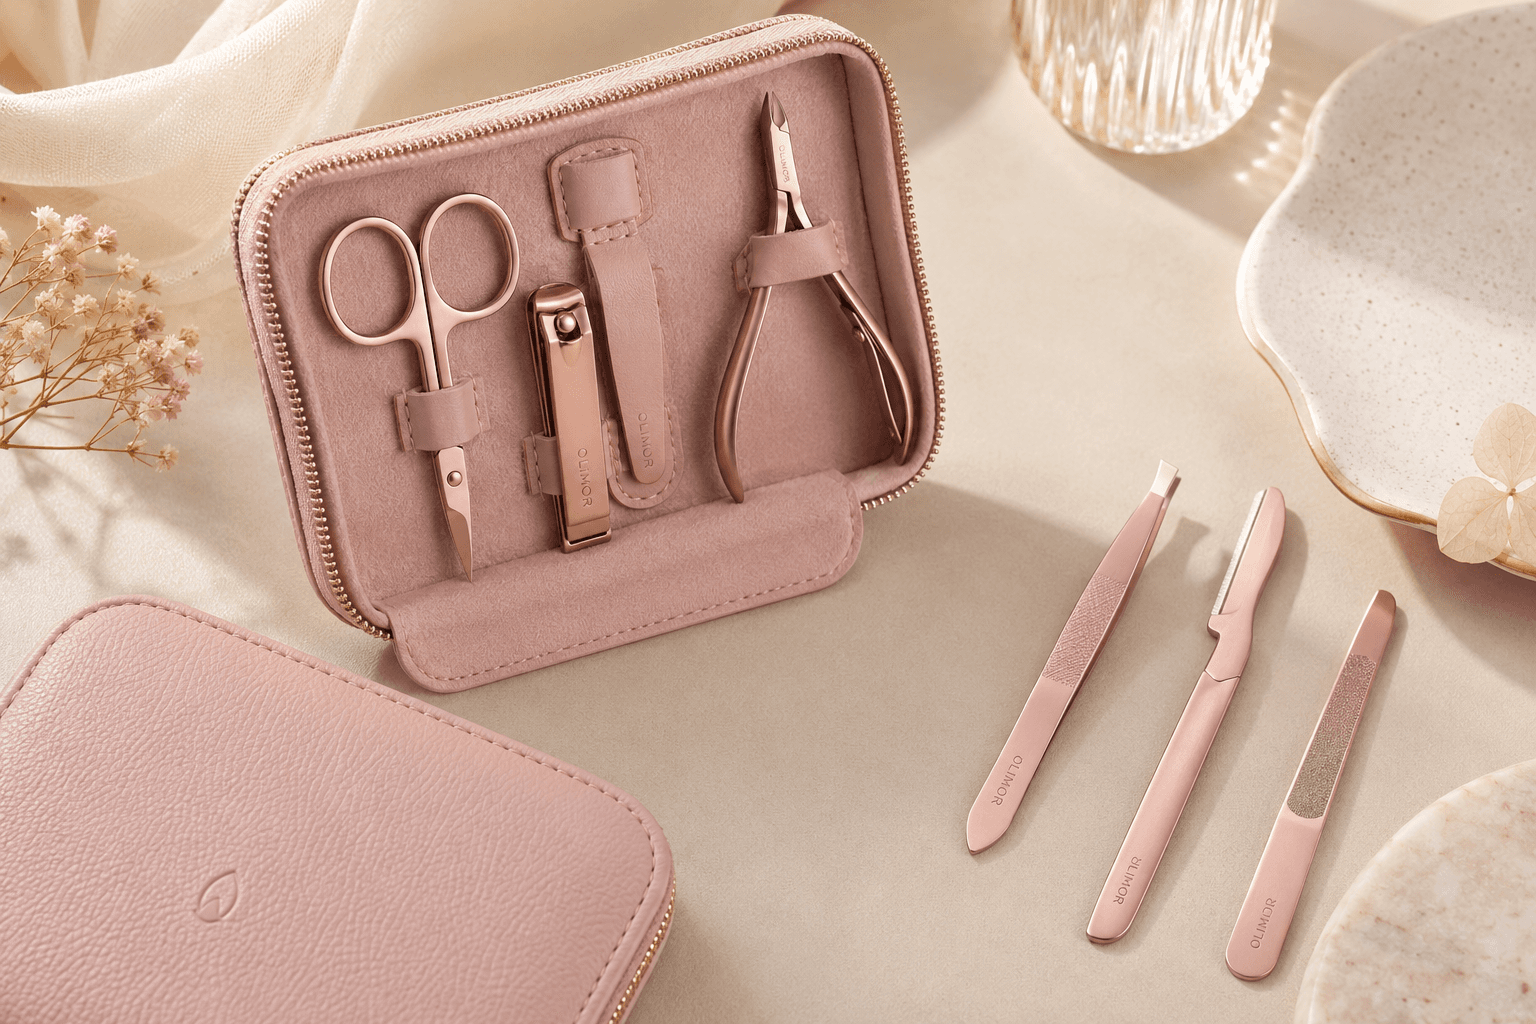
A soft pink finish does not change curling performance, but it can support retail appeal, giftability and easy identification in a beauty kit. For buyers building a cohesive assortment, finish consistency matters alongside function. Related tools can be reviewed through Olimor’s beauty tool products when comparing style, category fit and user expectations.
How to Use an Eyelash Curler Safely
Use the curler only when lashes are clean, dry and free from mascara. Work in good light with a mirror that lets you see the base of the upper lashes. If you are new to the tool, move slowly and keep your hand relaxed. The curler should never be dragged while closed.
- Inspect the pad. Confirm that the silicone pad is seated correctly and has no cracks, deep grooves, sticky areas or hard spots.
- Open the curler fully. Bring it toward the eye slowly. Avoid approaching from an awkward angle that forces the wrist to twist.
- Position near the base. Place the upper lashes inside the opening, close to the roots but not touching the eyelid. If skin is caught, release and reposition.
- Apply light pressure. Close the handles gently. Hold briefly with steady pressure. Do not clamp as hard as possible.
- Release completely. Open the curler fully before moving it away from the lashes.
- Optional: curl the middle. For a softer curve, move slightly toward the lash tips and press lightly again.
- Apply mascara afterward. If mascara is part of the routine, apply it after curling rather than before.
The most natural result usually comes from controlled, moderate pressure rather than one forceful squeeze. Users with very straight lashes may prefer two gentle positions: first near the base, then near the middle. This approach helps avoid an L-shaped crimp.
Common Problems and Practical Fixes
Most eyelash curler issues come from positioning, excessive pressure or poor pad condition. The table below can help users and buyers identify problems during personal use or sample evaluation.
| Problem | Likely cause | Practical fix | Buyer inspection point |
|---|---|---|---|
| Pinching at the eyelid | Tool placed too close to skin or wrong angle for the eye shape | Open fully, reposition slightly away from the lid and close more slowly | Check curve comfort with different users before approving a sample |
| Sharp crimp instead of curve | Too much pressure in one place | Use lighter pressure and curl in two gentle positions | Confirm pad resilience and smooth closing action |
| Lashes feel pulled | Curler moved while still closed or mascara used before curling | Release completely before removing and curl before mascara | Test whether the frame opens cleanly without sticking |
| Uneven curl | Frame misalignment, worn pad or poor lash capture | Inspect pad and tool alignment; replace damaged parts or tool | Check side-to-side movement and pad seating |
| Residue on pad | Makeup, oil or dust buildup | Wipe after use and store in a clean, dry place | Assess whether surfaces are easy to clean for end users |
Cleaning, Inspection and Maintenance
Because an eyelash curler is used near the eye, routine cleaning is essential. After use, wipe the pad and metal surfaces with a soft clean cloth to remove residue. If makeup buildup is heavier, use a gentle cleaning method suitable for cosmetic tools, then allow the curler to dry fully before storage. Do not store it while damp.
Storage affects both hygiene and performance. Keep the curler in a clean, dry place where the pad is not compressed by heavier items. Avoid tossing it loosely into a crowded makeup bag if that may bend the frame or collect debris on the pad. A bent frame can change pressure distribution and make the tool less comfortable.
Inspect the silicone pad regularly. Replace the pad or stop using the tool when the pad is split, deeply indented, sticky, hardened, loose or uneven. Professional environments should apply stricter cleaning and replacement routines because tools may be handled more frequently. For shared-use settings, local hygiene requirements and professional sanitation practices should be checked before service use.
Where applicable, buyers selling beauty tools into regulated consumer markets should verify current requirements such as the EU General Product Safety Regulation for consumer product obligations. If a supplier references a quality management system such as ISO 9001, ask for current documents and scope details rather than assuming coverage. These references should be verified directly and should not be treated as a certification claim unless the supplier provides valid evidence.
How to Choose an Eyelash Curler for Personal Use
For individual users, the right eyelash curler should feel stable, comfortable and easy to control. It should open smoothly, close evenly and allow the user to position it close to the lash base without discomfort. The pad should feel cushioned rather than hard. The tool should not pinch when placed correctly.
Use this selection checklist before buying or replacing a curler:
- Frame stability: The metal frame should not wobble, twist or feel flimsy during normal use.
- Handle control: The handles should feel secure and allow gradual pressure.
- Pad condition: The silicone pad should be smooth, flexible and firmly seated.
- Eye-area comfort: The curve should suit the user’s eye shape without forcing an uncomfortable angle.
- Cleaning access: The pad and frame should be easy to wipe after use.
- Storage suitability: The tool should fit into the user’s kit without crushing the pad or bending the frame.
If a curler repeatedly pinches even with careful placement, it may not suit the user’s eye shape or handling style. Switching to a different curve or handle design may be more effective than applying more pressure.
B2B Sourcing Considerations for Retailers, Salons and Beauty Kits
For commercial buyers, an eyelash curler should be evaluated as both a functional tool and a consumer-facing product. The purchase decision should consider usability, inspection consistency, packaging protection, customization options and after-sale expectations. Appearance may attract attention, but comfort and reliability influence repeat orders.
Start with sample evaluation. Ask multiple testers to check the closing action, handle comfort, pad seating and ease of cleaning. Examine whether the soft pink finish is consistent on visible surfaces and whether any edges feel rough. Confirm that the packaging protects the frame and pad during storage and transport. If the product will be sold with other beauty tools, review fit within the broader beauty tool collection so the assortment feels coherent.
Cost can vary for reasons that go beyond the base tool. Without relying on invented price ranges, buyers should expect cost discussions to be influenced by order quantity, finish requirements, packaging format, customization requests, inspection expectations and shipping terms. A simpler stock item may involve fewer variables than a customized retail-ready program with branded packaging.
Supplier evaluation should be practical and document-based. Ask what product information is available, how samples are handled, what customization options can be discussed, how quality checks are performed, and what packaging choices are suitable for the intended sales channel. Avoid vague claims. Request photos, specifications, sample details and current compliance documents relevant to your target market.
Sample Inspection Checklist for Buyers
Use the following checklist when comparing eyelash curler samples from a supplier. It helps keep the evaluation focused on user experience instead of surface impressions alone.
- Does the stainless steel frame open and close smoothly without scraping or side movement?
- Are the handles comfortable for different hand sizes and grip styles?
- Is the silicone pad flexible, smooth, firmly seated and free from visible defects?
- Does the curling surface capture lashes without forcing an awkward angle?
- Are visible edges clean and comfortable near the eye area?
- Is the finish consistent, including around joints and handle areas?
- Can makeup residue be wiped from the pad and frame easily?
- Does the packaging prevent frame bending and pad compression during handling?
- Are customization requests, if any, clearly documented before quotation?
- Are supplier documents current and relevant to the market where the tool will be sold?
For purchasing discussions, share the intended channel, expected packaging needs and any customization requirements early. This helps the supplier respond with more relevant information. Buyers can send an eyelash curler inquiry with their project details or contact Olimor for product and sourcing questions.
When to Replace an Eyelash Curler
An eyelash curler should be replaced or serviced when it no longer closes smoothly, the frame appears bent, the pad is damaged or the tool becomes difficult to clean. Do not continue using a curler that pinches despite correct placement, exposes lashes to hard metal contact, or has a pad that is cracked or deeply grooved.
For personal users, replacement depends on wear, storage and frequency of use. For commercial buyers, replacement guidance may need to be communicated clearly through packaging or product information so end users understand inspection and care. A well-designed tool still requires responsible use and maintenance.
FAQ
Can I request samples before placing a B2B order?
Sample availability depends on the product, customization request and current supply situation. Buyers should contact Olimor with the intended use, target market and any packaging or branding needs so the sample discussion is specific.
Is there a fixed MOQ for eyelash curlers?
MOQ can depend on whether the order is for an existing item, customized finish, branded packaging or other requirements. Ask for MOQ details during quotation rather than assuming one standard quantity.
Can the eyelash curler be customized?
Customization may involve finish, packaging or branding discussions, depending on feasibility and order details. Buyers should provide artwork, market requirements and expected presentation needs for review.
How should quality be checked before shipment?
Useful checks include frame alignment, smooth opening and closing, pad condition, handle comfort, finish consistency and packaging protection. Buyers should agree on inspection expectations with the supplier before confirming the order.
How long does production or delivery take?
Lead time depends on product availability, customization, order quantity, packaging and logistics. Request current timing during the inquiry stage and confirm details before planning a launch or promotion.
Final Buying and Use Advice
A good eyelash curler should feel controlled, cushioned and easy to position. For users, the safest-looking results come from clean lashes, gentle pressure, full release before removal and regular pad inspection. For buyers, the strongest sourcing decisions come from sample testing, clear documentation and attention to packaging and end-user maintenance.
Olimor Beauty’s eyelash curler combines stainless steel construction, ergonomic handles, a flexible silicone pad, a wide curling surface and a soft pink finish. Those features are most valuable when they are matched with correct technique, routine cleaning and careful product evaluation. Whether the goal is personal use, salon retail or a beauty-tool assortment, focus on comfort, control and verifiable supplier information before making a final decision.
Tag: