Stainless Steel Brow Tweezers for At-Home Brow Shaping and Beauty Tool Buying
Stainless steel slanted tweezers remain one of the most practical tools for eyebrow maintenance because they remove individual hairs with control. For at-home users, that means fewer rushed mistakes around the arch, tail and space between the brows. For beauty retailers, salons and sourcing teams, it means a small product category where tip alignment, hand feel, finish and packaging can strongly affect customer satisfaction.
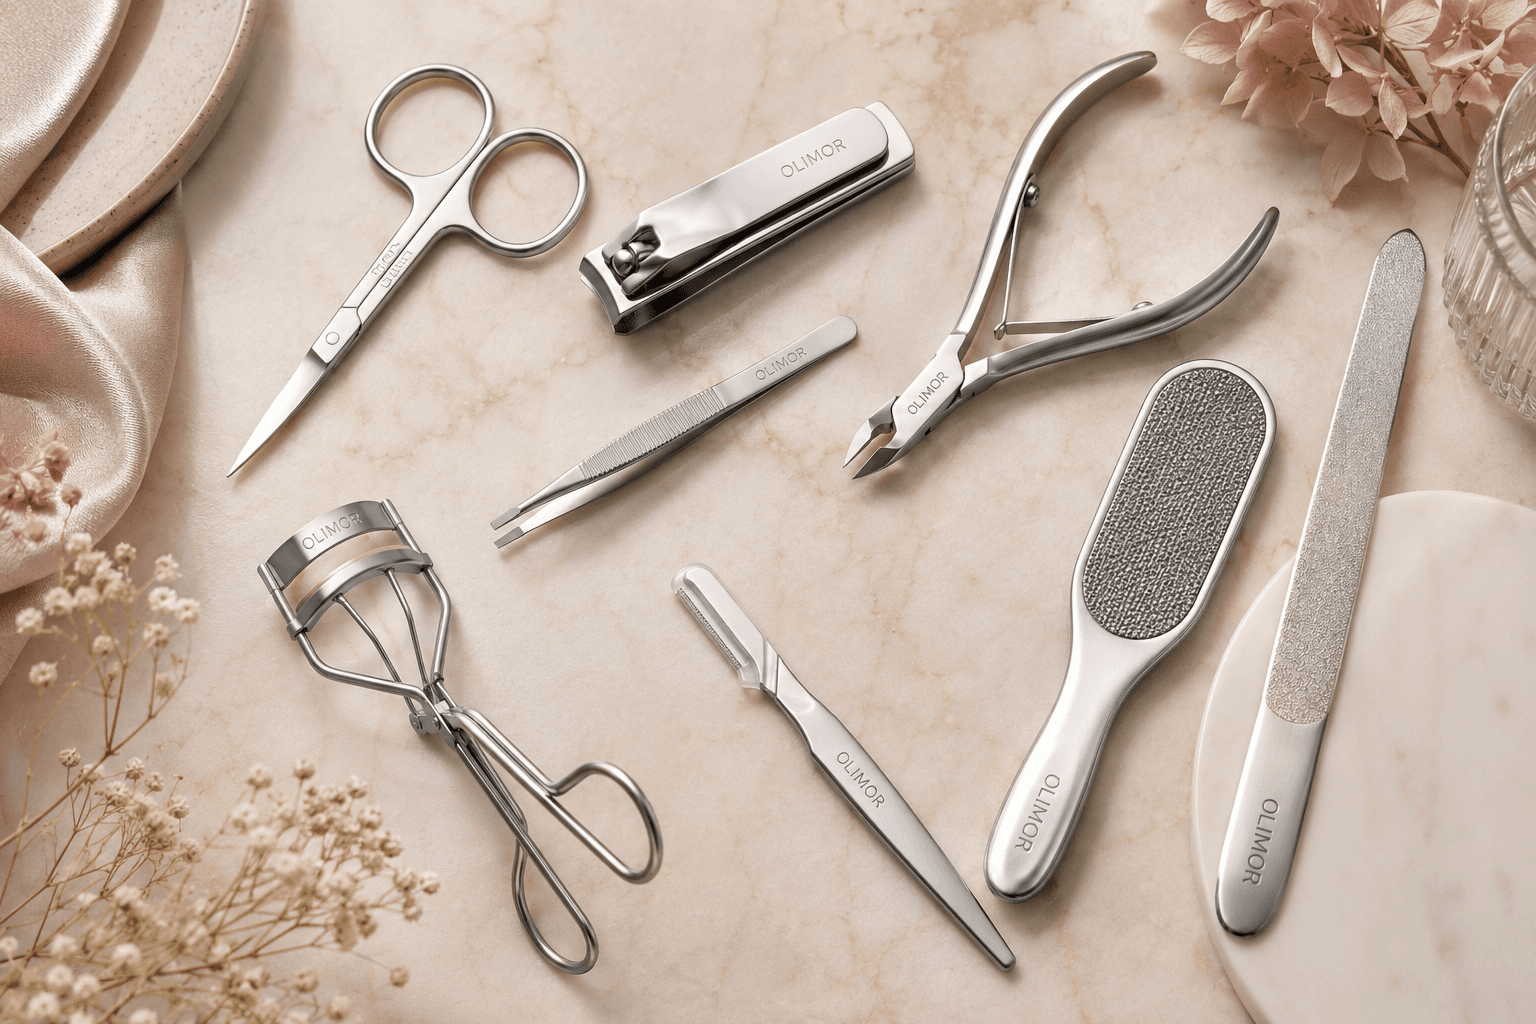
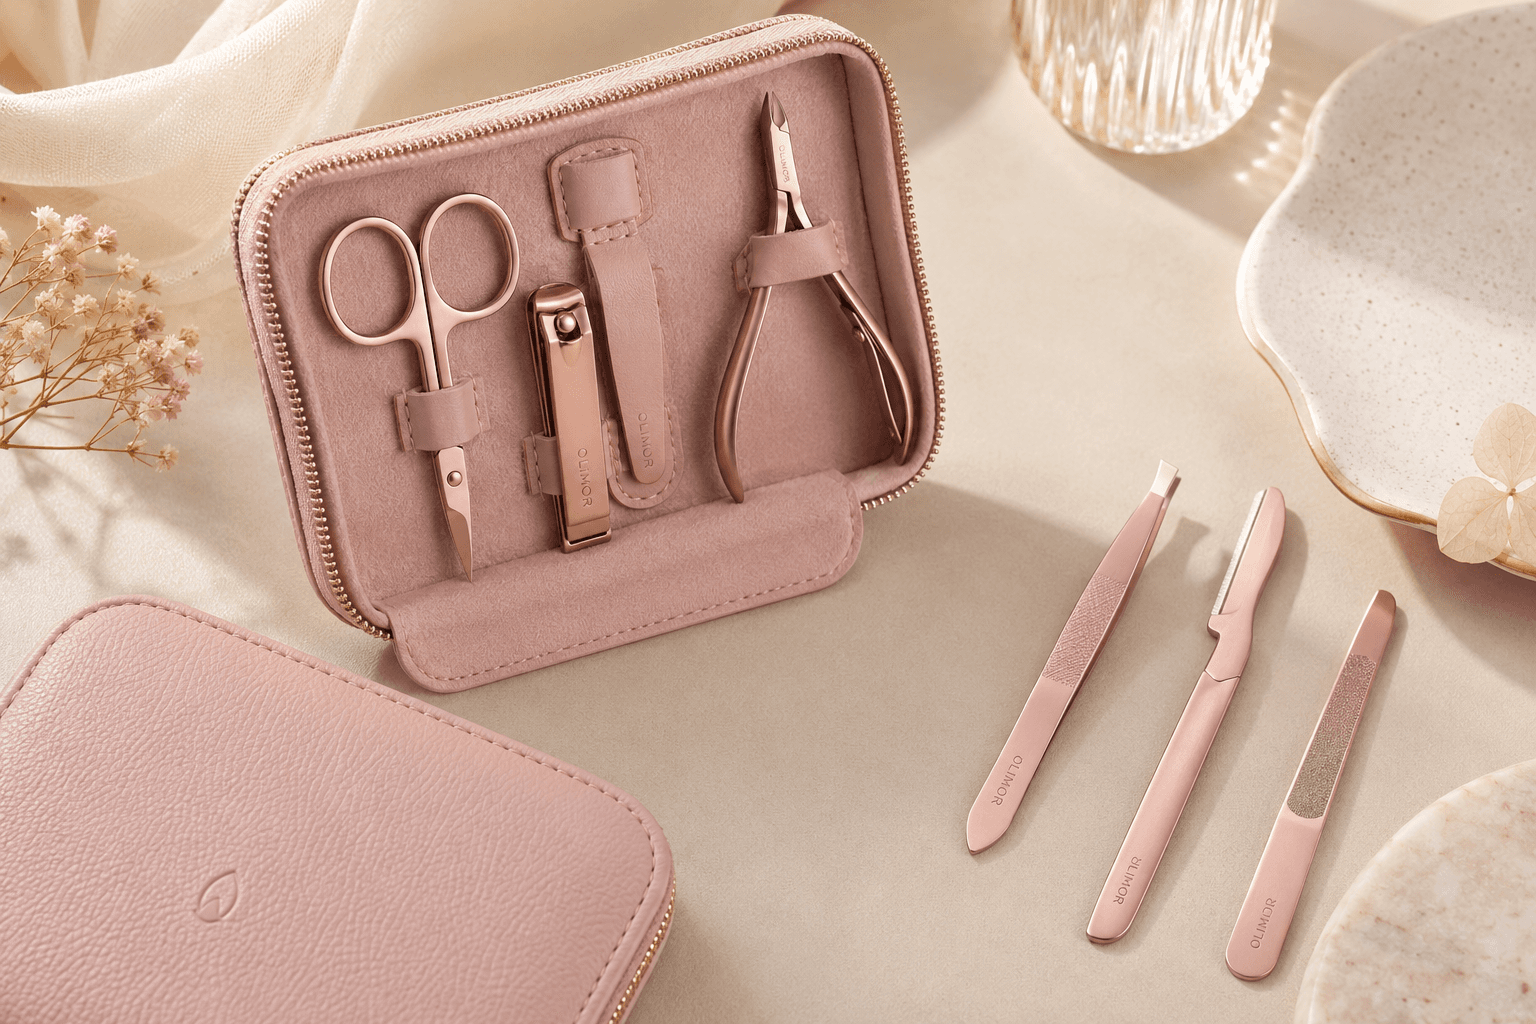
This guide focuses on one clear use case: choosing, using and evaluating stainless steel eyebrow tweezers for precise brow grooming. It covers brow mapping, step-by-step tweezing, common mistakes, cleaning habits, comparison points and supplier evaluation questions. Olimor Beauty offers practical beauty tool products, and brow tweezers are a useful category to compare when building personal grooming kits, retail assortments or professional beauty tool sets. You can review related beauty tool products or explore broader Olimor product collections when planning a tool range.
Why Stainless Steel Slanted Tweezers Are Useful for Brows
Brows are shaped by small decisions. Removing one or two hairs from the wrong place can shorten the tail, flatten the arch or make the brows look too far apart. Tweezers are valuable because they allow one-hair-at-a-time control, unlike faster methods that remove larger sections at once.
Stainless steel is widely used for eyebrow tweezers because it is durable, easy to wipe clean and suitable for repeated personal grooming. A smooth polished finish can also make the tool easier to maintain between uses. The slanted tip is especially useful for brows because it gives two working areas: the angled flat edge can grip visible hairs along the brow line, while the narrower corner can help isolate shorter or more stubborn hairs.
For buyers, the benefit is easy to explain at retail: a stainless steel slanted tweezer is a simple, repeat-use tool for brow cleanup, facial stray hairs and routine grooming. However, not all tweezers feel the same. The most important differences are often subtle: whether the tips meet evenly, whether the tension is comfortable and whether the body feels stable in the hand.
How to Choose Brow Tweezers Before Shaping
The best brow routine starts before any hair is removed. A poor tweezer can slip, break hair instead of pulling it cleanly, or require so much pressure that the user loses control. Decorative color, packaging and claims may attract attention, but the working quality of the tip matters most.
Key features to inspect
- Tip alignment: The two tips should meet evenly when closed. Visible gaps can make fine brow hairs difficult to grip.
- Slanted edge: A slant improves visibility and access around the brow line compared with a broad flat end.
- Controlled tension: The tweezer should close firmly without forcing the user to squeeze too hard.
- Secure grip: The body should feel stable between the fingers, especially after hands have been washed.
- Cleanable surface: A smooth stainless steel surface is easier to wipe before and after use.
- Protected tips: Packaging or a cap can help prevent damage during storage and transport.
For commercial programs, these features also affect returns and repeat purchases. A customer may not describe a tweezer in technical language, but they quickly notice if it fails to catch short hairs or pinches unevenly. When comparing options for a store, salon kit or promotional beauty set, ask whether the product is intended for basic personal grooming, professional backbar use, travel kits or giftable retail display.
Map the Brows Before Removing Hair
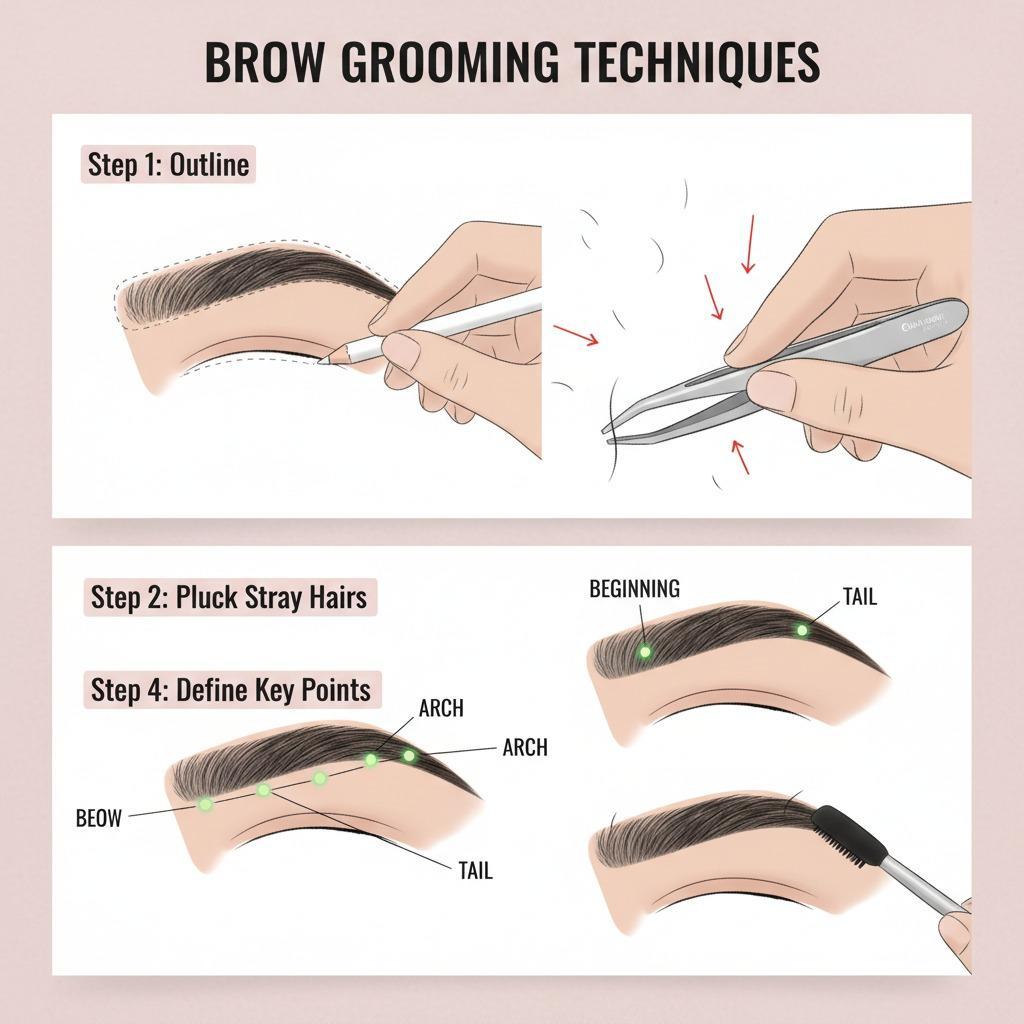
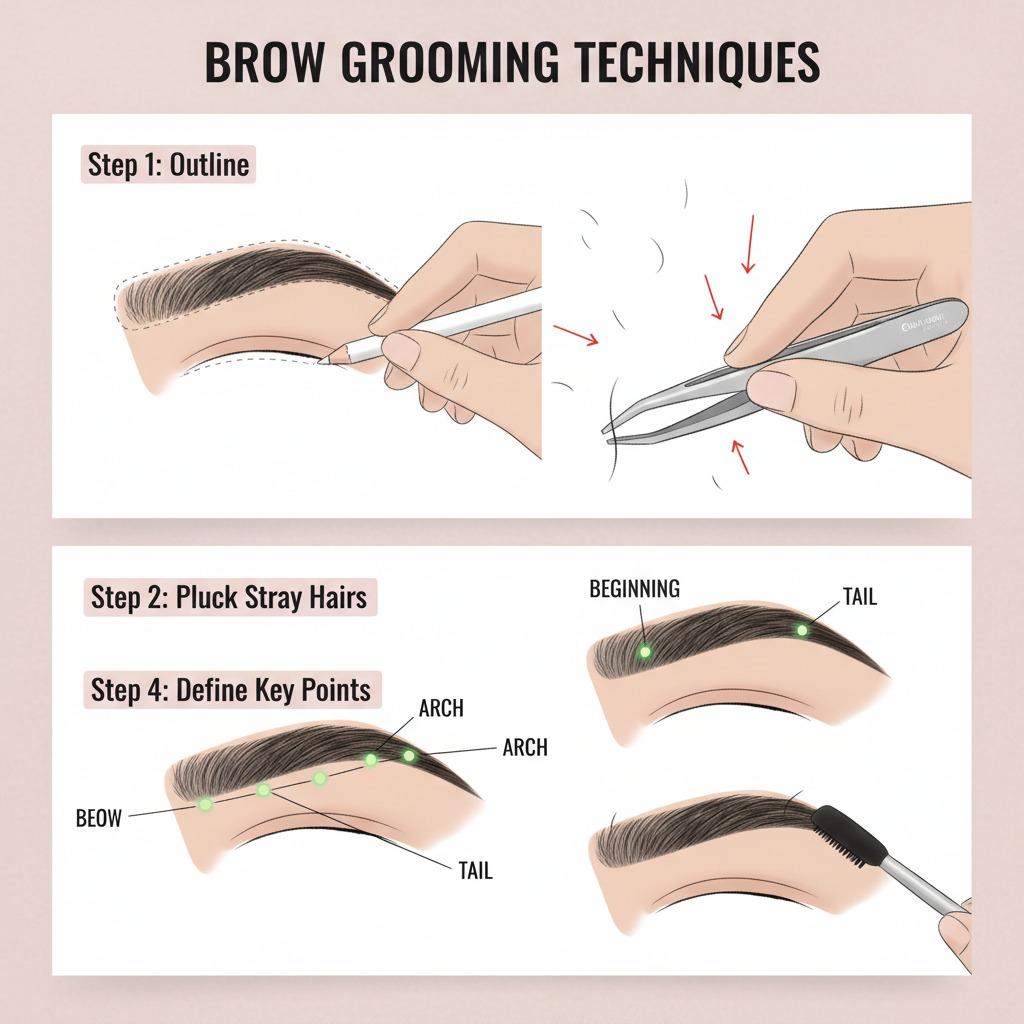
Brow mapping prevents the most common at-home problem: shaping too quickly without a plan. Mapping does not require complex tools. A brow pencil, cosmetic pencil or slim handle can help identify the natural start, arch and tail before tweezing begins.
- Find the start: Hold a pencil vertically from the side of the nose toward the inner corner of the eye. The brow usually begins near this line.
- Find the arch: Angle the pencil from the side of the nose through the outer edge of the iris while looking straight ahead. This points to the area where the arch often appears most natural.
- Find the tail: Angle the pencil from the side of the nose toward the outer corner of the eye. The tail should generally extend toward this point without dropping too far.
- Mark lightly: Use a washable cosmetic pencil to mark the reference points. Avoid drawing a rigid shape that ignores natural growth.
- Compare both brows: Step back from the mirror and check balance. Brows do not need to be identical to look neat.
Mapping separates planning from plucking. This is important because the closer someone stands to a mirror, the easier it is to over-focus on tiny differences. The goal is not to create a completely new brow; it is to clean stray hairs while preserving the natural structure.
A Safe, Practical Tweezer Routine
Work in good lighting and use a normal mirror for most of the routine. A magnifying mirror can help with isolated hairs, but it should not be the only view because it can make small details look more dramatic than they are. Step back often to check the overall shape.
Begin with clean hands and clean skin. Wipe the tweezer tips before use. If you have a spoolie, brush brow hairs upward and outward to reveal the natural line. Hold the skin gently taut with one hand, grip one hair close to the root with the slanted tip and pull in the direction of hair growth. This approach gives better control and may reduce breakage compared with pulling straight upward.
Start with the easiest areas: obvious stray hairs between the brows and isolated hairs below the lower brow line. Avoid aggressive removal above the brow unless the hairs are clearly outside the natural shape. The upper line contributes strongly to facial expression, so over-tweezing it can make the brow look flat or unnatural.
Use an alternating method: remove a few hairs from one brow, then switch to the other. This prevents one brow from becoming much thinner before the imbalance is noticed. After the first pass, brush the brows again, step back and decide whether more work is truly needed. If a hair is questionable, leave it for the next maintenance session.
What to Remove, What to Leave and Why
Good brow shaping is usually conservative. The best result often comes from removing fewer hairs than expected, especially for beginners. This table can be used by at-home users, retail educators or salon teams when explaining the difference between cleanup and reshaping.
| Brow area | Recommended approach | Common problem | Buyer or user note |
|---|---|---|---|
| Between the brows | Remove obvious stray hairs while keeping natural start points. | Creating a gap that is too wide. | A slanted tip helps isolate single hairs without removing too much. |
| Under the arch | Clean isolated hairs below the natural brow line. | Over-thinning the center or making the arch too sharp. | Controlled tension supports careful one-hair removal. |
| Brow tail | Preserve length unless hairs clearly fall outside the mapped shape. | Shortening the tail and making the brow look incomplete. | Users should step back before removing tail hairs. |
| Above the brow | Remove only obvious strays with restraint. | Flattening the natural upper line. | Clear instructions can reduce misuse for retail customers. |
| Very short hairs | Wait if the tweezer cannot grip securely. | Scraping skin or breaking hair. | Tip alignment is important for short-hair performance. |
Common Brow Tweezing Mistakes and Fixes
Most brow issues come from speed, poor lighting or an unsuitable tool. The fix is usually to slow down and return to the mapped shape.
Over-plucking the inner brow
If the space between the brows becomes too wide, the face can look less balanced. Use the vertical nose-to-inner-eye mapping line as a guide, and remove only the hairs that clearly sit outside the start point.
Chasing perfect symmetry
Natural brows rarely match exactly. Trying to make both sides identical often leads to removing too much from both. Aim for visual balance from a normal viewing distance.
Using dull or misaligned tweezers
If hairs keep slipping, check the tips. They should meet evenly and grip without sliding. Damaged tips can reduce control, especially near the arch and tail.
Tweezing too often
Frequent touch-ups can become accidental reshaping. A light cleanup schedule is usually safer than daily removal. Major changes should be approached slowly and with more space between sessions.
Cleaning, Storage and Maintenance
Tweezers touch skin and hair, so cleaning should be part of the routine. Wipe the tips before and after use and allow the tool to dry before storage. Do not leave tweezers loose in a crowded makeup bag where the slanted edge can be bent, dulled or knocked out of alignment.
A pouch, cap or dedicated grooming case helps protect the tip and keeps the tool easy to find. For retail assortments, consider whether the packaging protects the working edge during shipping and display. A tweezer may look fine in packaging, but if the tips are damaged before use, customer experience will suffer.
After tweezing, keep skin care simple. Avoid rubbing the area aggressively and avoid applying heavy makeup immediately over freshly tweezed skin. If a soothing product is used, it should be one that the user already tolerates well. Anyone with irritated, infected or unusually sensitive skin should pause grooming and seek appropriate professional advice.
B2B Selection: Retail, Salon and Sourcing Considerations
For businesses, stainless steel eyebrow tweezers can fit several channels: personal care retail, salon accessory sales, grooming kits, travel sets and beauty gift programs. The product is small, easy to explain and useful to a wide customer base, but buyers should still evaluate it carefully.
Commercial questions to ask before ordering
- Does the slanted tip close evenly across the gripping surface?
- Does the tweezer tension feel comfortable across repeated use?
- Is the stainless steel surface smooth and easy to wipe clean?
- Does the finish match the intended retail position, such as simple, polished or premium-looking?
- Will the packaging protect the tip and communicate basic use and care?
- Is customization needed for color, logo, set configuration or retail packaging?
- What supplier documents, inspection steps and current compliance information are available for review?
Cost can vary based on material selection, finish, packaging, customization, inspection requirements and order configuration. Buyers should avoid evaluating price alone. A low-cost tweezer that slips on fine hairs or arrives with inconsistent alignment can create customer complaints and weaken the value of the assortment. Instead, compare total suitability: tool feel, packaging protection, supplier communication, quality consistency and after-sales support.
For consumer goods sold in different markets, buyers should verify current requirements with applicable public bodies and legal guidance. In the United States, the Consumer Product Safety Commission is a relevant public body for many consumer product safety topics. In the European Union, the General Product Safety Regulation framework is relevant for general consumer product safety obligations. Requirements can change, so importers and retailers should confirm current versions and request appropriate supplier documents rather than relying on assumptions.
Supplier Evaluation Checklist
Use this checklist when comparing stainless steel brow tweezers for retail or kit programs. It keeps the discussion focused on practical quality rather than vague claims.
| Evaluation point | What to check | Why it matters |
|---|---|---|
| Sample review | Request samples and test grip on typical brow-like fine hairs or suitable demonstration fibers. | Shows whether the tool feels controlled before committing to a program. |
| Tip consistency | Inspect whether tips meet evenly and remain protected in packaging. | Tip alignment directly affects user satisfaction. |
| Finish and edges | Check for smooth surfaces and comfortable handling. | Improves perceived quality and cleaning convenience. |
| Packaging fit | Confirm retail card, pouch, cap or set format as needed. | Packaging affects shelf appeal and damage prevention. |
| Customization | Discuss logo, color, finish or set combinations if required. | Helps align the tool with private label or assortment goals. |
| Documentation | Ask what inspection, product specification and compliance documents are available. | Supports responsible sourcing and internal approval. |
If you are comparing brow tools for a store, salon kit or private label project, you can send an inquiry to Olimor with your intended use case, packaging needs and customization questions. For broader supplier discussion, contact Olimor Beauty to review suitable next steps.
FAQ
Can I request samples before placing a larger order?
Sample availability depends on the product, customization needs and current stock situation. Share the intended use, packaging preference and target channel so the supplier can recommend the most relevant sample option.
Is there an MOQ for stainless steel brow tweezers?
MOQ can vary by product style, finish, packaging and customization. Buyers should confirm the current MOQ directly with the supplier instead of assuming one standard quantity applies to every project.
Can brow tweezers be customized for retail or private label programs?
Customization may include finish, color, logo placement, packaging format or set configuration, depending on the selected item and production plan. Confirm feasibility, artwork requirements and approval steps before finalizing an order.
How should quality be checked before shipment?
Quality review should focus on tip alignment, gripping performance, surface finish, packaging protection and order consistency. Ask what inspection process and product documents can be provided for the specific order.
What affects lead time?
Lead time can be influenced by sample approval, customization, packaging development, order quantity, production scheduling and shipping arrangements. Confirm the current timeline during the inquiry stage and again before order confirmation.
Final Buying and Grooming Takeaways
For at-home brow shaping, the best results come from mapping first, using a precise stainless steel slanted tweezer, removing hair slowly and stepping back often. For beauty businesses, the best sourcing decisions come from checking the details that customers actually feel: aligned tips, comfortable tension, clean finish and protective packaging.
A brow tweezer is a small tool, but it is often used repeatedly and judged quickly. Choose it carefully, maintain it properly and support users with clear care and shaping guidance. That combination creates a more useful grooming experience for individual users and a stronger product offering for retail or professional beauty programs.
Tag: