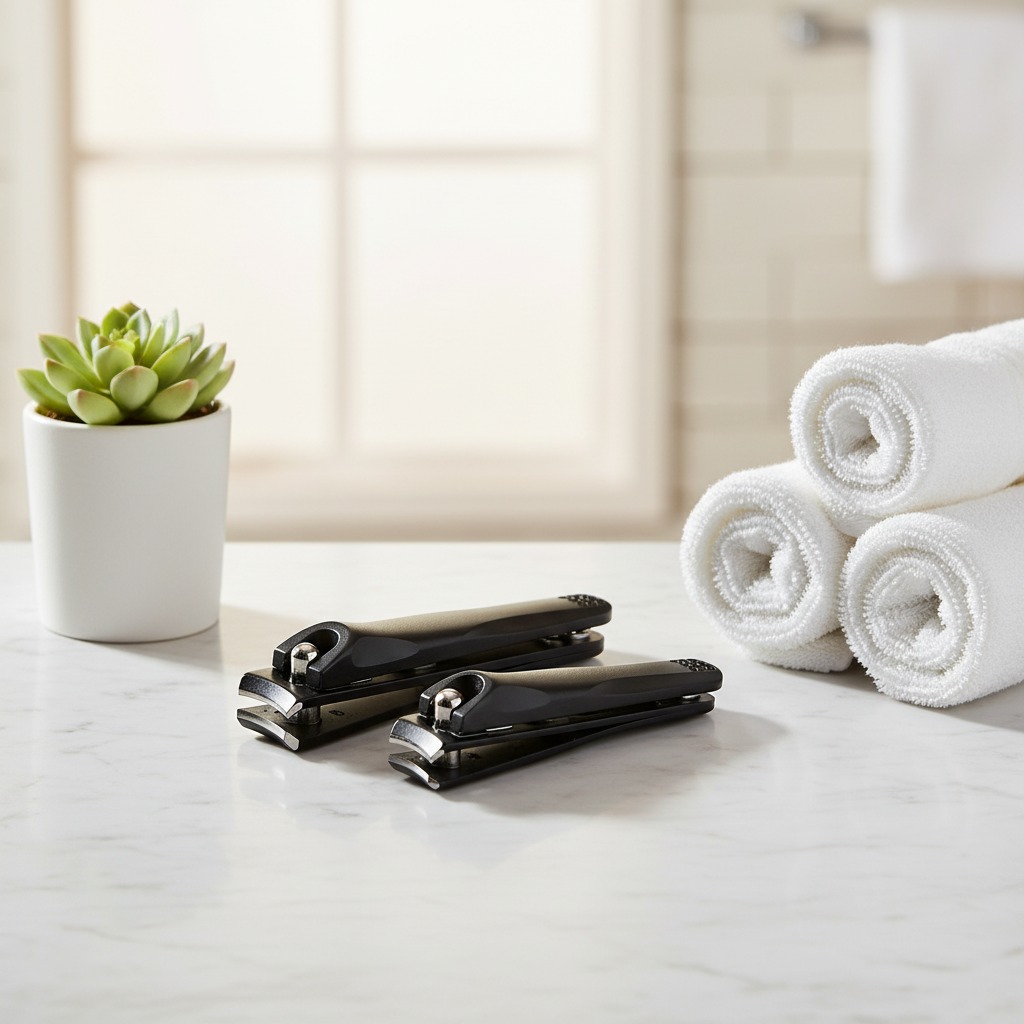
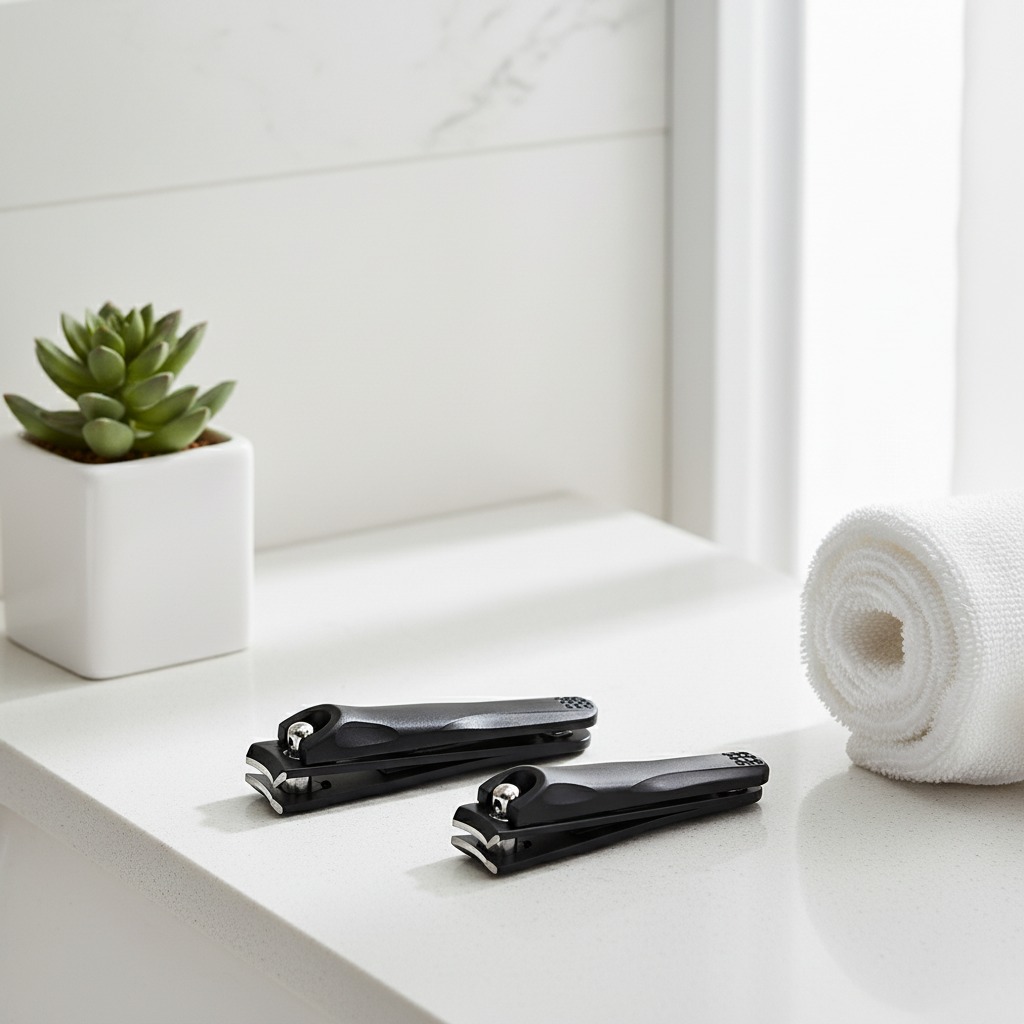
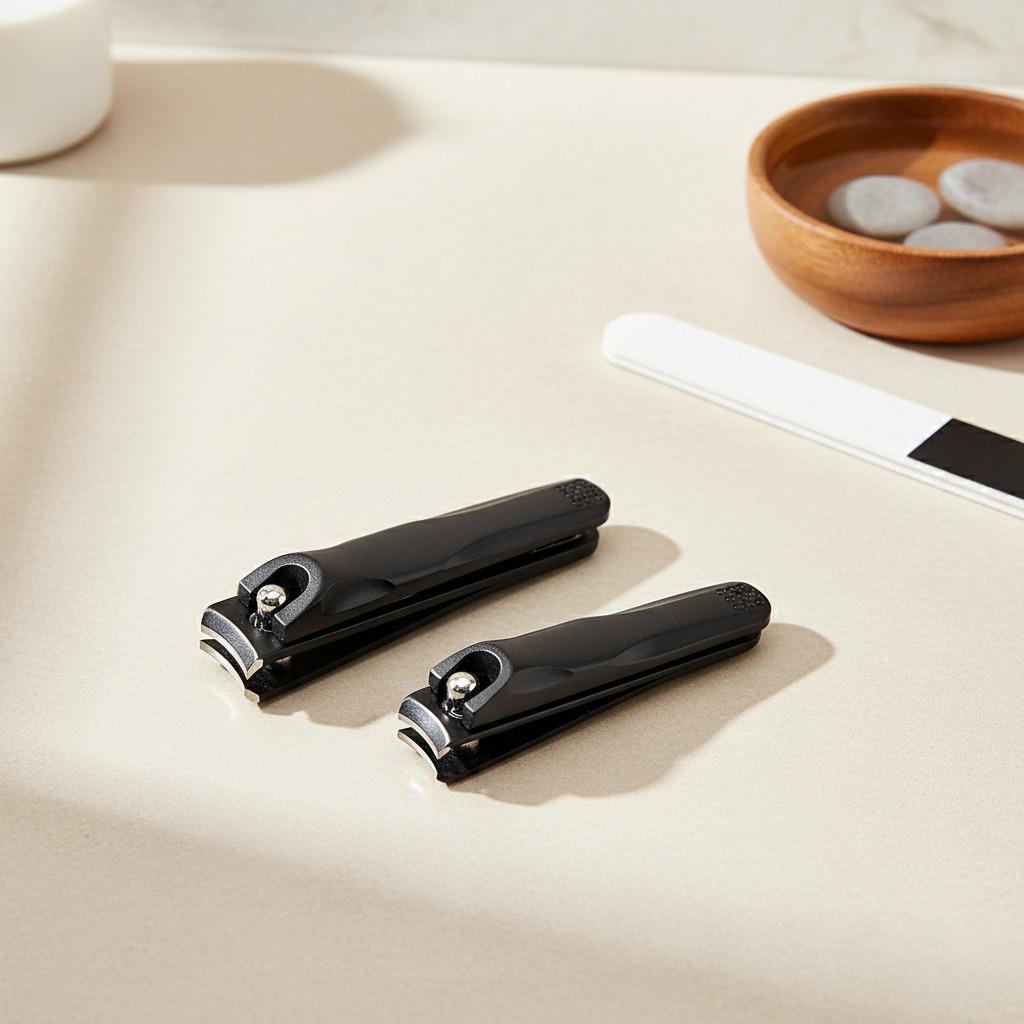
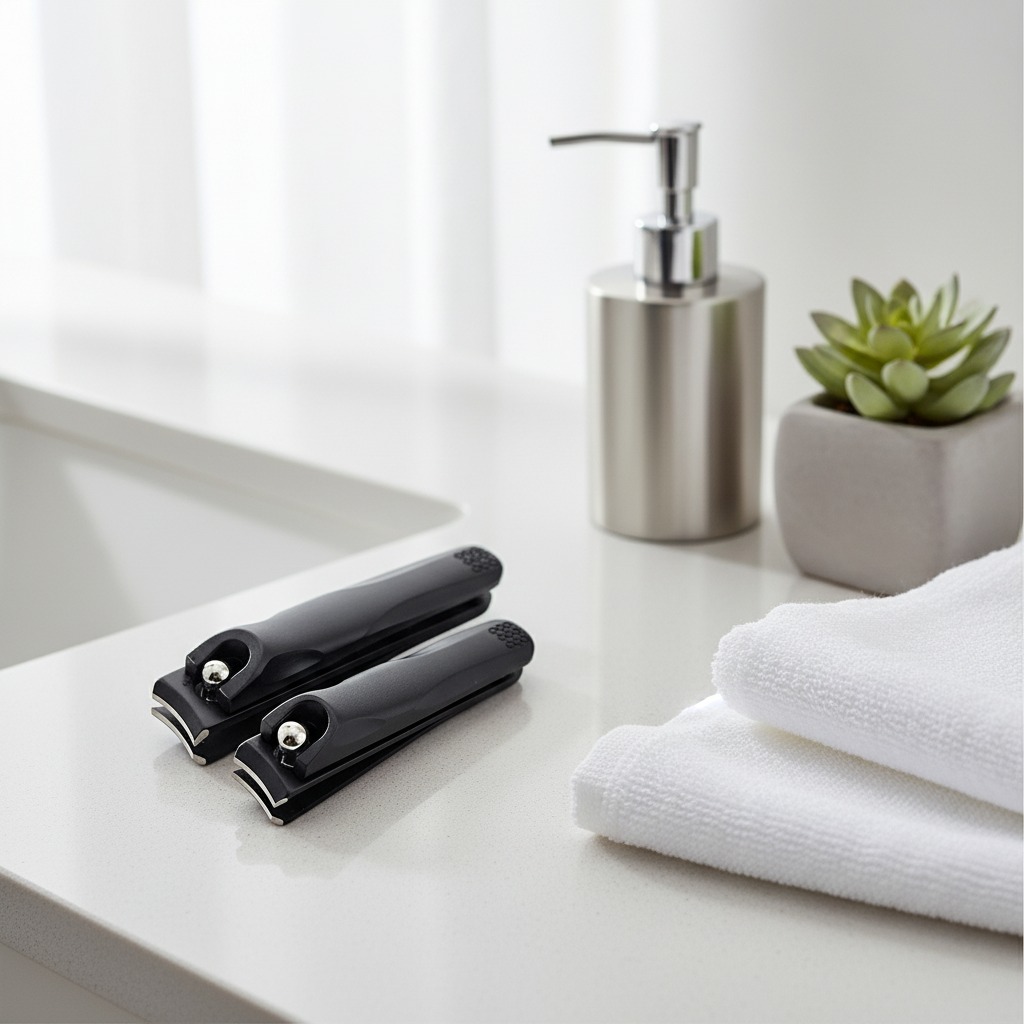
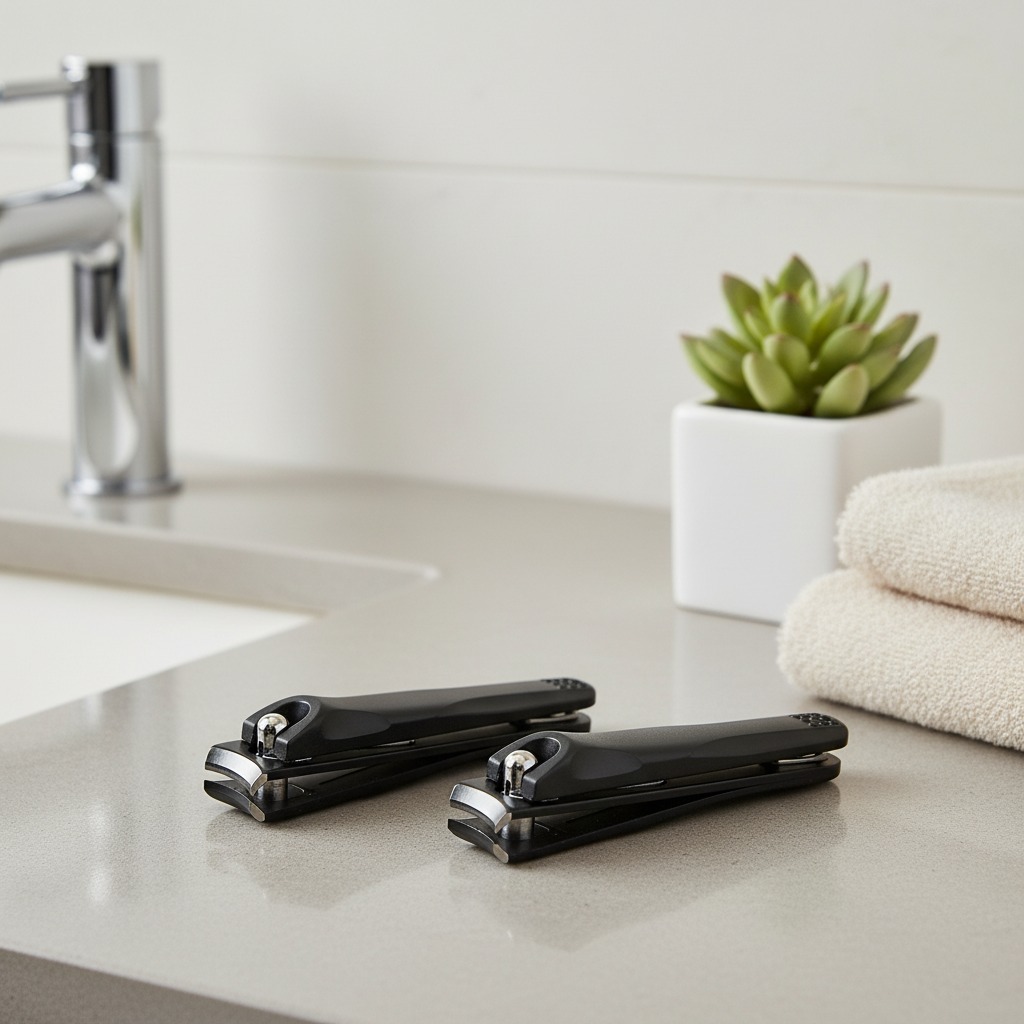
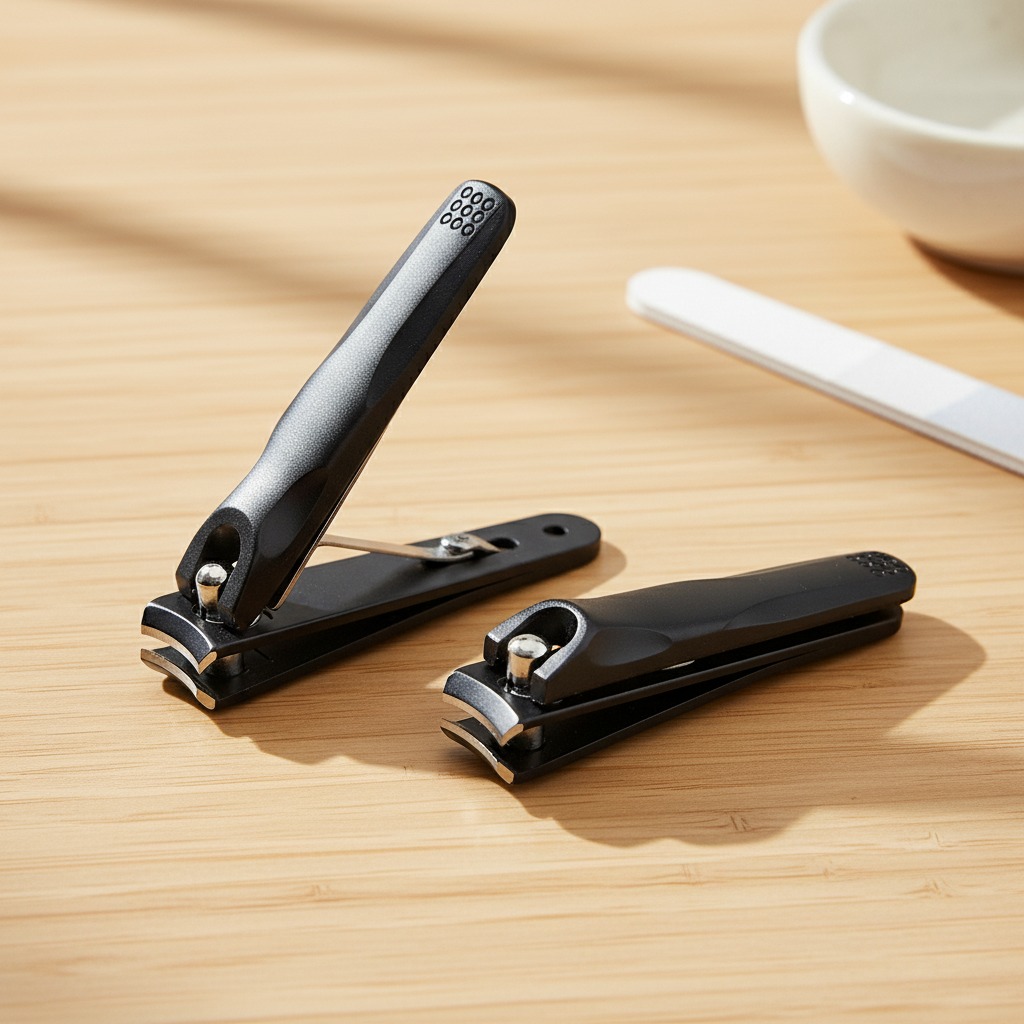
The Art and Science of Nail Clipper Manufacturing
Nail clippers are ubiquitous in daily life, but few pause to appreciate the engineering and craftsmanship that goes into creating these small yet indispensable tools. Behind every smooth edge, precise hinge, and durable blade lies a complex manufacturing process that blends traditional techniques with modern technology. In this article, we’ll dissect the journey of nail clippers from raw materials to finished products, highlighting the key stages that define their quality and functionality.
1. Material Selection: The Foundation of Durability
The first critical step in nail clipper production is selecting the right materials. High-quality stainless steel (often grades like 420 or 440) is the industry standard due to its corrosion resistance, hardness, and ability to hold a sharp edge. Manufacturers may also incorporate alloys for specific properties—for example, adding chromium for rust resistance or molybdenum for enhanced strength.
Before production, raw steel sheets or rods undergo rigorous testing to ensure they meet international standards (e.g., ASTM or JIS). This includes checks for chemical composition, tensile strength, and surface finish, as subpar materials can lead to brittle blades or premature rusting.
2. Cutting and Shaping: From Sheet to Component
Once the steel is approved, it’s time to transform it into the core components of a nail clipper: the blade, lever, and handle. This begins with punching or stamping, where hydraulic presses use custom molds to cut out flat profiles from the steel sheets. These initial shapes are rough, so they move to precision machining for further refinement.
CNC (Computer Numerical Control) machines are often used here to mill grooves, holes, and curves with micrometer-level accuracy. For example, the pivot point (hinge) must be drilled with exact precision to ensure smooth movement and optimal cutting force. Some manufacturers also use wire EDM (Electrical Discharge Machining) for intricate geometries, especially in premium or ergonomic designs.
3. Heat Treatment: Hardening the Heart of the Tool
Heat treatment is a make-or-break stage that determines the clipper’s durability. The components are heated to high temperatures (typically 800–1,000°C) and then quenched rapidly in oil or water. This process, known as tempering, transforms the steel’s microstructure, increasing hardness and wear resistance.
For blades, a Rockwell hardness test (typically targeting 50–58 HRC) ensures they can withstand repeated use without dulling. Improper heat treatment can lead to brittleness (causing blades to chip) or softness (resulting in dull edges), so strict temperature and cooling controls are essential.
4. Surface Finishing: Function Meets Aesthetics
After heat treatment, components undergo surface finishing to enhance both appearance and functionality. Common techniques include:
- Polishing: Using abrasive belts or tumblers to create a smooth, shiny surface. This reduces friction and prevents snagging on skin or nails.
- Electroplating: Applying a thin layer of nickel, chrome, or titanium to improve corrosion resistance and add a decorative finish. Matte or brush finishes are also popular for a modern look.
- Coating: Specialized coatings like PTFE (Teflon) or diamond-like carbon (DLC) can be applied to blades for ultra-smooth cutting and reduced adhesion of nail debris.
Each finish must meet safety standards, ensuring no harmful chemicals leach into the product. For example, nickel-free coatings are preferred for users with allergies.
5. Assembly: Putting It All Together
Assembly is where the individual components become a functional tool. The process typically involves:
- Hinge Insertion: Securing the blade and lever with a pivot pin or screw. The tension here is critical—too loose, and the clipper won’t cut effectively; too tight, and it becomes difficult to use.
- Spring Installation: Adding a small spring or flexible metal strip to provide the “snap” action that powers the cutting motion.
- Quality Checks: Each clipper is manually tested for smooth operation, blade alignment, and grip comfort. Workers may use gauges to measure cutting force or perform stress tests by clamping the tool repeatedly.
6. Quality Control: Ensuring Every Clipper Meets Standards
No manufacturing process is complete without rigorous quality control. Typical tests include:
- Blade Sharpness Test: Using specialized equipment to measure cutting force and ensure the blade can cleanly snip through nails without tearing.
- Salt Spray Test: Simulating corrosive environments to check how well the surface finish resists rust (common for clippers marketed for travel or outdoor use).
- Drop Test: Dropping clippers from standard heights to assess durability and ensure no components break or loosen.
Even minor defects, like a rough edge or misaligned hinge, result in rejection, as these can affect user experience or safety.
7. Innovation in Modern Manufacturing
Today’s manufacturers are increasingly integrating technology to improve efficiency and design. For example:
- 3D Printing: Prototyping custom clipper designs or producing specialized molds for unique shapes.
- Automated Assembly Lines: Robotics streamline repetitive tasks like hinge insertion, reducing human error and scaling production.
- Ergonomic Design Software: Computer-aided design (CAD) tools optimize handle shapes for comfort, often incorporating feedback from user studies.
Sustainability is also a growing focus, with some brands using recycled steel or eco-friendly plating processes to minimize environmental impact.
Conclusion: The Unsung Craft Behind a Simple Tool
From selecting premium stainless steel to perfecting the hinge tension, every stage of nail clipper manufacturing is a testament to precision and craftsmanship. Whether mass-produced for global markets or handcrafted for luxury brands, these tools embody the marriage of form and function. The next time you reach for your nail clippers, take a moment to appreciate the engineering marvel in your hand—a small tool that requires enormous care to get right.


