

How to Use an Eyelash Curler Safely Without Pinching Your Lids
An eyelash curler can make the eyes look more open in a few seconds, but it is also one of the beauty tools people hesitate to use. The concern is understandable: the tool works close to the eyelid, and a rushed squeeze can pinch skin, bend lashes sharply, or pull on delicate hairs. The good news is that safe curling is mostly about placement, light pressure, and using a clean curler with a good cushion pad.
This guide explains how to use an eyelash curler with more control, how to avoid common mistakes, and what to look for when choosing a curler for personal use, retail assortments, salons, or promotional beauty tool programs. If you are comparing sourcing options, you can also review Olimor Beauty beauty tool products or contact Olimor for product guidance.
Why an Eyelash Curler Still Belongs in a Makeup Kit
A well-used eyelash curler creates lift before mascara is applied. Instead of relying only on product thickness, it changes the angle of the lashes so they reflect more light and frame the eye more clearly. This can be especially useful for straight lashes, downward-pointing lashes, or makeup looks where you want definition without applying heavy mascara.
The most useful benefits are practical rather than dramatic:
- A more open eye appearance: Lashes lifted from the root can make the eye area look brighter.
- Better mascara performance: Mascara coats a lifted lash more visibly and may look less heavy.
- A softer daytime result: Curling can add shape even when you use clear mascara or no mascara.
- Fast application: Once you learn the technique, curling both eyes takes less than a minute.
- Flexible use: It works for many lash lengths and eye shapes when the curler is positioned correctly.
Choose the Right Curler Before You Start
Technique matters, but the tool matters too. A curler that does not fit the eye shape, has a stiff pad, or opens unevenly can make the process harder than it needs to be. For buyers selecting a curler, pay attention to the parts that touch the user: the curve of the frame, the smoothness of the clamp, the comfort of the handles, and the resilience of the pad.
Here are selection criteria that are useful whether you are buying one curler for a personal makeup bag or evaluating items for a beauty tool assortment:
- Frame curve: The arc should sit close to the lash line without forcing the user to press the metal frame into the eyelid.
- Pad quality: The cushion should feel smooth, flexible, and firmly seated in the groove. A pad that is cracked, too hard, or loose should not be used.
- Clamp alignment: When the handles close, the upper bar and pad should meet evenly from side to side.
- Handle control: Handles should allow a slow, controlled squeeze rather than a sudden snap.
- Finish and edges: Any surface near the eye should be smooth, with no sharp burrs or rough spots.
If you are comparing broader assortments, Olimor Beauty product collections can help you review how eyelash curlers fit alongside other beauty tools.
Before Curling: Prepare Lashes and Reduce Risk
Safe curling starts before the curler touches your lashes. Begin with clean, dry lashes. Avoid curling wet lashes, because damp hair is more vulnerable to stretching and bending in an uneven way. You should also curl before mascara, not after. Mascara can make lashes sticky or stiff, increasing the chance that they cling to the pad or break under pressure.
Use this quick preparation checklist:
- Wash hands if you are applying makeup after skincare or sunscreen.
- Check that the curler pad is clean, smooth, and seated properly.
- Remove old mascara residue from the clamp and pad.
- Make sure lashes are fully dry and free of clumps.
- Sit or stand in front of a mirror with good light.
- Keep your wrist relaxed so you can release the curler slowly.
For shared professional environments, cleaning between users is essential. For personal use, a simple wipe after each session prevents mascara, oils, and dust from building up on the pad.
Step-by-Step Technique for Curling Without Pinching
The most common reason for eyelid pinching is placing the curler too close to the skin, then closing it quickly. The goal is to catch the lashes near the base without trapping the lid. Move slowly the first few times and use a mirror from slightly below eye level so you can see the lash line clearly.
Step 1: Open the curler fully. Hold the curler in your dominant hand. Keep your eye open and look slightly downward into the mirror. This angle helps expose the upper lashes while keeping the eyelid steadier.
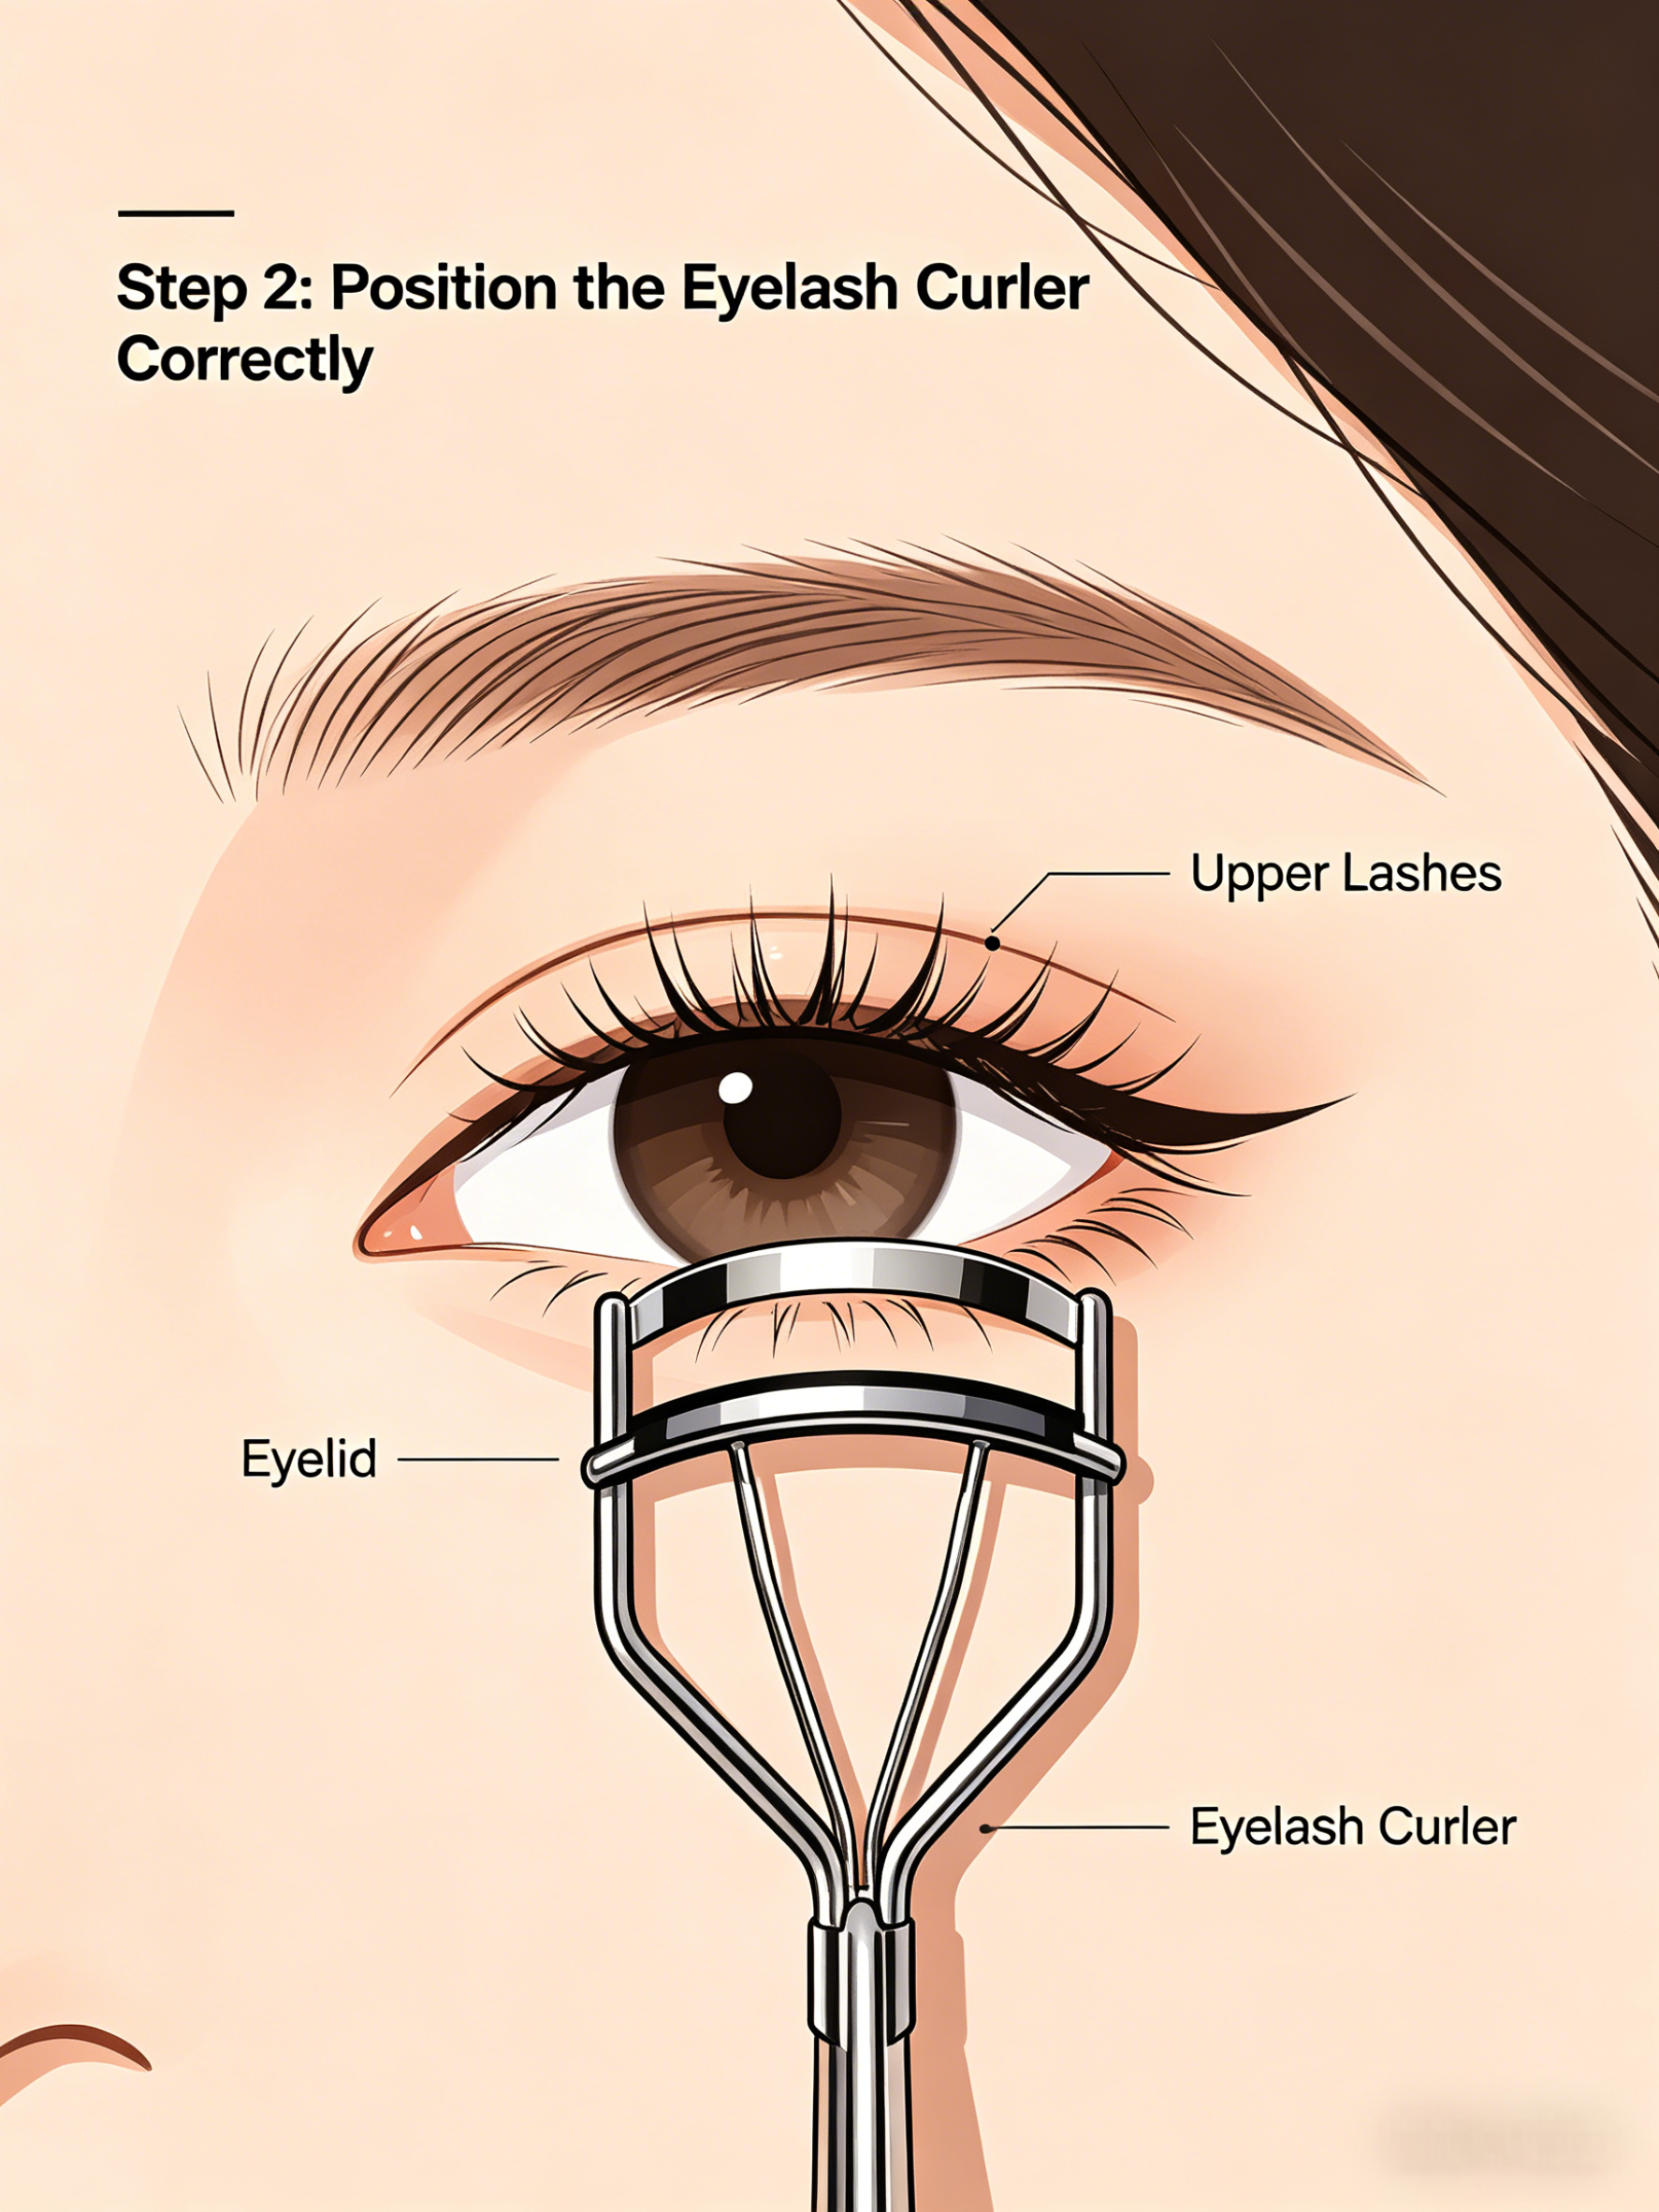
Step 2: Place the curler at the lash base. Bring the curler toward the upper lashes and position the lashes between the upper bar and the cushion pad. It should be close to the roots, but not pressing into the eyelid. If you feel skin inside the clamp, stop and reposition before squeezing.
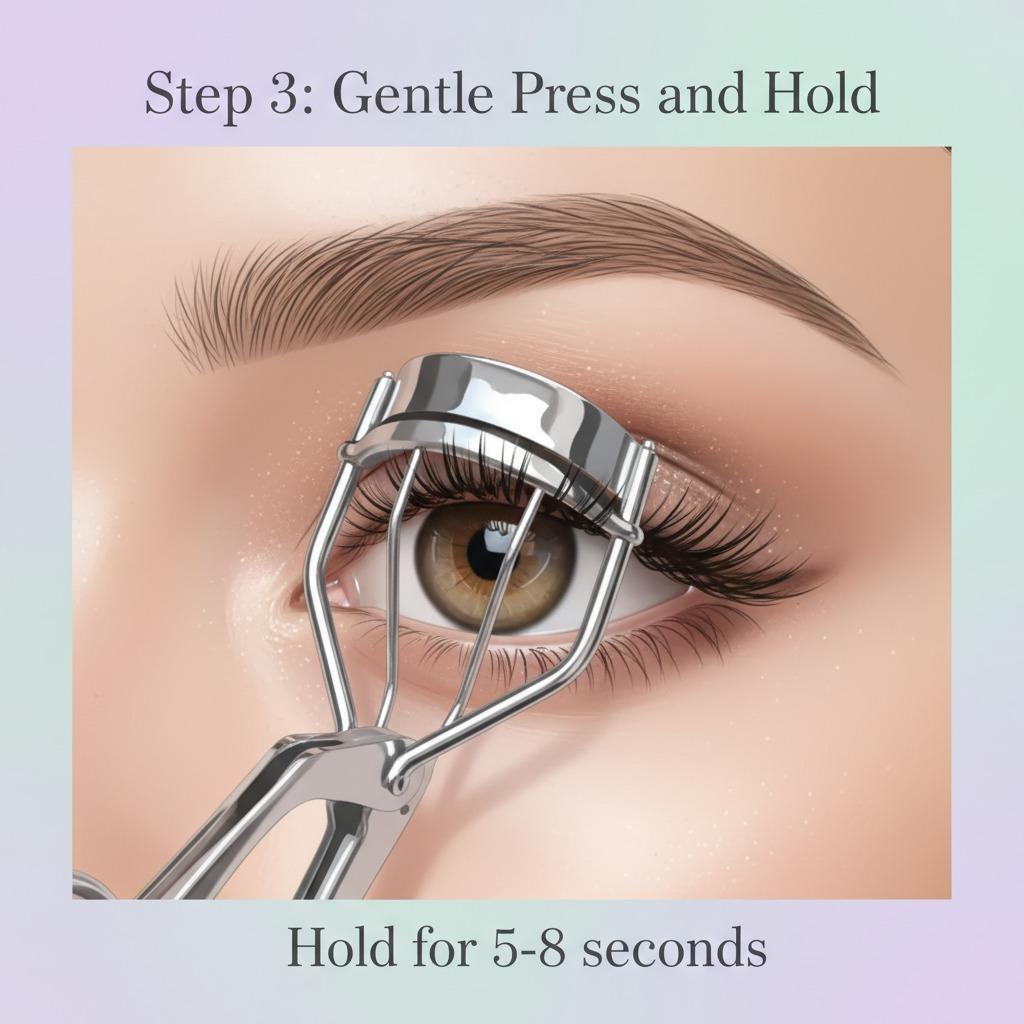
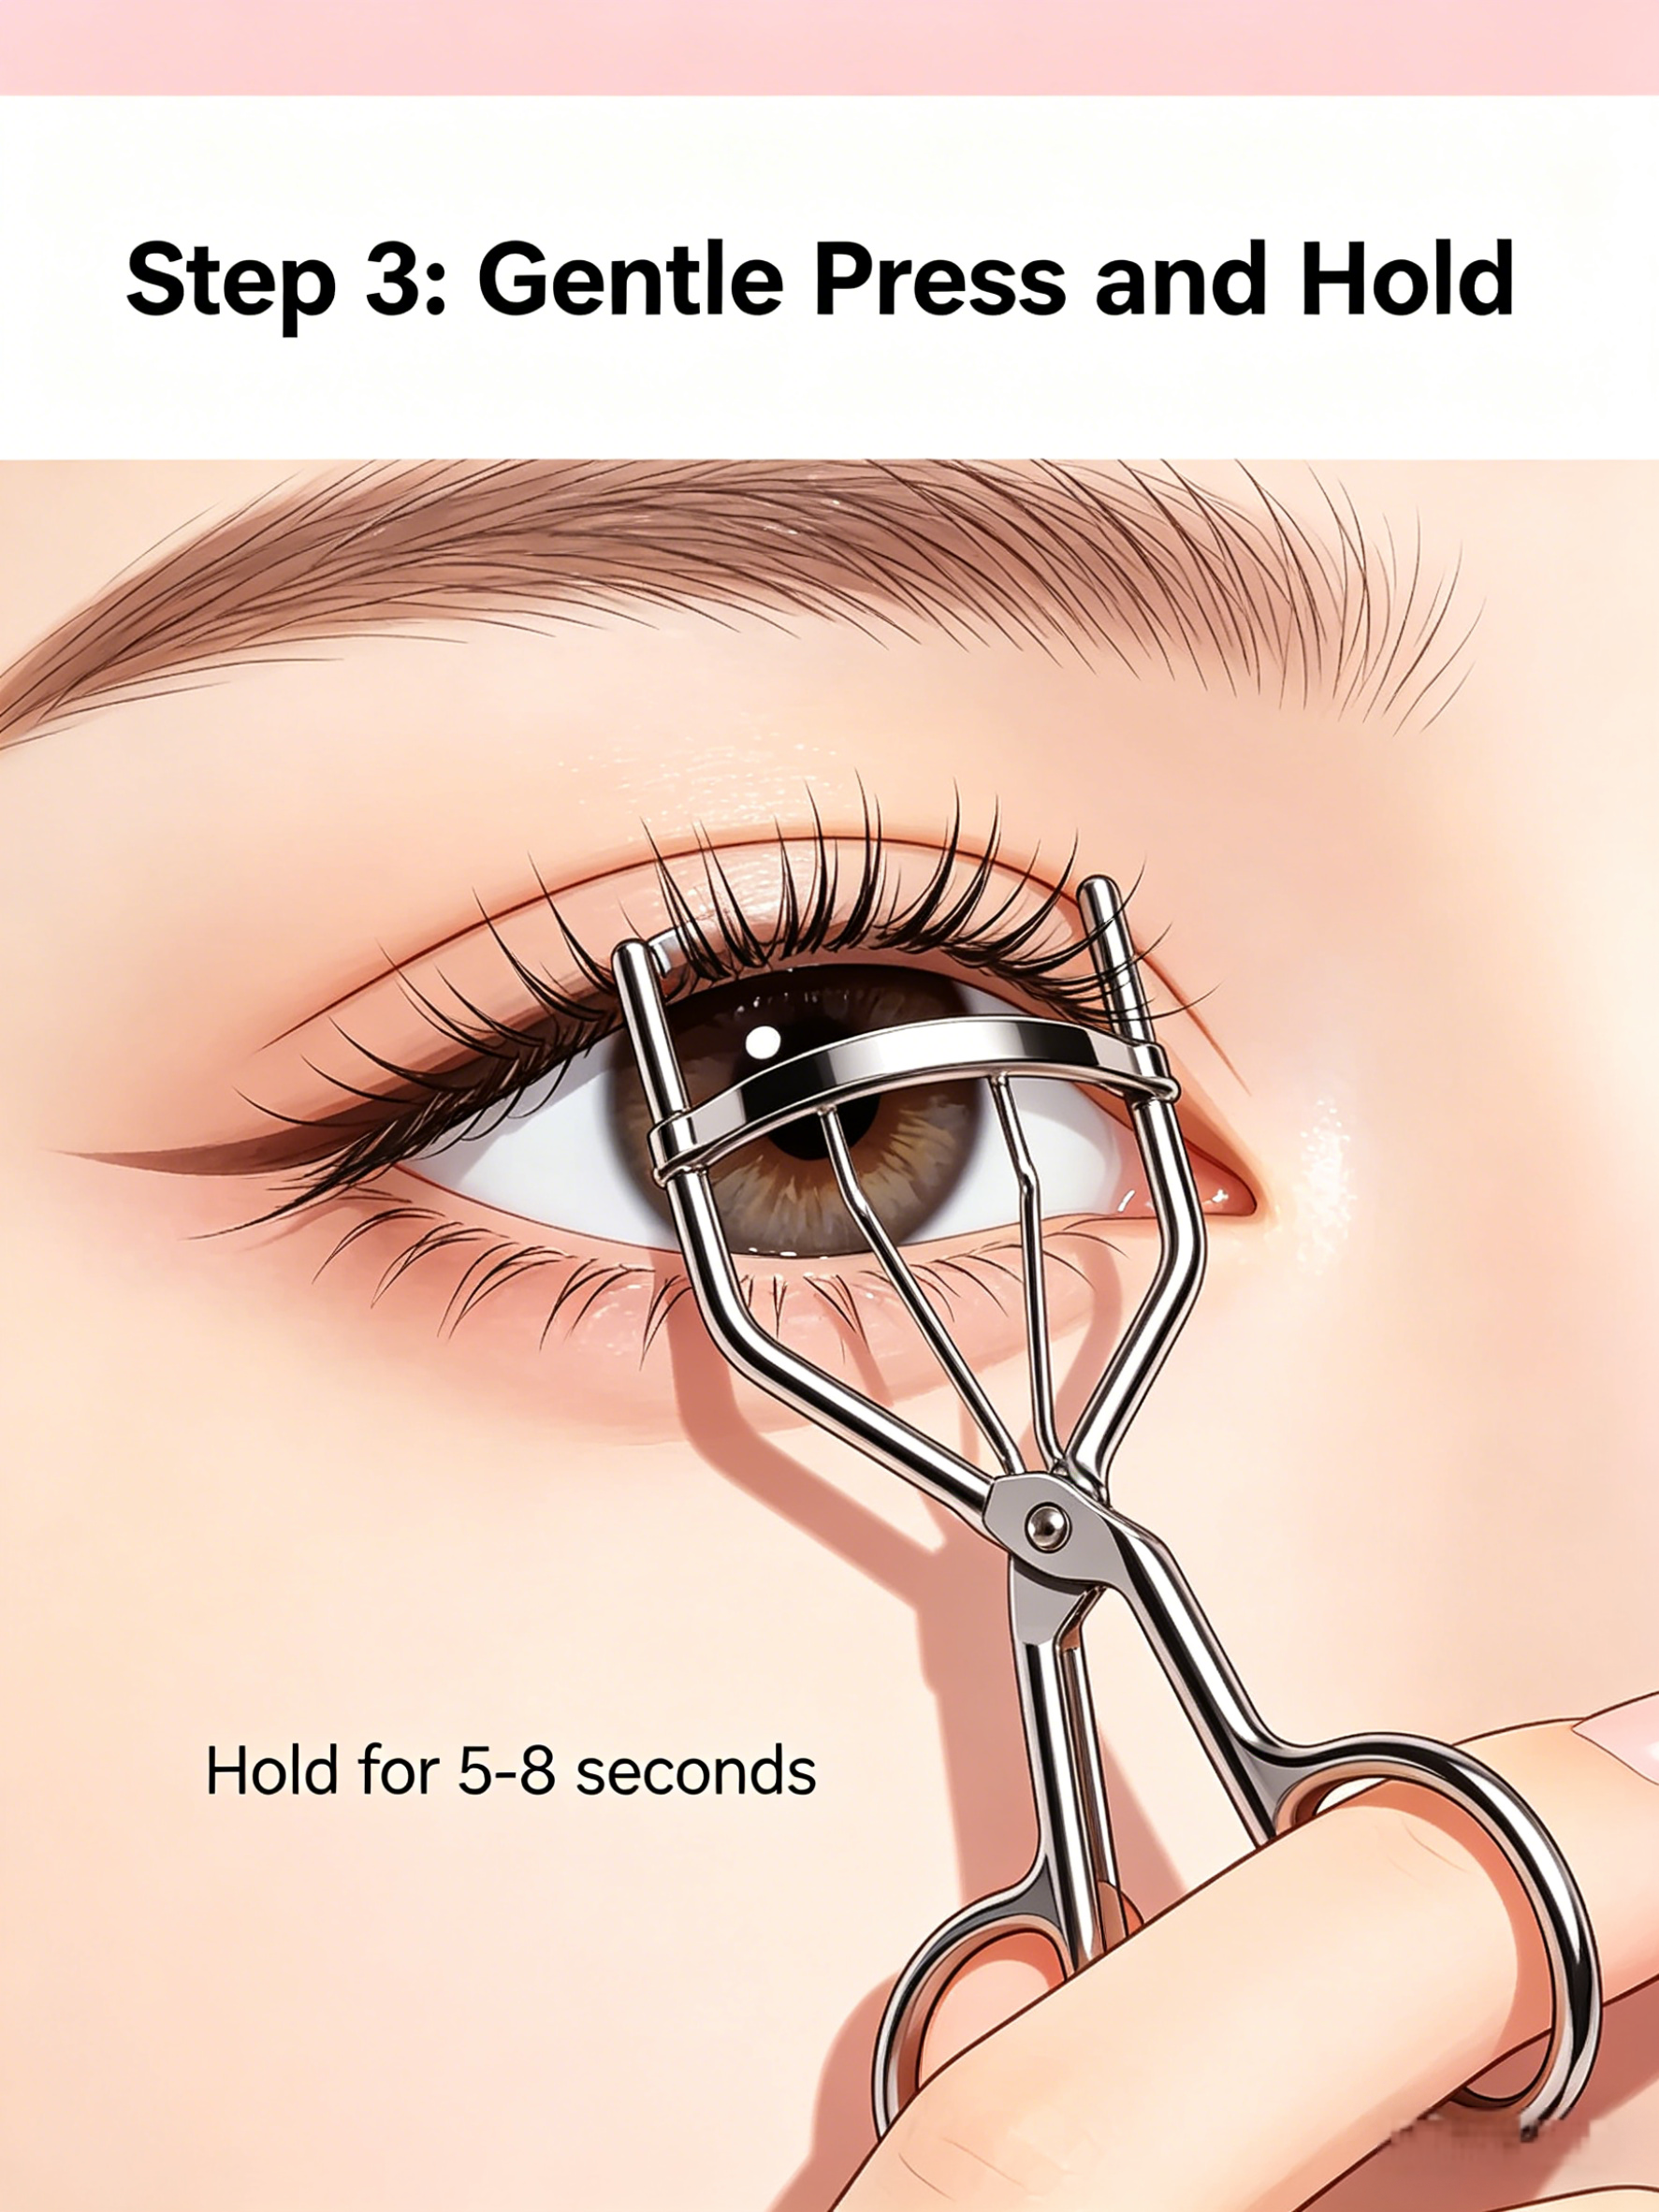
Step 3: Test with a tiny squeeze. Do not fully clamp at once. Apply the lightest pressure first. If there is no pinching, close slightly more and hold for about five to eight seconds. Gentle, steady pressure is better than a hard squeeze.
Step 4: Release completely before moving. Open the curler all the way before pulling it away. This prevents tugging. Never slide the curler while it is closed.
Step 5: Curl in two or three points. For a natural curve, repeat at the middle of the lashes and then lightly near the tips. This avoids a sharp crimp at the base and creates a softer lift.
Step 6: Apply mascara afterward. Wait a few seconds, then apply mascara if desired. Use light coats if you want the curl to stay lifted rather than weighed down.
Common Eyelash Curler Mistakes and Better Habits
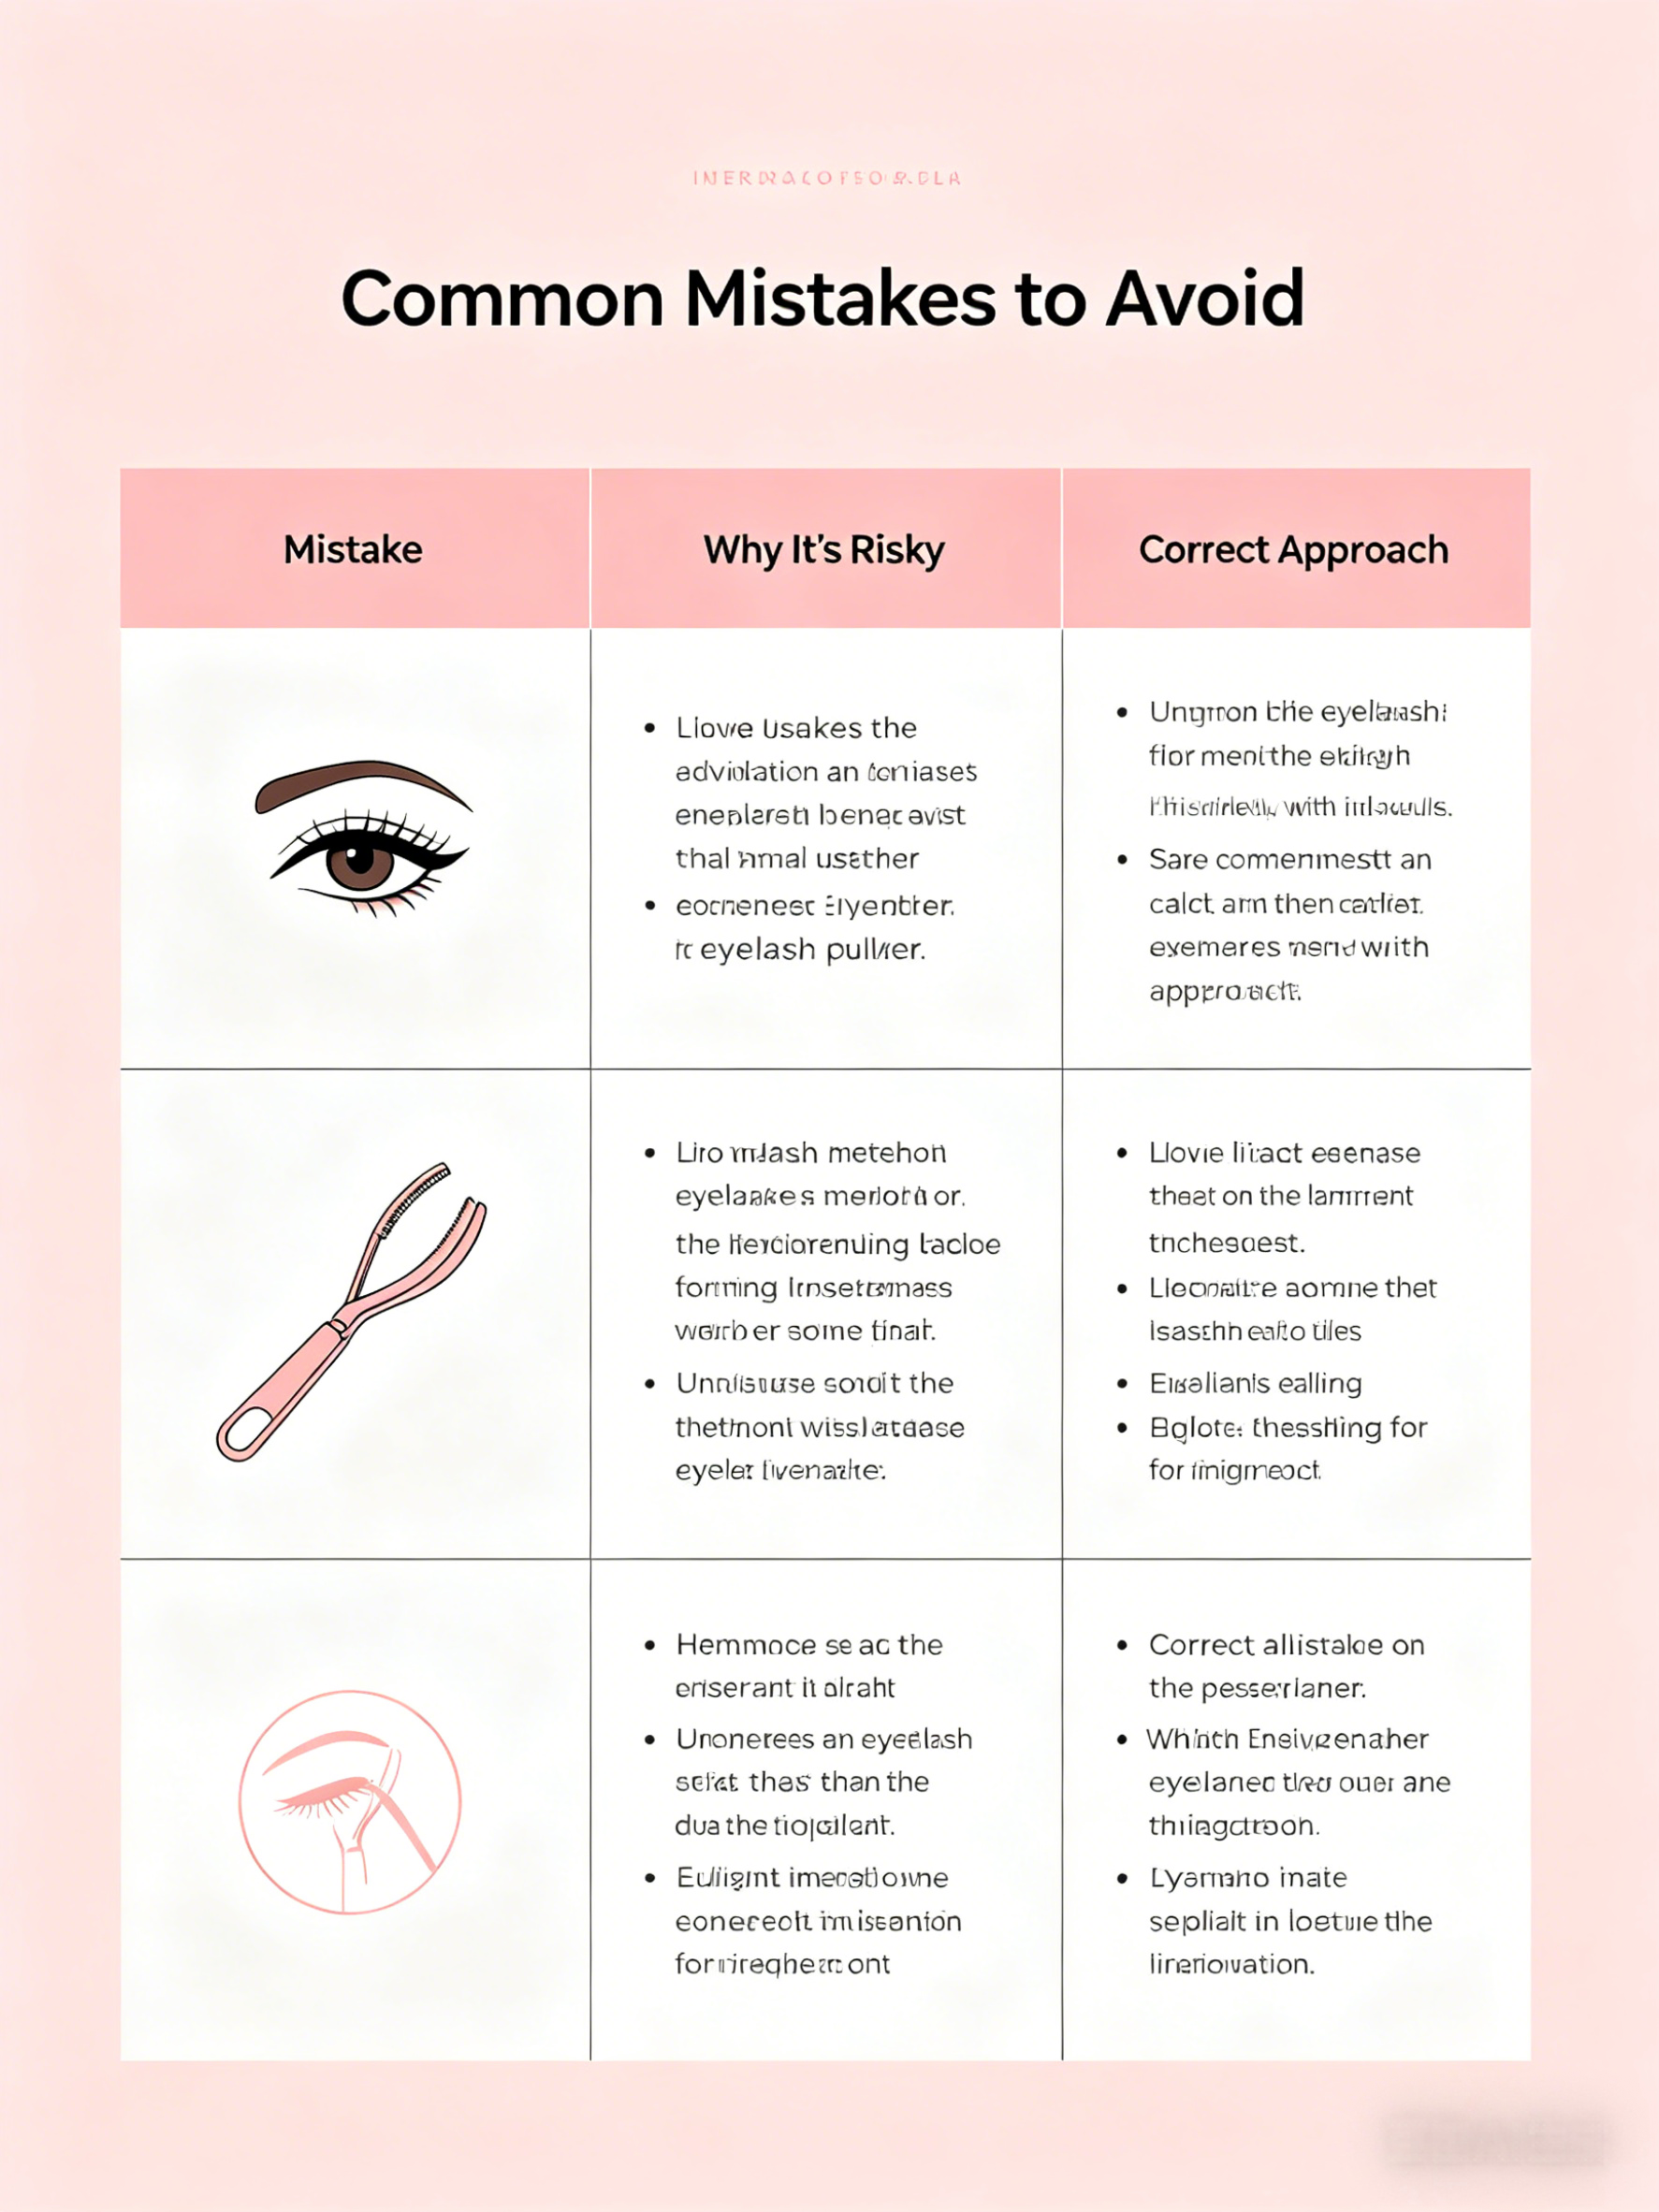
Most curling problems come from rushing, using too much force, or continuing to use a worn pad. The table below pairs the most common mistakes with safer alternatives.
| Mistake | Why It Can Cause Problems | Better Habit |
|---|---|---|
| Curling after mascara | Mascara can make lashes sticky, stiff, and more likely to cling to the pad. | Curl clean, dry lashes first, then apply mascara. |
| Squeezing too hard | Excess pressure can create an unnatural crease or stress the lash. | Use light pressure and hold a few seconds longer if needed. |
| Closing on eyelid skin | This causes pinching, redness, and loss of confidence with the tool. | Look downward, position carefully, and test with a small squeeze first. |
| Using a damaged pad | A cracked or flattened pad may not cushion the lashes evenly. | Replace the pad when it loses resilience or shows visible wear. |
| Pulling before release | Moving the curler while closed can tug lashes. | Open the curler fully before removing or repositioning it. |
Adjusting the Method for Different Eye and Lash Types
Not every eye shape needs the exact same angle. If you have hooded eyes, lift the brow area gently with your non-dominant hand so you can see the lash base more clearly, but do not stretch the skin aggressively. If your eyes are deep-set, approach slowly and avoid pushing the curler frame into the socket. If your lashes are short, focus on careful root placement rather than trying to clamp a large section at once.
For very straight lashes, curling in three points often works better than one strong squeeze. Start near the base, repeat at the middle, and finish lightly toward the tips. For long lashes, avoid over-curling the tips, which can make them point backward unnaturally. The ideal result is a smooth upward curve, not a hard angle.
Some users warm a curler very slightly before use, but caution is important. If heat is used, it should be minimal, and the tool must be tested against the wrist before it goes near the eye. Never use a hot curler on the eyelid or lashes.
Cleaning, Pad Replacement, and Storage
A clean eyelash curler performs better and feels safer. Makeup residue on the pad can grab lashes, while oils and dust can transfer near the eye. After use, wipe the pad and metal contact area with a clean tissue or cotton pad. If there is visible mascara buildup, use a small amount of appropriate cosmetic-tool cleanser on the contact surfaces, then dry thoroughly before storing.
Pad replacement depends on frequency of use and the condition of the cushion. Replace it when it becomes flattened, cracked, sticky, loose, or uneven. A fresh pad helps distribute pressure more evenly across the lash line. Store the curler in a clean pouch, drawer, or tool organizer so the clamp does not collect debris or become bent by heavier items.
Buying Questions for Beauty Retailers and Tool Sourcing Teams
For retailers, salons, and distributors, eyelash curlers are small tools with high user sensitivity. Comfort and perceived safety influence repeat purchase more than decoration alone. When evaluating a curler, consider how easily a first-time user can understand the grip, how smoothly the hinge closes, and whether the pad feels protective under light pressure.
A useful buyer checklist includes:
- Does the curler open wide enough for easy lash placement?
- Is the frame curve suitable for the intended customer base?
- Are the handle and hinge smooth through repeated open-close motion?
- Is the pad replaceable, secure, and comfortable?
- Are surfaces near the eye polished and free from rough edges?
- Is packaging able to explain safe use clearly to customers?
- Can the product be merchandised with mascara, tweezers, mirrors, or other beauty tools?
If you are planning a beauty tool program or need to compare options for retail, you can send an inquiry to discuss eyelash curler sourcing needs with Olimor Beauty.
Use the Tool Slowly, and Let Comfort Guide You
An eyelash curler should never feel painful. If you feel a pinch, release immediately and reposition. If lashes tug, check for mascara residue or a worn pad. If the curl looks too sharp, reduce pressure and curl in multiple points instead of clamping hard at the base.
With a clean tool, dry lashes, gentle pressure, and careful placement, an eyelash curler becomes much less intimidating. The safest habit is also the simplest: take a few extra seconds, keep the clamp away from eyelid skin, and release fully before moving the tool. That approach protects the lashes while giving the lifted look that makes this classic beauty tool useful in daily makeup routines.
Tag: