

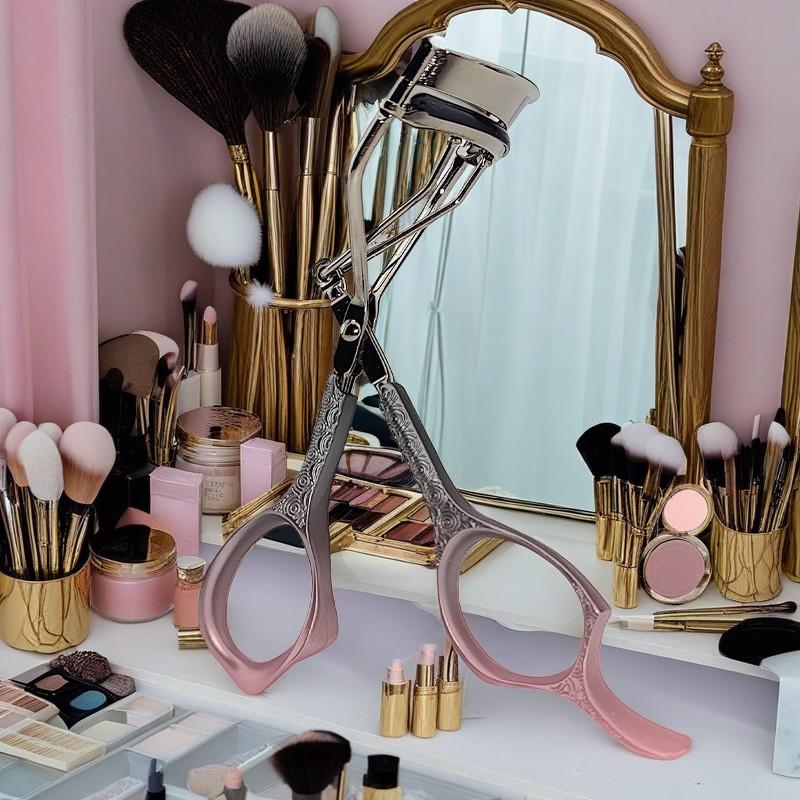
Retro Metal Handle Eyelash Curler Buying Guide for Smooth, Natural Lift
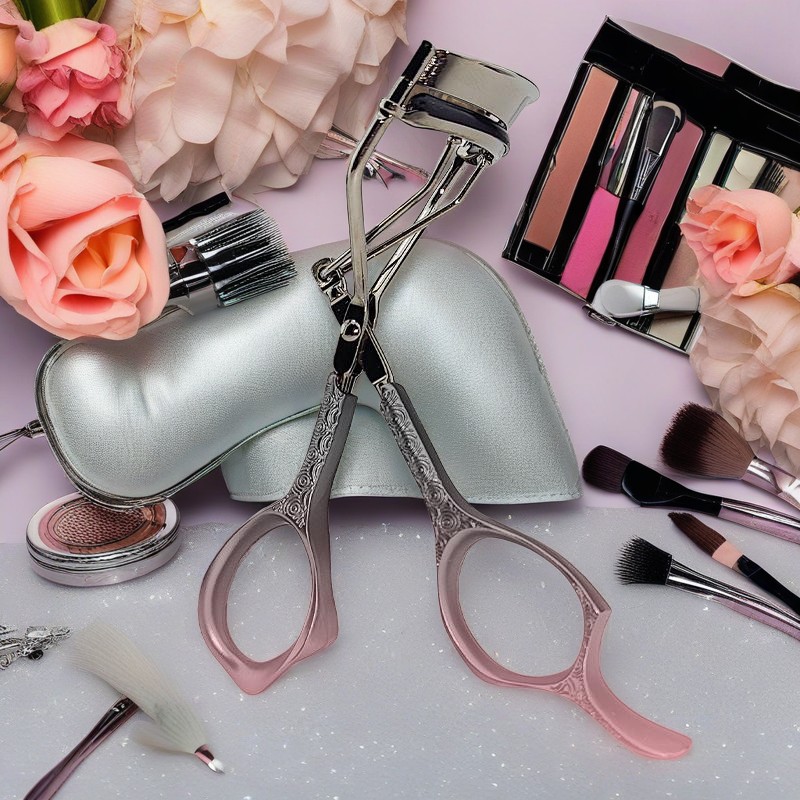
A retro metal handle eyelash curler is best chosen by checking four things first: the frame curve, the silicone cushion, the handle control and the finishing quality near the lash contact area. These details determine whether the tool creates a soft lift or an uncomfortable crimp.
This guide is for beauty retailers, salon buyers, private-label teams and users who want a practical way to evaluate a higher-end eyelash curler with a decorative metal handle, engraved detailing, ergonomic looped grip and padded silicone cushion. The goal is not simply to choose a tool that looks attractive in packaging. The right curler should feel stable in the hand, close evenly, sit comfortably near the lash line and support controlled pressure without pulling lashes.
For broader category planning, buyers can review related beauty tool products or compare options across Olimor Beauty product collections. When a project moves from concept to sampling, the same evaluation points below can be used to brief suppliers and inspect incoming samples.
What Makes a Retro Metal Handle Eyelash Curler Different?
A retro metal handle eyelash curler combines visual value with functional handling. The visible metal handle and engraved detailing give the product a more polished appearance than a basic utility curler, which matters for retail display, gifting, salon kits and private-label assortments. However, the decorative handle is only useful if it also supports steady control.
The looped handle design helps users keep their fingers aligned while closing the tool. This matters because lash curling should be based on gentle, even pressure rather than force. When the handle feels unstable, the user may squeeze too quickly or approach the lash line at the wrong angle, increasing the chance of pinching skin or creating an angular bend.
The metal frame also affects how the curler meets the eye contour. A frame that sits naturally along the lash line can lift more lashes at once and reduce the need for repeated repositioning. For B2B buyers, this is an important sampling point because eye shapes vary across markets and customer groups. No eyelash curler shape is universal, so testing the frame curve on different users is more informative than judging the tool only from product photos.
Key Parts to Evaluate Before Buying or Sourcing
The most useful way to evaluate an eyelash curler is to separate appearance, contact parts and motion. A product may look premium but still perform poorly if the cushion shifts, the top bar closes unevenly or the handle edges feel rough. Use the table below when comparing samples or building a retail specification.
| Part to Check | What to Look For | Why It Matters |
|---|---|---|
| Metal handle | Comfortable loop size, smooth finger contact, stable grip and consistent engraved detail | Improves pressure control and supports a higher-end visual impression |
| Frame curve | Natural fit near the lash line, suitable opening and smooth approach to the eye area | Influences comfort, lash capture and suitability for different eye shapes |
| Silicone cushion | Straight placement, even surface, secure seating and good rebound after compression | Helps create a rounded lift instead of a sharp crimp |
| Closing action | Smooth opening and closing, even contact between top bar and cushion | Reduces uneven pressure and improves user confidence |
| Edge finishing | No rough edges, burrs or uncomfortable contact points near the eye area | Supports safe, comfortable use close to delicate skin |
| Packaging fit | Protection for the frame and cushion, space for instructions and brand presentation | Helps prevent deformation during handling and improves customer understanding |
How the Silicone Cushion Affects Curl Shape
The silicone cushion is one of the most important performance parts of this curler style. It supports the lashes while the upper bar applies pressure. If the cushion is too hard, the result can look folded or sharply bent. If it is too soft, loose or uneven, the lashes may not lift consistently. A well-seated cushion helps distribute pressure more smoothly.
Users should inspect the cushion before curling. It should sit straight in the lower channel and should not be cracked, sticky, loose or deeply dented. Buyers should check cushion consistency across multiple samples, not just one approval piece. Small differences in cushion fit can change the way the tool feels and performs.
Simple Cushion Inspection Checklist
- Alignment: the cushion should be centered and level from end to end.
- Surface: the contact area should be smooth, clean and free from cuts.
- Rebound: after gentle compression, the cushion should recover rather than stay deeply marked.
- Security: the cushion should not slide during normal opening and closing.
- Replacement planning: cushions wear with use, so retail instructions should tell customers to replace them when worn.
For private-label projects, it is also useful to decide how replacement cushions will be handled. Some brands include an extra cushion, while others sell or supply replacements separately. The decision affects packaging, customer satisfaction and after-sale support, but it should be confirmed according to the actual product program rather than assumed.
How to Use an Eyelash Curler Without Pinching or Crimping
The safest result comes from clean lashes, correct placement and light pressure. Curl before applying mascara, because mascara can stiffen lashes and make them more vulnerable to bending or breakage when pressed. The curler should never be used with aggressive force.
- Start with clean, dry lashes. Remove old mascara, skincare residue and excess oil from the lash area.
- Open the curler fully. Hold the looped handles comfortably and keep the wrist relaxed.
- Look slightly downward into a mirror. This makes it easier to position the frame without pulling the eyelid.
- Place the curler near the lash base. Get close enough to lift the lashes, but not so close that skin is caught.
- Close gently for a few seconds. Use controlled pressure rather than a hard clamp.
- Move outward for a softer curve. For longer lashes, repeat lightly at the middle of the lash length.
- Finish lightly near the tips if needed. This can soften the curve and avoid one obvious bend at the base.
- Apply mascara afterward. Mascara can help hold the lifted appearance once the lashes are shaped.
If the curler pinches, stop immediately and reposition. Pinching usually means the frame is too close to eyelid skin, the angle is not aligned with the lash line or the user is closing the handles before all lashes are inside the opening. If the curl looks square, reduce pressure and use two or three lighter presses along the lash length instead of one strong press.
Choosing the Right Curler for Retail, Salon or Private-Label Programs
For commercial buyers, the best eyelash curler is not only the one with the most attractive handle. It should match the intended sales channel, price position, packaging format and customer skill level. A retro metal handle with engraved detailing can work well for premium-looking retail sets, salon resale, makeup artist kits and beauty gift programs because it communicates value visually.
When comparing options, consider how the product will be explained to the final customer. Beginners may need clear instructions on positioning, pressure and mascara timing. More experienced users may focus on frame comfort, cushion behavior and durability of the closing motion. Retail teams should consider whether the packaging allows the customer to understand the cushion, handle and tool shape at a glance.
Cost Factors Buyers Should Compare
Without assuming any fixed price, several factors can affect quotation and landed cost. Metal finishing, decorative engraving, packaging structure, accessory cushions, inspection requirements and customization can all influence the final offer. Shipping protection is also important because a bent frame or displaced cushion can make the tool difficult to sell even if the product looked acceptable before transit.
- Tool finish: decorative handle details and consistent surface finishing may affect production complexity.
- Packaging: cards, boxes, inserts or protective trays change presentation and handling needs.
- Customization: logo application, color direction or private-label packaging should be confirmed with the supplier.
- Inspection level: more detailed checks for cushion fit, closure and surface finish require planning.
- Replacement cushion plan: extra or separate cushions can affect packaging and after-sale support.
Buyers can use Olimor Beauty inquiry support to share the intended channel, packaging idea and customization needs so the discussion is based on the actual project rather than a generic product description.
Sample Inspection and Supplier Evaluation
Sample approval should include both visual inspection and repeated handling. Open and close each sample several times. Check whether the handles move smoothly, whether the cushion stays seated and whether the upper bar meets the cushion evenly. Inspect the engraved handle for comfort as well as appearance; decorative details should not create sharp or irritating contact points for the fingers.
For B2B sourcing, ask the supplier how quality is checked before shipment and what documents are available for the destination market. Do not rely only on photos. Request clear product specifications, packaging information and any relevant compliance documents for review. For markets such as the European Union, buyers may need to consider chemical and general product safety obligations, including REACH restrictions and the EU General Product Safety Regulation where applicable. Requirements can change, so always verify the current versions and supplier documents with qualified compliance support.
Practical Supplier Questions
- Can the supplier provide samples that represent the intended production finish and packaging?
- How is cushion fit checked during production or final inspection?
- What customization options are available for the handle, logo or packaging?
- How are curlers protected during packing to reduce frame or cushion deformation?
- Which documents can the supplier provide for the target sales market?
A reliable supplier conversation should be specific. Instead of asking only for the lowest cost, describe the customer group, sales channel, packaging format, quality expectations and inspection concerns. This helps prevent mismatches between a premium-looking concept and a product that does not meet user expectations.
Cleaning, Maintenance and Replacement Guidance
Because an eyelash curler is used close to the eye, cleaning is part of responsible use. Makeup residue, skin oil and skincare products can collect on the silicone cushion and metal contact area. This buildup can reduce lash grip and make the tool less pleasant to use.
After use, wipe the cushion and nearby metal area with a clean, slightly damp cloth or a suitable cosmetic tool wipe. Allow the curler to dry before storing it. Avoid soaking the tool for long periods and do not store it while wet. Keep it in a clean pouch, drawer or case where heavier items will not press the cushion out of shape or bend the frame.
Replace the cushion when it becomes cracked, sticky, loose, uneven or deeply dented. A worn cushion is one of the common reasons a curler starts to crimp lashes. If the metal frame becomes bent, if the closing action no longer aligns or if rough edges appear near the lash contact area, the tool should be replaced rather than forced back into use.
Common Problems and How to Solve Them
Most eyelash curler problems come from a mismatch between the tool, the eye shape, the cushion condition or the user technique. The solutions are usually simple, but they require careful checking.
- Pinching skin: move the curler slightly away from the eyelid and check that the frame curve fits the lash line.
- Square or crimped curl: use lighter pressure and curl in two or three small steps along the lash length.
- Lashes not lifting: check that lashes are clean and dry, then inspect whether the cushion is too worn or loose.
- Uneven curl: confirm that the top bar closes evenly against the cushion and that lashes are centered in the opening.
- Uncomfortable grip: review loop size, handle finish and whether the engraved detail feels smooth in the fingers.
For retail brands, these troubleshooting points can become useful instruction-card content. Clear use guidance can reduce customer frustration and help buyers position the product as a considered beauty tool rather than a simple accessory.
FAQ for Buyers and Beauty Brands
Can I request samples before placing an order?
Sample availability should be discussed with the supplier based on the selected eyelash curler style, finish, packaging needs and customization requirements. Samples are the best way to check frame curve, cushion fit, handle comfort and visual finish before confirming a program.
Is there an MOQ for private-label eyelash curlers?
MOQ depends on the product configuration, customization method, packaging plan and production arrangement. Buyers should confirm the current MOQ directly during quotation instead of assuming one standard quantity for every project.
Can the handle, logo or packaging be customized?
Customization may be possible depending on the project requirements and the selected product. Common discussion points include logo placement, packaging format, color direction and retail presentation. Confirm available options, artwork requirements and sample approval steps before production.
How should quality be checked before shipment?
Inspection should include cushion alignment, closing action, frame shape, metal finishing, handle comfort, packaging condition and overall appearance. Buyers should also verify relevant supplier documents for the target market and confirm inspection criteria in advance.
Plan Your Eyelash Curler Assortment
A retro metal handle eyelash curler can be a strong addition to a beauty tool line when the product balances appearance, comfort and controlled performance. The engraved metal handle gives the curler a distinctive look, while the looped grip and silicone cushion address the practical details that affect daily use.
For users, the priority is gentle technique, clean maintenance and timely cushion replacement. For buyers, the priority is sample testing, supplier documentation, packaging protection and clear customer instructions. If you are comparing eyelash curlers for retail, salon or private-label use, you can contact Olimor Beauty to discuss product direction or send specific requirements through the project inquiry form.
Tag: